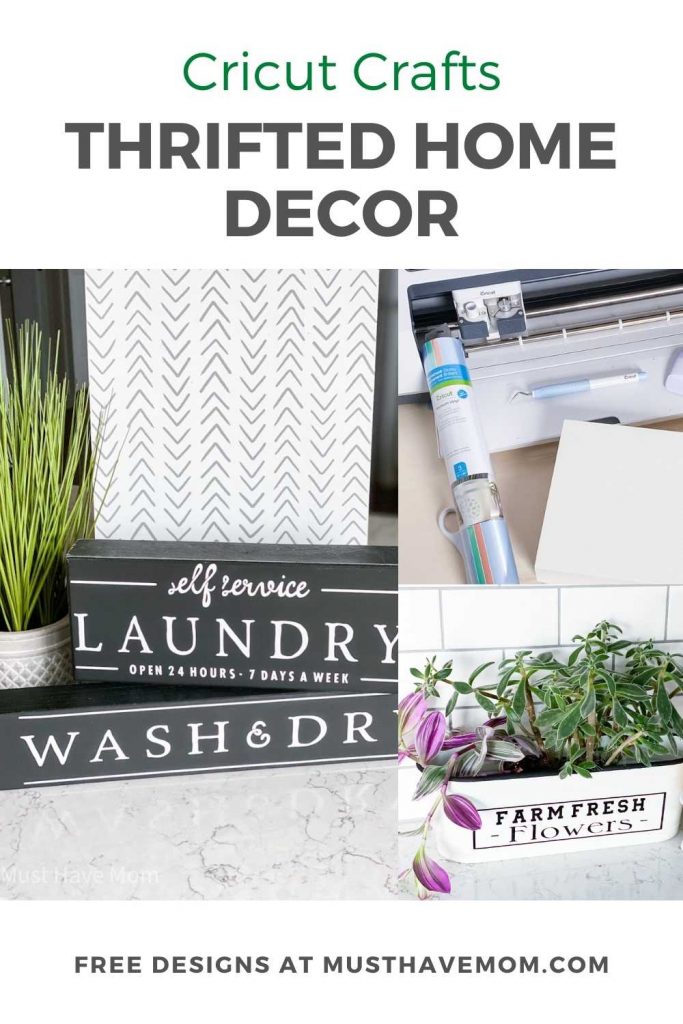
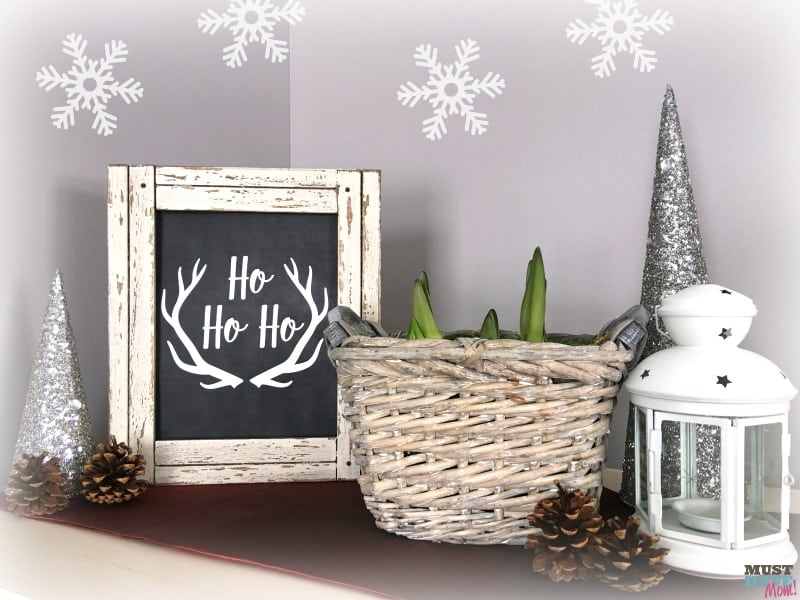
Farmhouse Signs DIY Thrifted Home Decor
Do you love the farmhouse look but feel you can’t afford it? Crave those gorgeous, magazine-worthy looks but don’t have the decor budget to match? Don’t worry, these farmhouse signs DIY projects are made using thrifted home decor so it won’t break the bank and you’ll get the look you want – for less!
I absolutely LOVE taking thrift store finds and transforming them into gorgeous farmhouse decor. Take this coffee bar thrift store craft I did or this book stack project made with old paperback books. I even pick up old furniture like this old wood dresser that I did a DIY dresser makeover on! No matter what you find at the thrift store, odds are you can use your Cricut to transform it into a beautiful farmhouse decor piece!! Let’s take a look at some of the pieces I transformed into DIY wooden signs with sayings so you can get inspired!
Farmhouse Signs DIY
Farmhouse signs can get pricey but the good news is that you can grab some old wood signs from the thrift store or you can even makeover some of your own outdated signs! I made a couple of trips to our local thrift store and grabbed a variety of signs and sizes. The sayings on them don’t really matter because you will be covering them up! Here are some of the signs I grabbed and how I transformed them. The main thing is to try and buy wood signs so you can paint them and add new sayings.
DIY Wooden Signs With Sayings
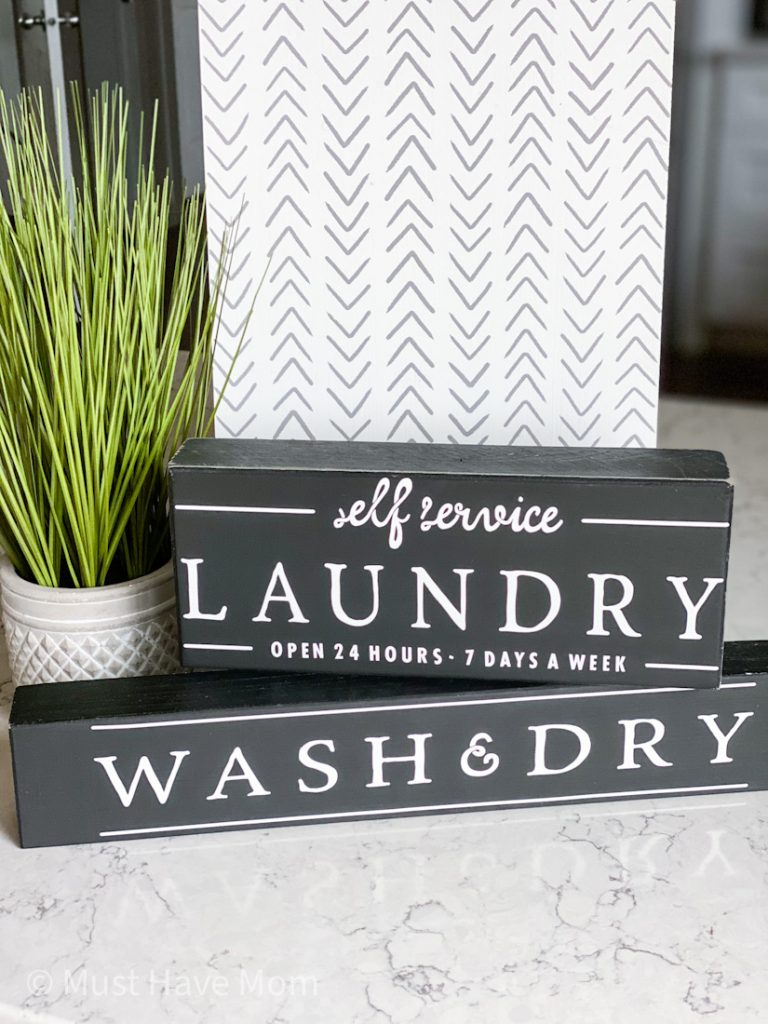
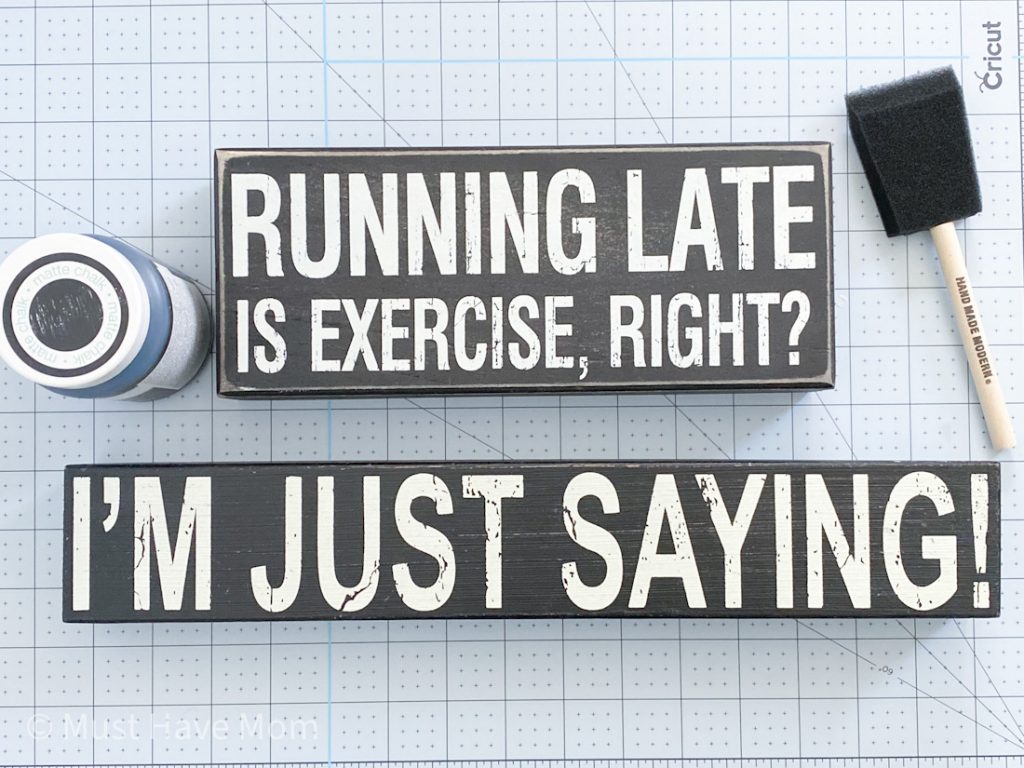
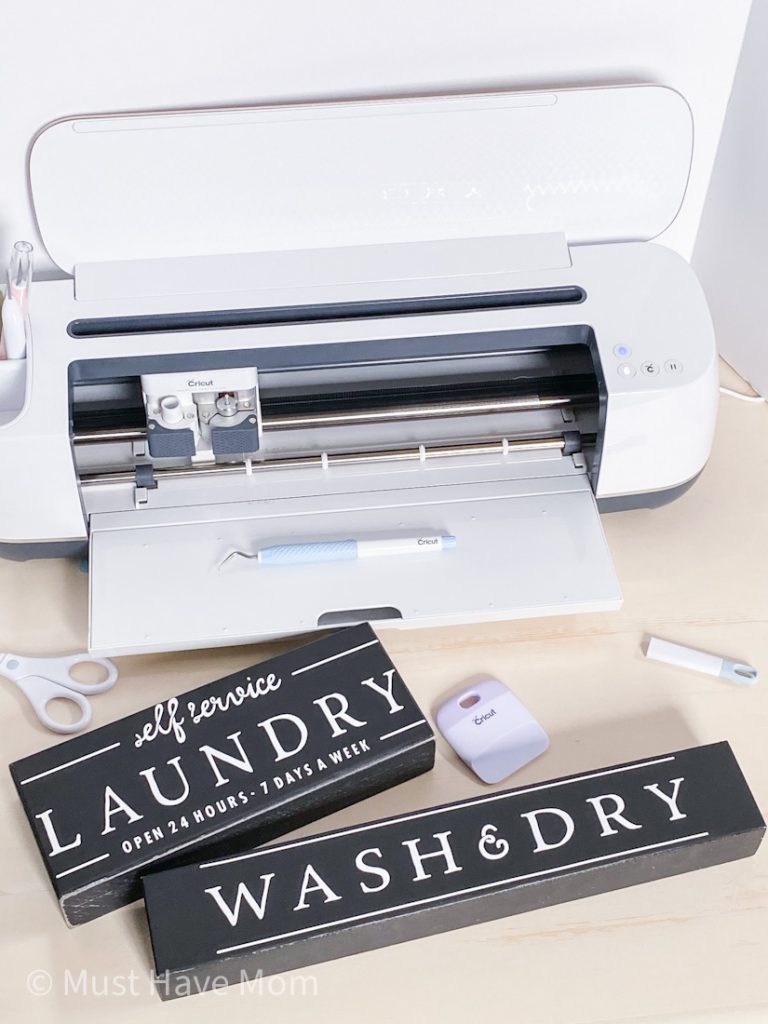
First up, I grabbed some small, black wood signs. I love these type of signs for decorating all over the house but I didn’t care for the sayings on them. I painted over the face of them using black chalk paint and allowed them to dry overnight.
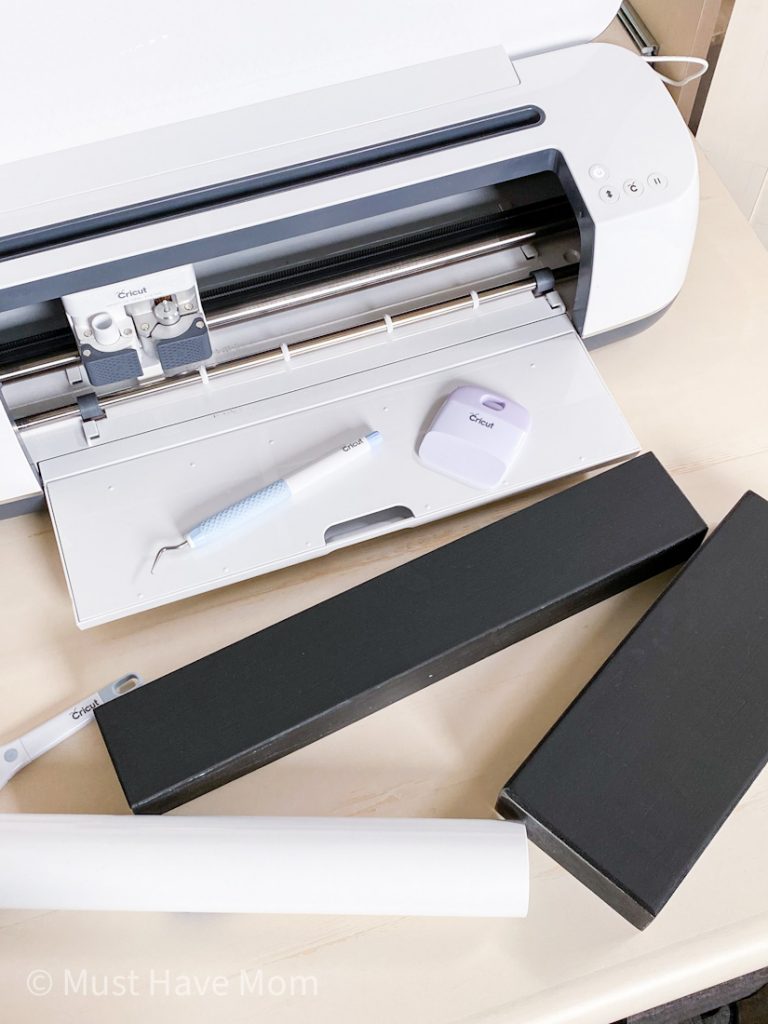
You’ll need the following supplies for these signs:
- small wood signs (found at thrift store)
- black chalk paint
- Cricut Explore Air 2 or Maker
- white Cricut permanent vinyl
- weeding tools
- cutting mat
- transfer tape
- Design Space file
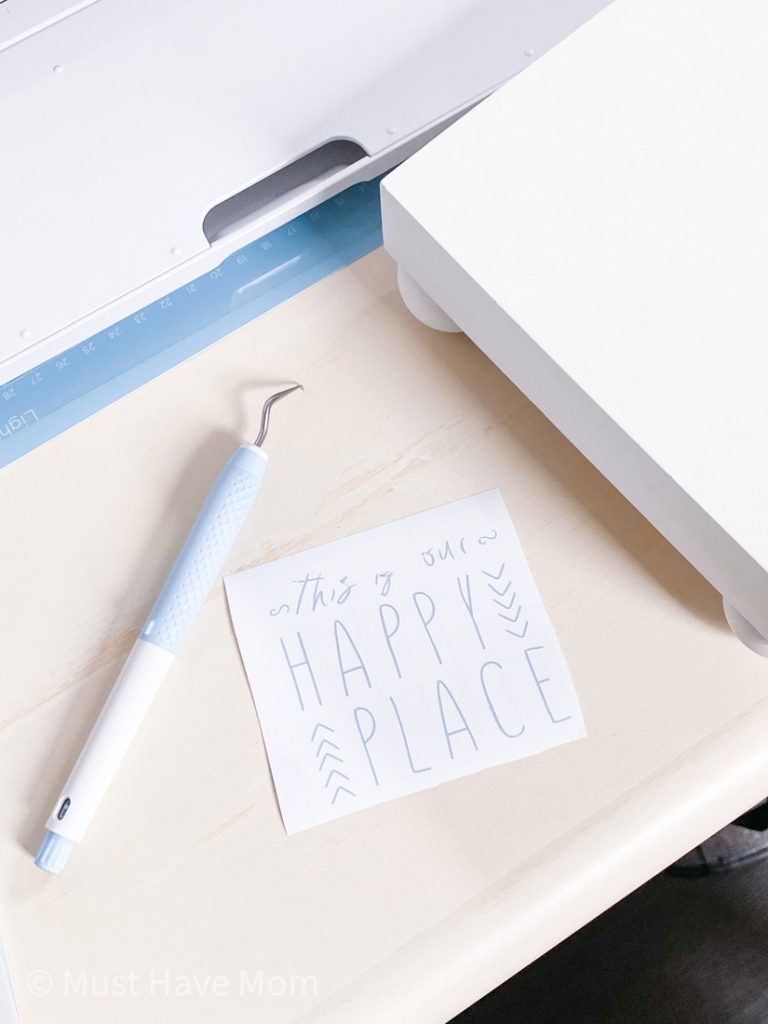
After painting the signs black and allowing them to fully dry you are ready to add your chosen saying.

Load the image into Design Space (this is the one I used) and size it to fit your sign. Then cut it on the white vinyl.
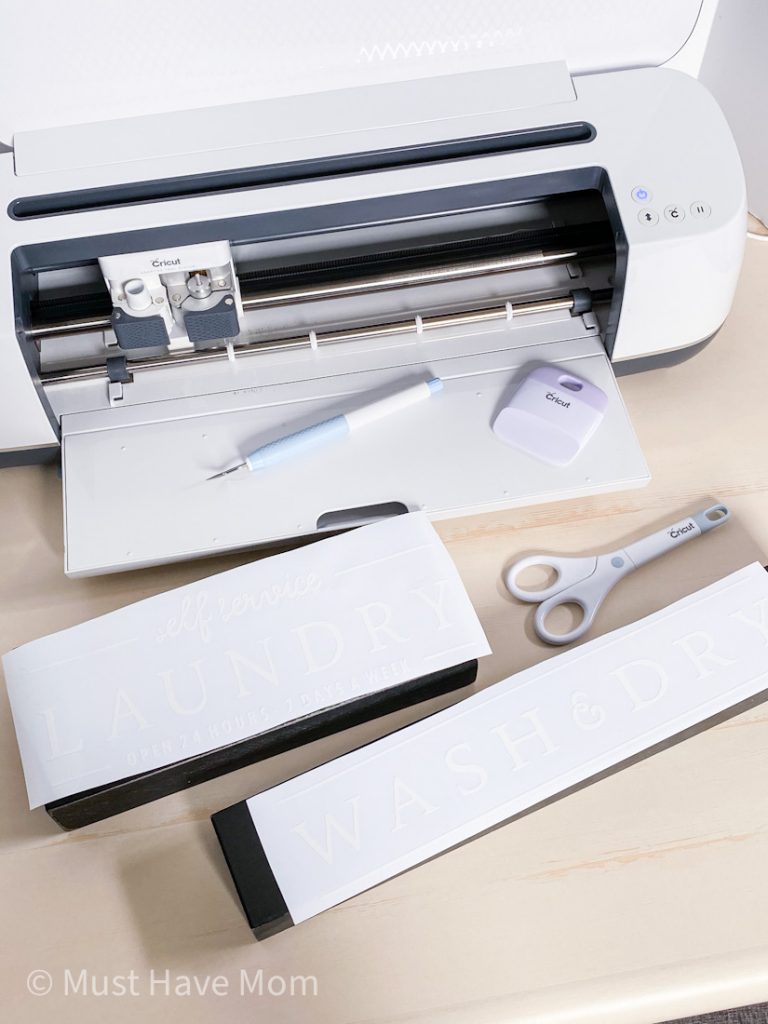
Weed the design and apply transfer tape to apply the design to your sign. Smooth it over and remove the transfer tape.
That’s it! See how easy it is to make your own farmhouse signs DIY on the cheap?!
Should we make another? Of course we should!
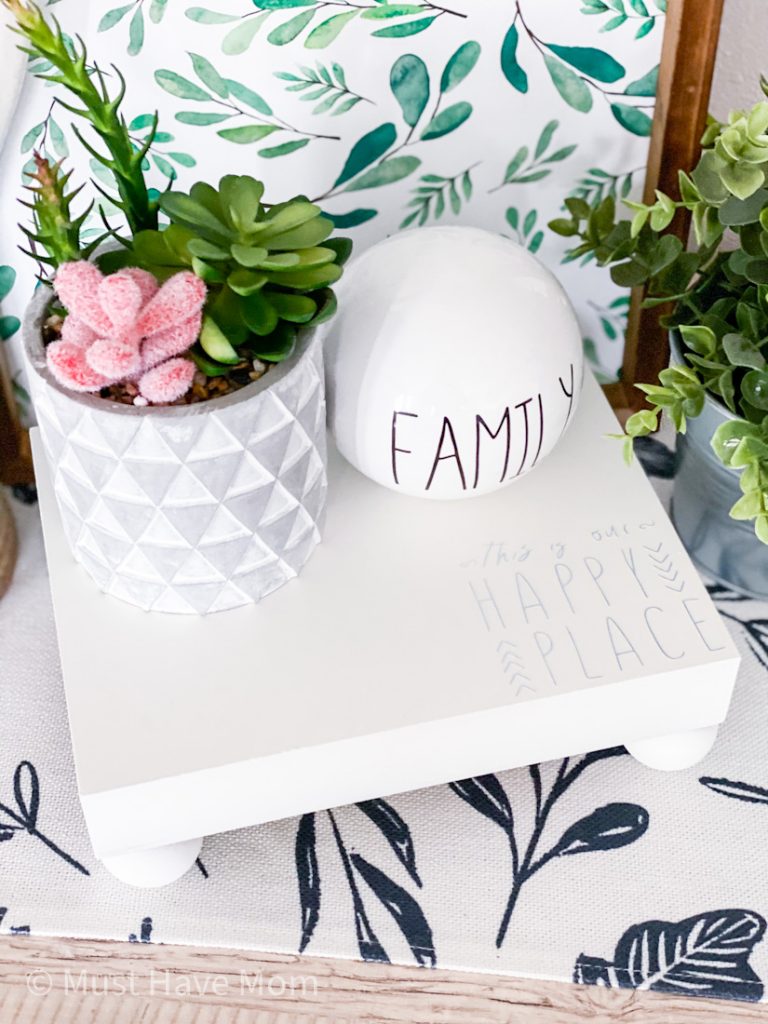
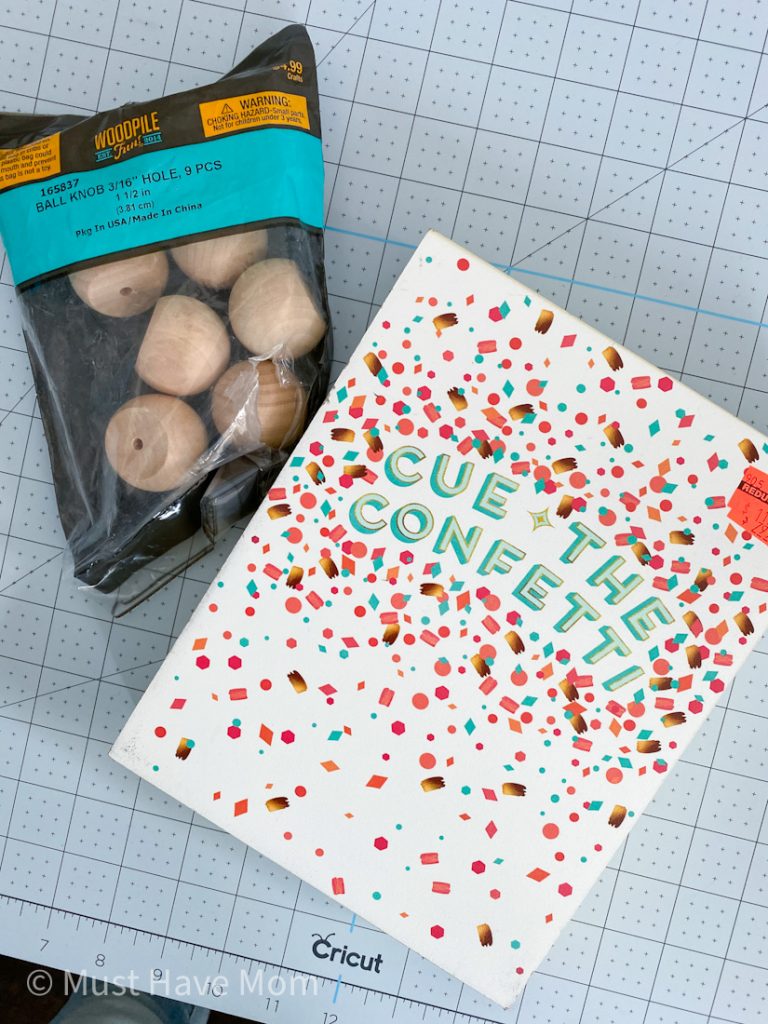
This DIY sign makeover started as a sign but ended as a DIY farmhouse riser! I took this sign which was on clearance for $1 and added some wooden feet to it and look how gorgeous it turned out!! This thrift store home decor takes something and turns it into another thing. Much less expensive than buying a riser.
Supplies needed for this DIY riser project:
- small wood sign (thrift store, clearance or one you have that you want to update)
- 4 round wood legs with flat tops
- white chalk paint
- E6000 glue
- Cricut Explore Air 2 or Maker
- Cricut permanent vinyl
- weeding tools
- cutting mat
- transfer tape
- Design Space file
First, paint the small sign and wooden legs with white chalk paint. They may need more than one coat. Allow to dry overnight.
Glue the four, round feet to each corner of the underside of the sign.
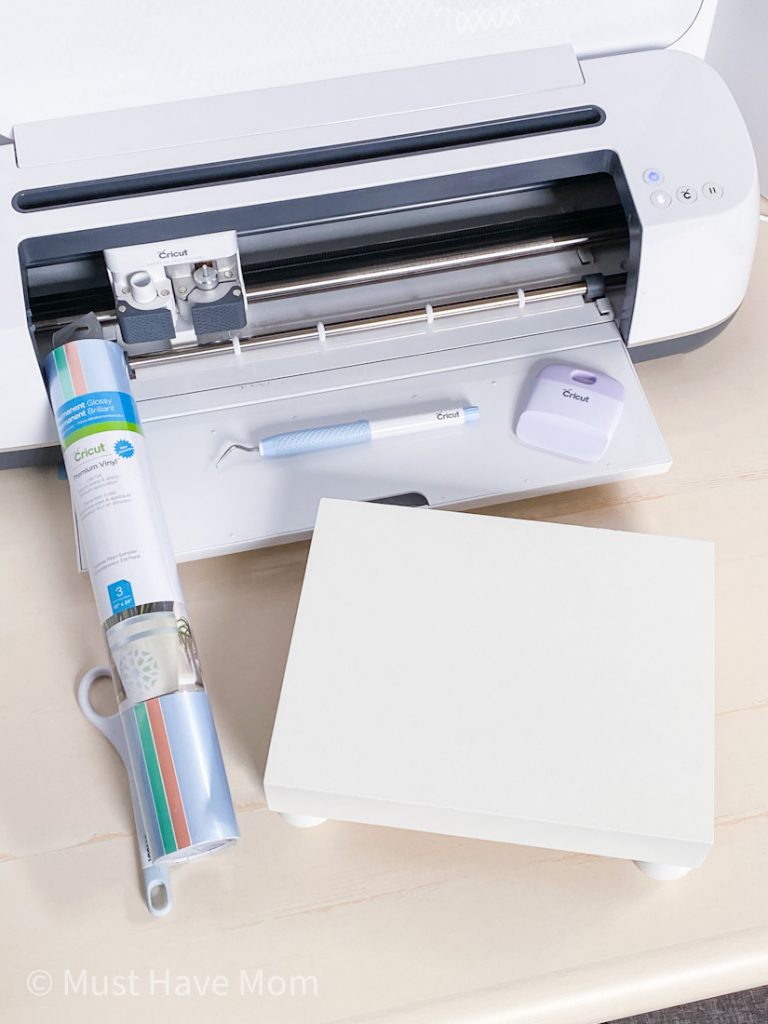
Load your design in Design Space and cut it onto permanent vinyl.
Weed the design and use transfer tape to apply it to the top of your riser.
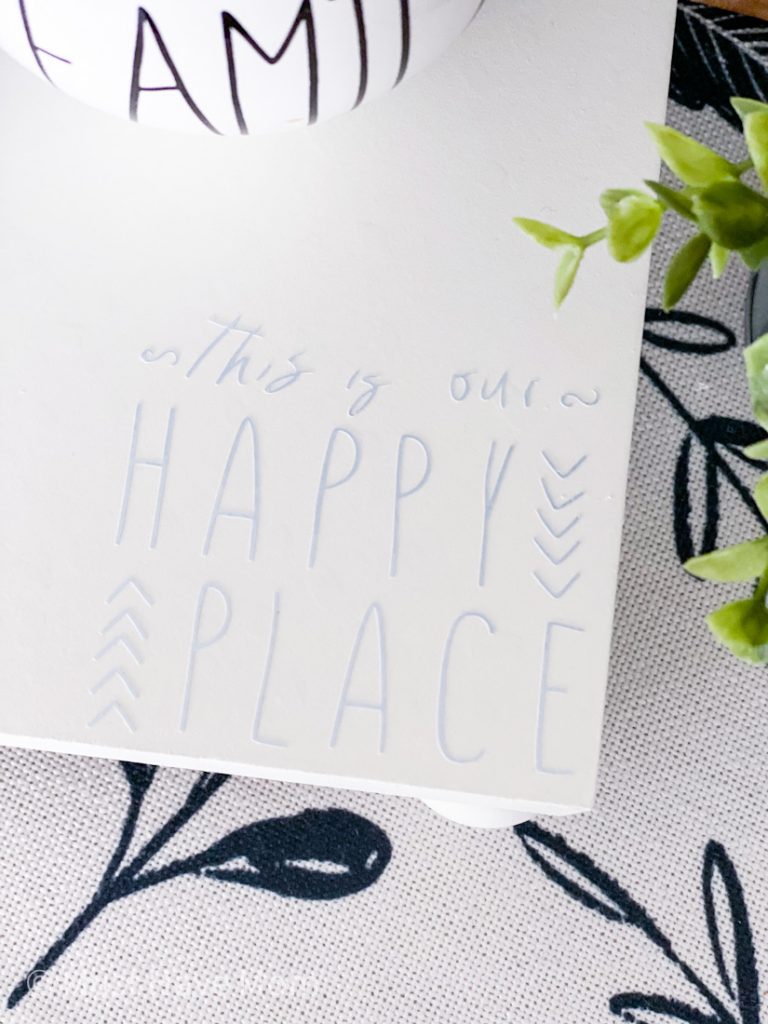
Isn’t it pretty?! And so easy!!
Want to do one more thrifted home decor project? Yes? Great! I’ve got one more up my sleeve.
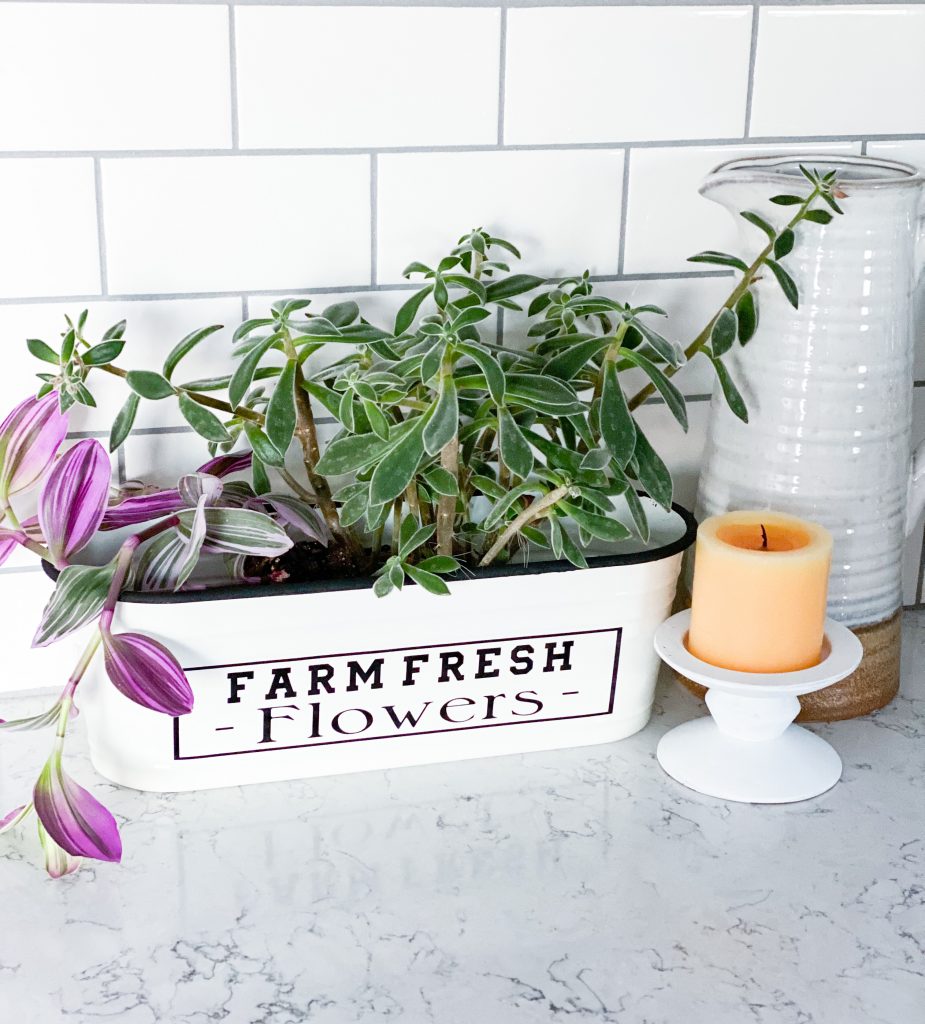
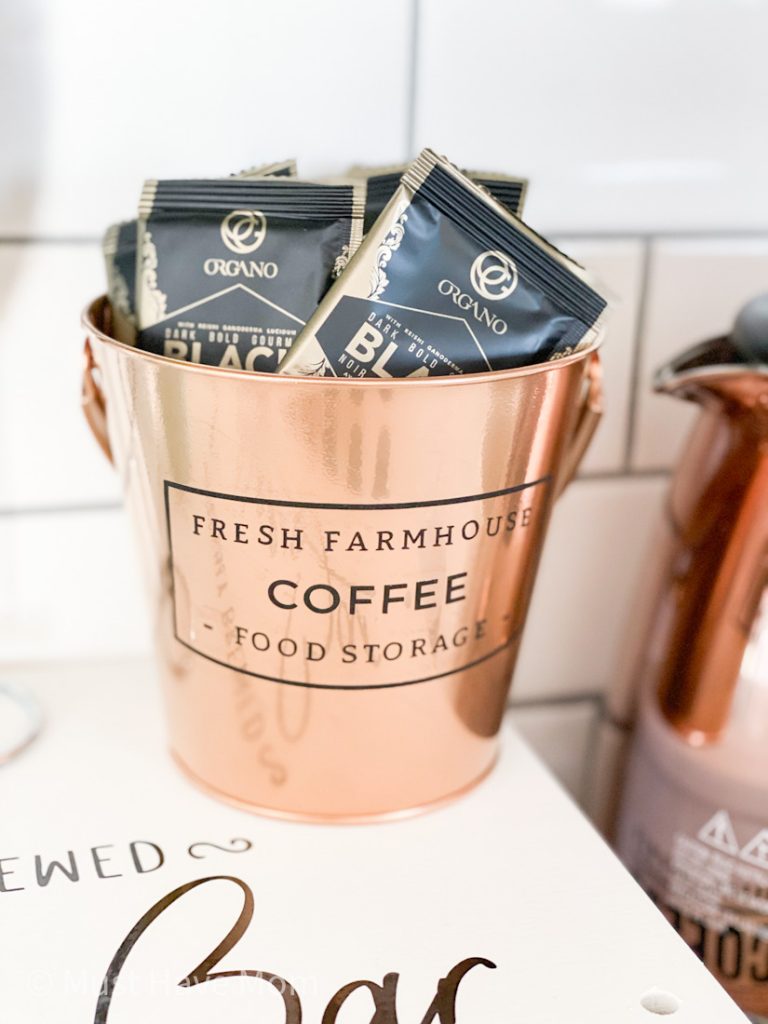
For my last thrift store home decor project, I found one of these white bins that I believe are originally from Ikea. I used black chalk paint on the top rim to make it look like an enamel piece! I just love how it turned out.
Supplies needed for this DIY farmhouse enamel planter:
- metal planter
- black chalk paint
- foam brush
- Cricut Explore Air 2 or Maker
- Cricut permanent vinyl
- weeding tools
- cutting mat
- transfer tape
- Design Space file
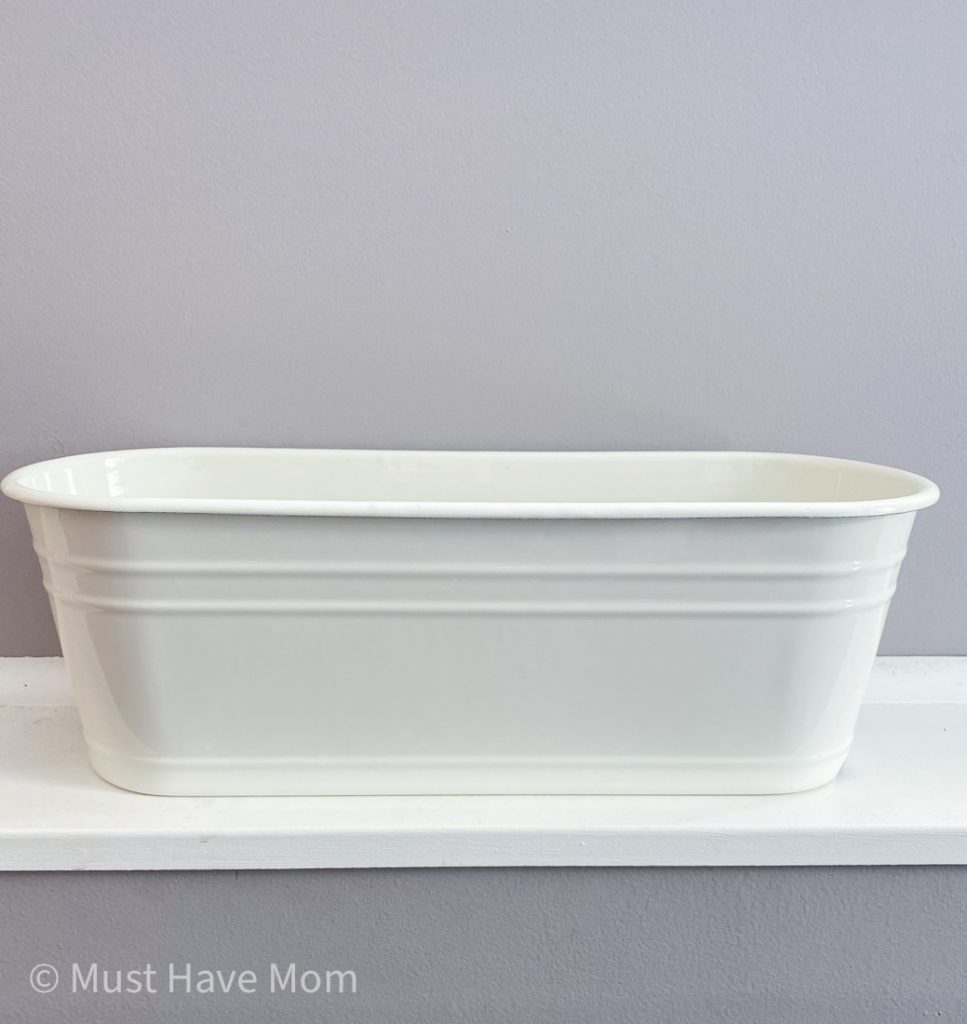
My planter was already a light cream color so I didn’t paint the planter itself (except for the black rim). If you are starting with a metal planter that isn’t painted then use a high gloss white spray paint on it first. Allow to dry.
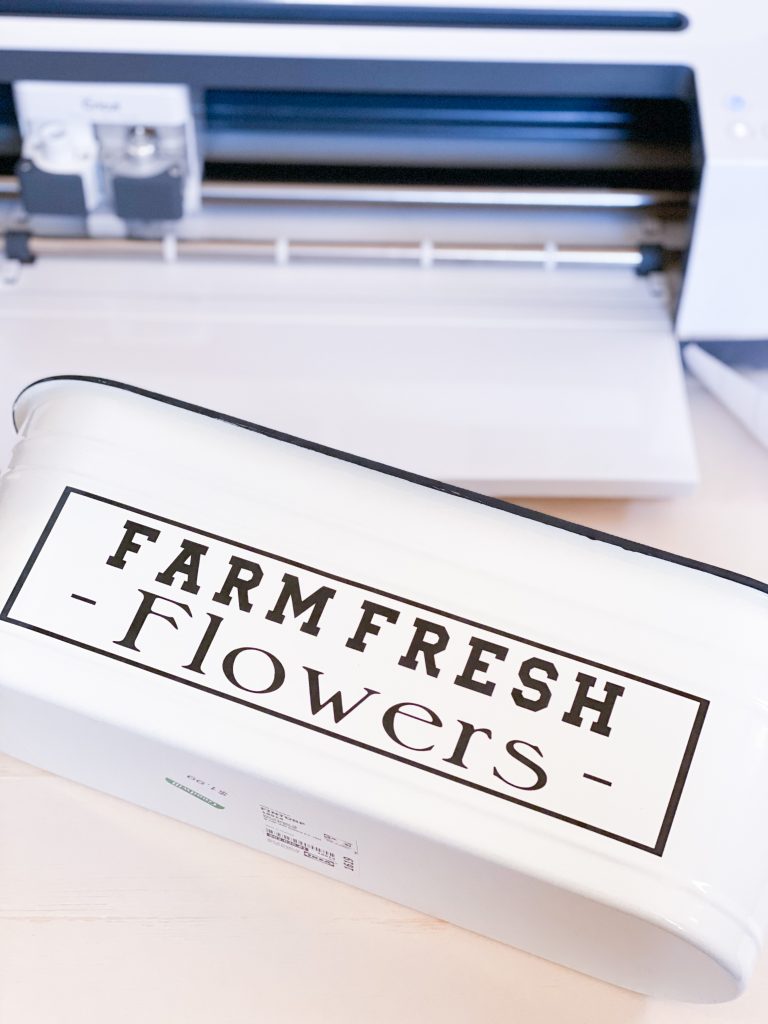
Use a foam paintbrush to paint the top rim of the planter with black chalk paint to give it the enamel look.
Allow to fully dry.
Load your design in Design Space (I used this design) and cut it onto permanent vinyl. Weed the design and use transfer tape to apply it to the front of your planter.
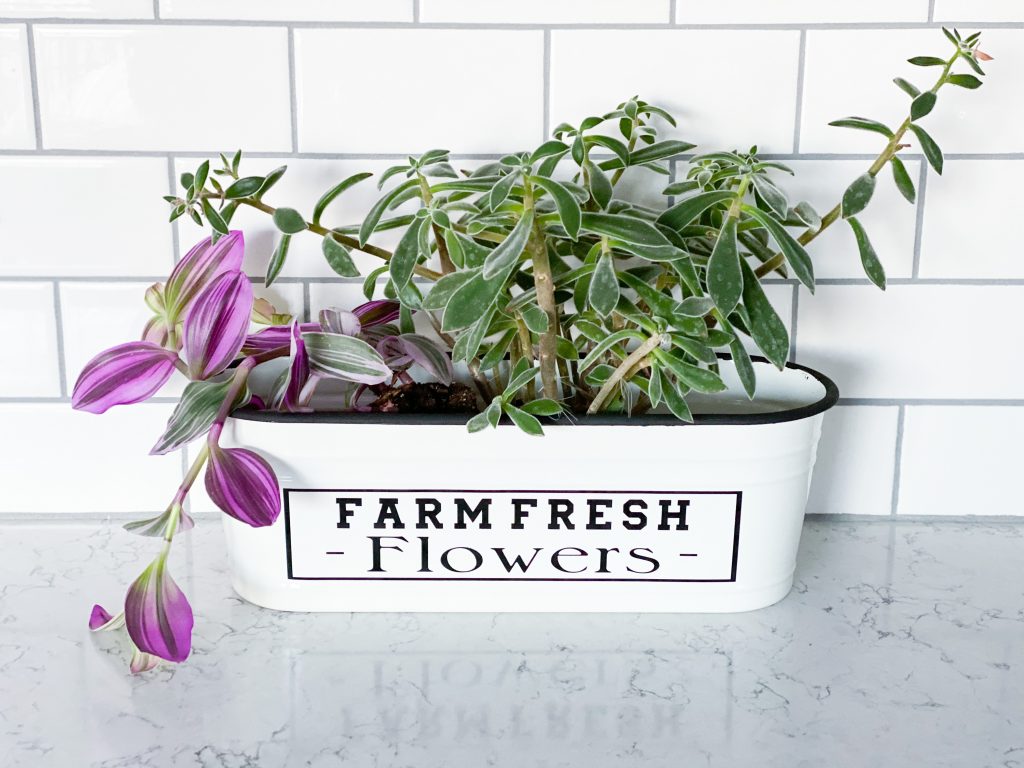
Plant flowers in your planter and enjoy the gorgeous farmhouse enamel planter on a dime that you just created.
Isn’t thrift store decor so much fun?! Stay tuned for more amazing Cricut craft ideas on a budget.
Pin Thrifted Home Decor
We love when you pin our projects! It helps us reach more people and we just love that!
You May Also Like…
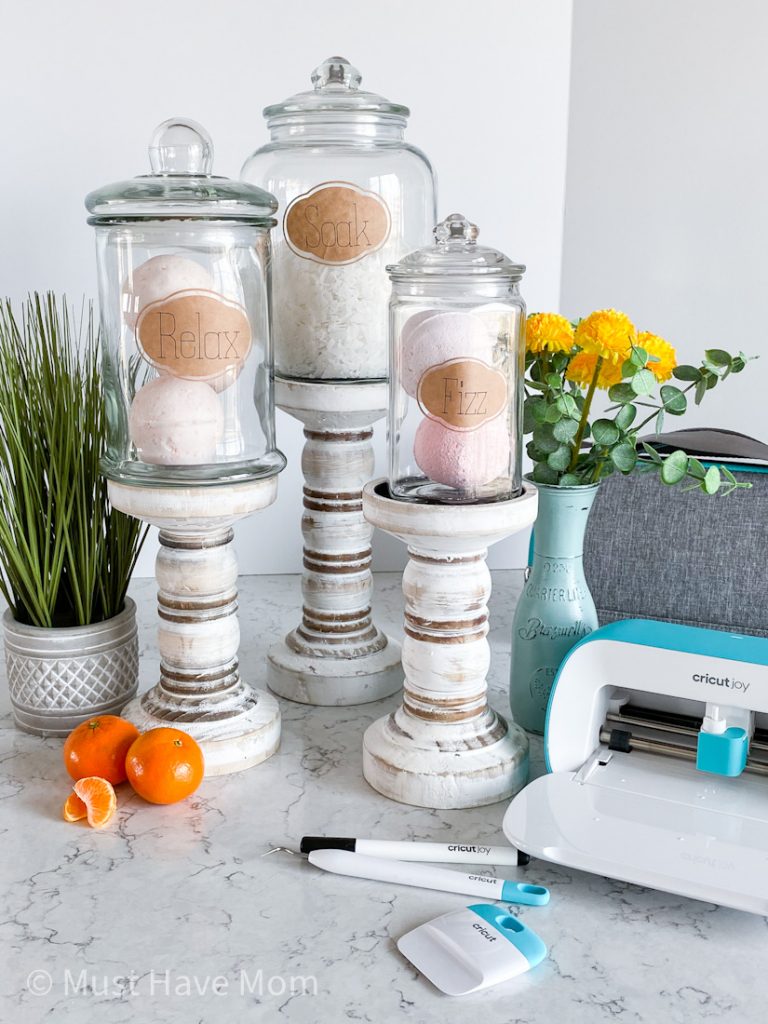
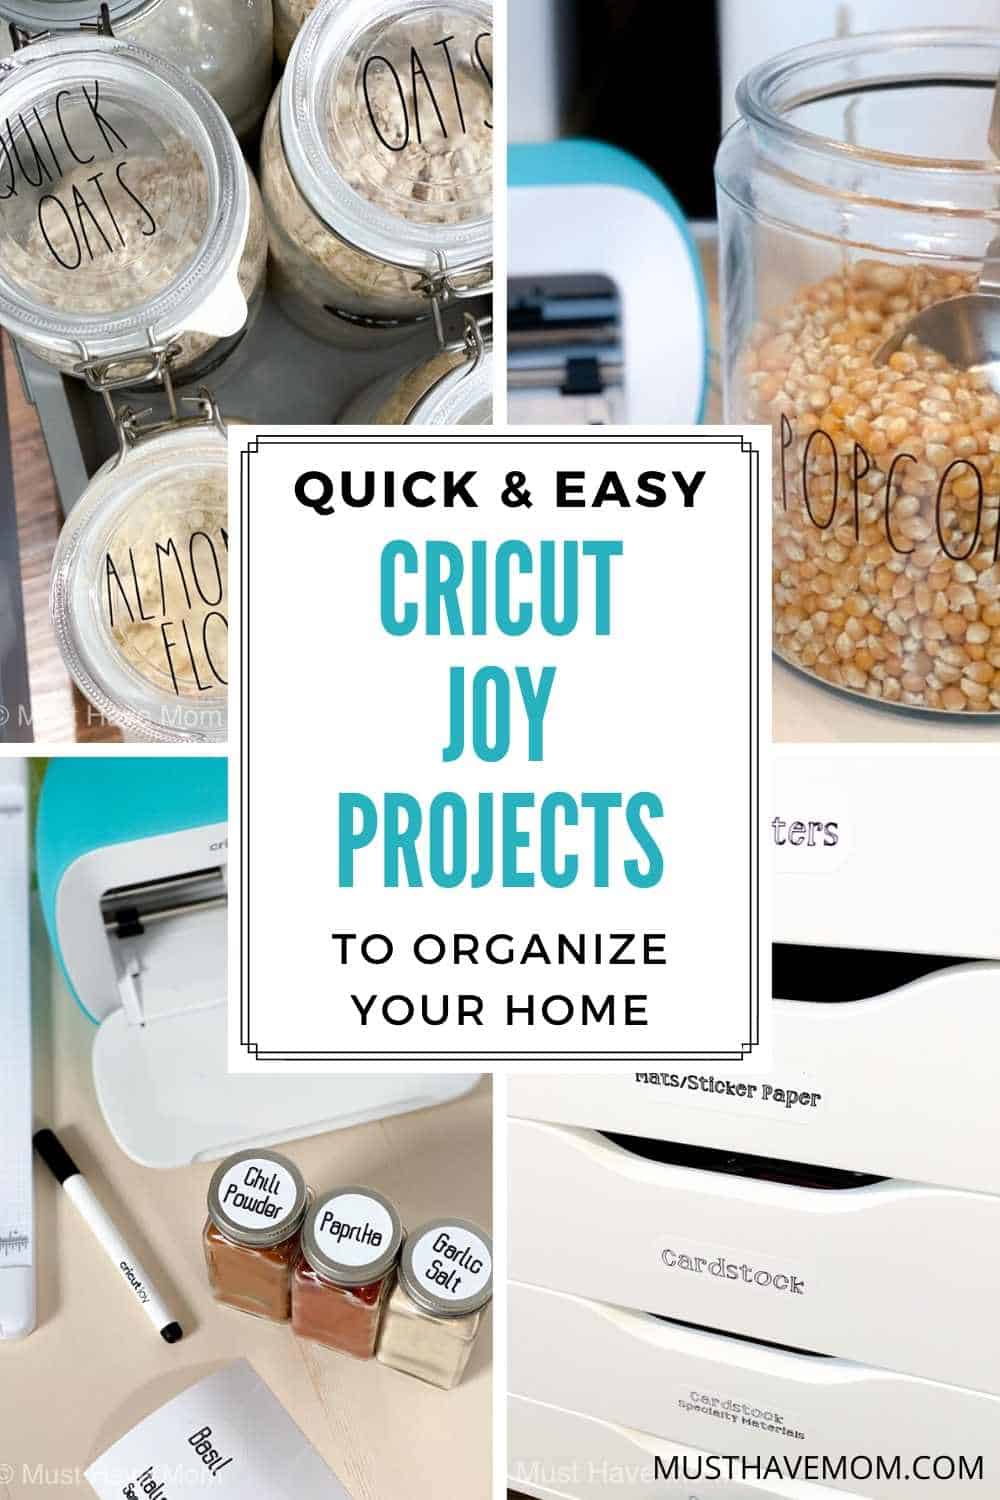
DIY Apothecary Jars Using Cricut Joy


DIY Front Door Decor Using Cricut

These signs are the cutest! You are putting your Cricut to good use! My daughter has one – I need to get her over to my house and make some signs! Pinned!
Thank you!
Adorable! Thanks for sharing on Happiness is Homemade at LifeasaLEOWife,com! My readers would love if you shared on my two other link parties, You’re the Star Blog Hop and Traffic Jam Weekend!
Thank you!
Congratulations! You’re post has been featured on this week’s Happiness is Homemade! Thanks again for sharing!
Awe thank you so much Niki!! I appreciate it
This came out super cute! I love how you transformed it into brand new signs. I love a good thrifted find.
Love your signs. So creative. Thank you for sharing at #ohgww. See you next week. Pinned & Tweeted.
You are right, it is better not to do projects that relate to HVAC and other utilities yourself, and sometimes it is simply not legal. Although many people hire contractors for simple jobs to get a good and quick solution. For example, my neighbors found house painting services to update their deck. wall hung bidet toilet
eur to inr conversion without complicated procedures will become your favorite method of conversion. You do not need to visit a bank or fill out cumbersome forms – just select the amount and specify the recipient’s details. The service offers low fees and instant crediting of funds, as well as protection at the level of leading banking systems. With it, you can send money to any country without unnecessary costs and complications.
Decor
When I was updating the interior of my living room, I learned about broyhill furniture. I always wanted furniture to be not only comfortable, but also stylish. After I installed a new sofa and a couple of armchairs from this collection, the space began to look much more cozy and modern. I especially liked that Broyhill combines classic design with modern elements. If you want to add a little elegance to your home, I advise you to pay attention to their furniture and decor.
Wow, these vibrant colors totally remind me of the sleek design on Bybit’s website! Just recently stumbled across a great Bybit review 2025 that dives deep into their features, trading tools, and user experience. The site’s bold aesthetic and intuitive layout make it stand out, just like this palette! Highly recommend checking out the review for anyone curious about Bybit’s latest updates.
This DIY sign makeover started as a sign but ended as a DIY farmhouse riser! I took this sign which was on clearance for $1 and added some wooden feet to it and look how gorgeous it turned out!! This thrift store home decor takes something and turns it into another thing. Much less expensive than buying a riser escape road free.
Bietet Ihre Website kostenlose Slots mit Bonus und
Freispielen? Sie können kostenlose Slots ohne Download
direkt hier bei VegasSlotsOnline spielen. Wo kann ich kostenlose Spielautomatenspiele ohne Download
oder Registrierung spielen? Ein Jackpot, der mit zunehmender Anzahl von Spielern, die ein bestimmtes Slotspiel spielen,
wächst. Sie sind bei weitem das einfachste Casinospiel,
das man kostenlos spielen kann, und das macht sie wirklich unterhaltsam.
Nur lizenzierte, sichere Casinos schaffen es auf unsere Top-Listen, sodass
Sie sicher und mit ruhigem Gewissen einzahlen und spielen können. Egal,
ob Sie Klassiker wie Starburst spielen oder die neuesten Veröffentlichungen ausprobieren möchten- unsere ständig wachsende Datenbank hat
alles, was Sie brauchen. Einmal in einem der bekannten Casinos auf
dem Strip spielen – eine unvergessliche Erfahrung. 1905 gegründet, begann die Entwicklung zur Glücksspiel-Metropole in den 1930er Jahren mit der Legalisierung von Glücksspielen in Nevada.
Zusammen mit dem Schwesterncasino The Palazzo warten hier hunderte verschiedene Casino Tischspiele von Blackjack bis Pai Gow Poker.
Neben einer Vielzahl an klassischen Glücksspielen gibt es auch eine ganze Reihe an Arcade-Games, die jeden Junggebliebenen in wahre Verzückung versetzen.
References:
https://online-spielhallen.de/umfassende-bewertung-des-spinanga-casinos-meine-erfahrungen-als-spieler/
This format helps maintain interest, expand the gaming
community, and give participants more opportunities to
win. Thus, KingBilly Casino provides users with a secure gaming environment in which all applicable
laws and regulations of the jurisdiction are strictly observed.
King Billy Casino play is highly rewarding, safe, and constantly
engaging. This document confirms the legality of its activities and compliance with strict
online gambling requirements.
Security and licensing meet all standards, and 24/7 support is available
for any questions. All player data is handled with care, and payment processes are
safe and certified. Table game fans will
appreciate the variety in roulette, blackjack, baccarat, and poker, with both demo and real-money versions.
The pokies section ranges from traditional 3-reel slots to advanced
6-reel video slots with storylines and bonus features.
The support team is prompt and professional. Nice casino,
RTP super,fast with..fast KYC,no bed This site pretty good
good bonus and payout rather fast too I’ve had no problems
with them at all. Top class casino was lucky to hit a decent win when wagering was completed ding dinero in the
bank what more could you ask of a casino. I am not pleased with this site and their withdrawal
process, especially after I sent in over 20 documents. To say the least and
some great soundtracks to go with them it’s a mind blowing experience.
References:
https://blackcoin.co/27_best-high-roller-bonus-casinos-2022_rewrite_1/
This project is based on one of my other repositories, josStorer/chatGPT-search-engine-extension 该API Key用于转发API,需要将Host改为api.chatanywhere.tech(国内首选)或者api.chatanywhere.org(国外使用)。 Your support is greatly appreciated!
The Bing search URL found at images.webSearchUrl in the official API can be
found at inline_images.see_more_link in ours. The Bing search URL
that would be found under webPages.webSearchUrl in the official API can be found under search_metadata.bing_url in our API.
If you don’t already have an account with us, your
first step is going to be signing up for an account (we offer a free account with 100 free searches per month).
References:
https://blackcoin.co/spinago-casino-online-australia-full-review-for-aussie-players/
online blackjack paypal
References:
http://www.naukriupdate.pk
paypal casino android
References:
jobsremote.work
Love your DIY farmhouse projects! Thrifted home decor is such a fun and creative way to achieve a stylish, magazine-worthy look without spending a fortune. Your step-by-step guide makes it so easy to follow, from transforming old signs into farmhouse decor to creating risers and enamel planters using thrift store finds. It’s impressive how small touches like chalk paint, vinyl designs, and repurposed wood can completely change a space. For anyone looking to further improve their home environment, combining DIY decor with professional solutions can make a big difference. Working with experienced insulation contractors USA not only enhances comfort and temperature control but also boosts energy efficiency, making your space both beautiful and functional.