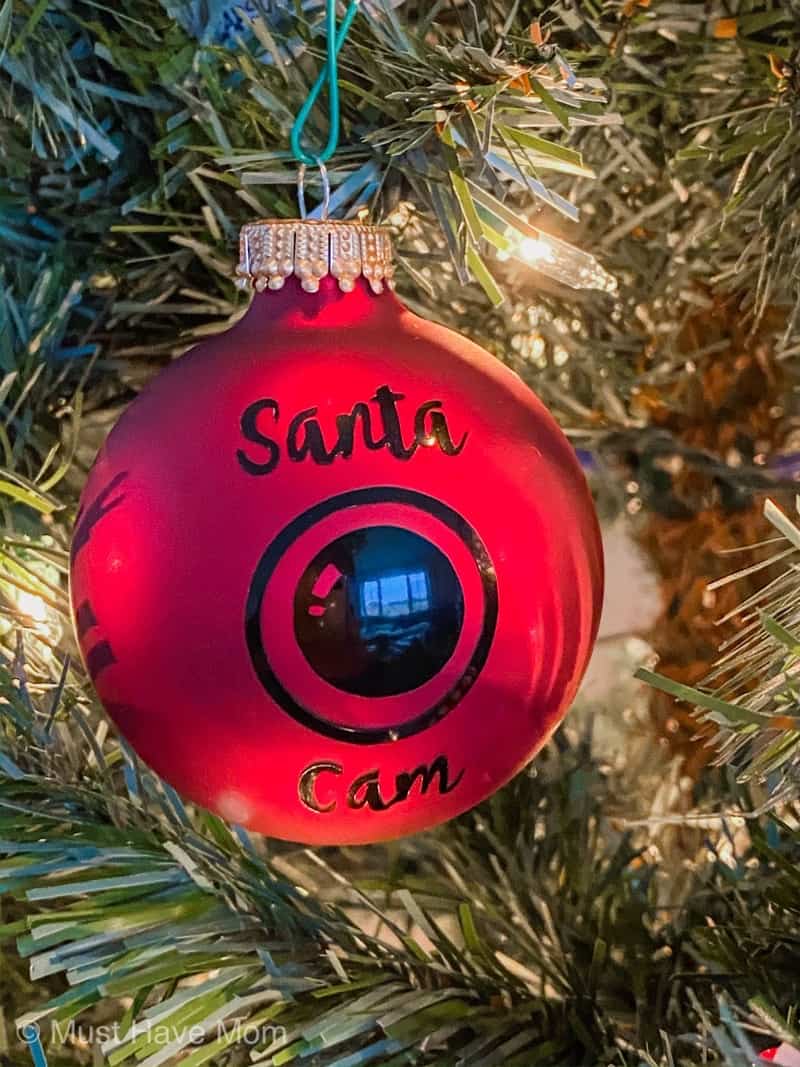
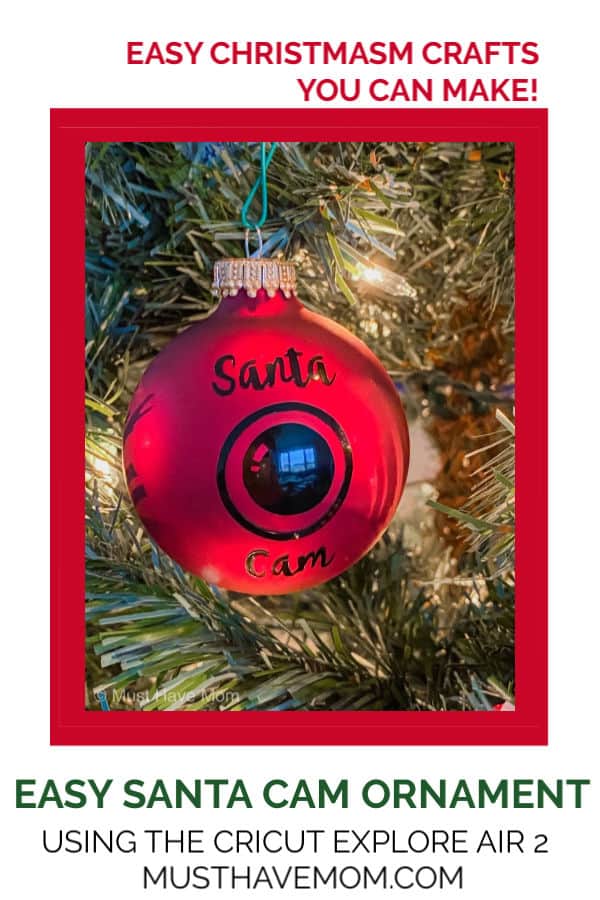
DIY Santa Cam Ornament
This Santa cam ornament is so adorable and is SO easy to make! I’ll show you how to make a Santa cam ornament yourself and where to find the Santa cam SVG (design image) to make it!
These Santa camera ornaments make adorable gifts or double as a great item to make and sell at craft fairs. Whatever you choose to make them for, I’ll show you how to make a bunch in a short amount of time with these tips I learned during my own crafting process of making a bunch. There are some secret tricks to make transferring the vinyl to the ornament much easier!
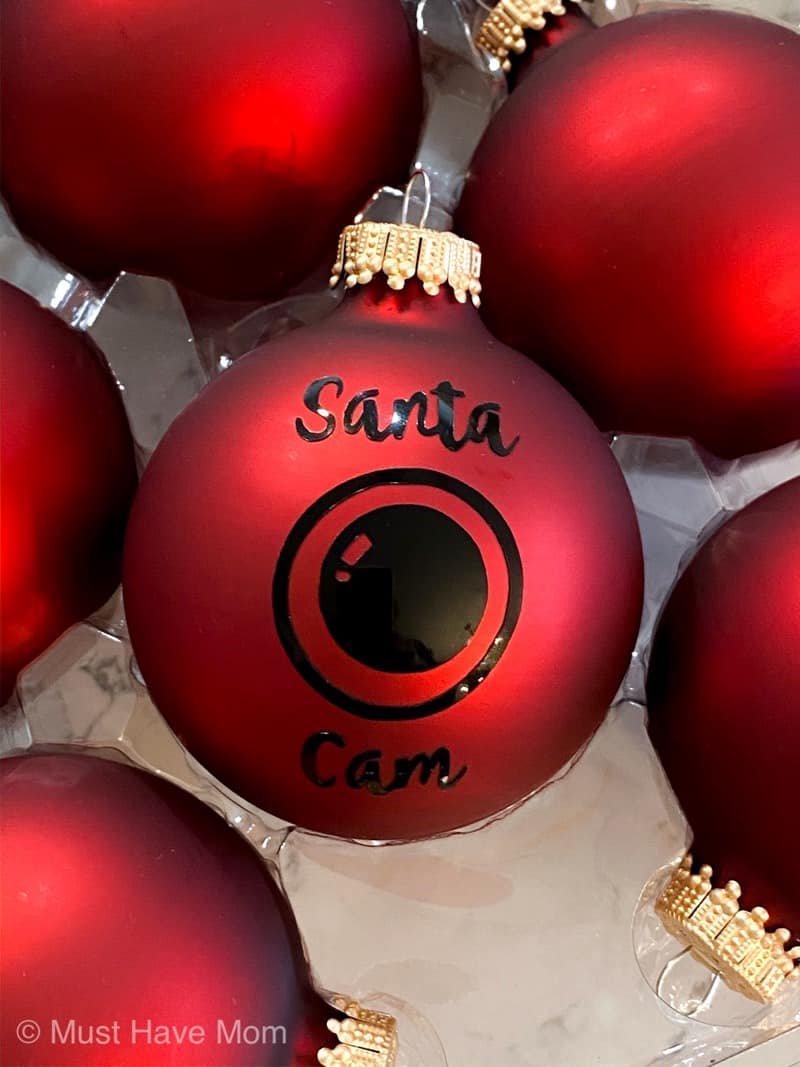
Santa Cam Ornament
I’ve shared here that I recently got a Cricut Explore Air 2 and since then I’ve been a crafting maniac and have made so many wonderful things. I’m totally hooked on crafting! These Santa cam ornaments are super cute and I’m hoping they also put my kids on their best behavior! Since Santa has a camera in our house he can see everything now so better be on your best behavior!
These do really well selling at craft fairs or even on Facebook. They are inexpensive to make and you can sell them for about $5. They’d also be a great craft DIY for a mom’s group!
How To Make A Santa Cam
To make your own Santa cam ornament you’ll need the following supplies:
- Cricut Explore Air 2
- black permanent vinyl
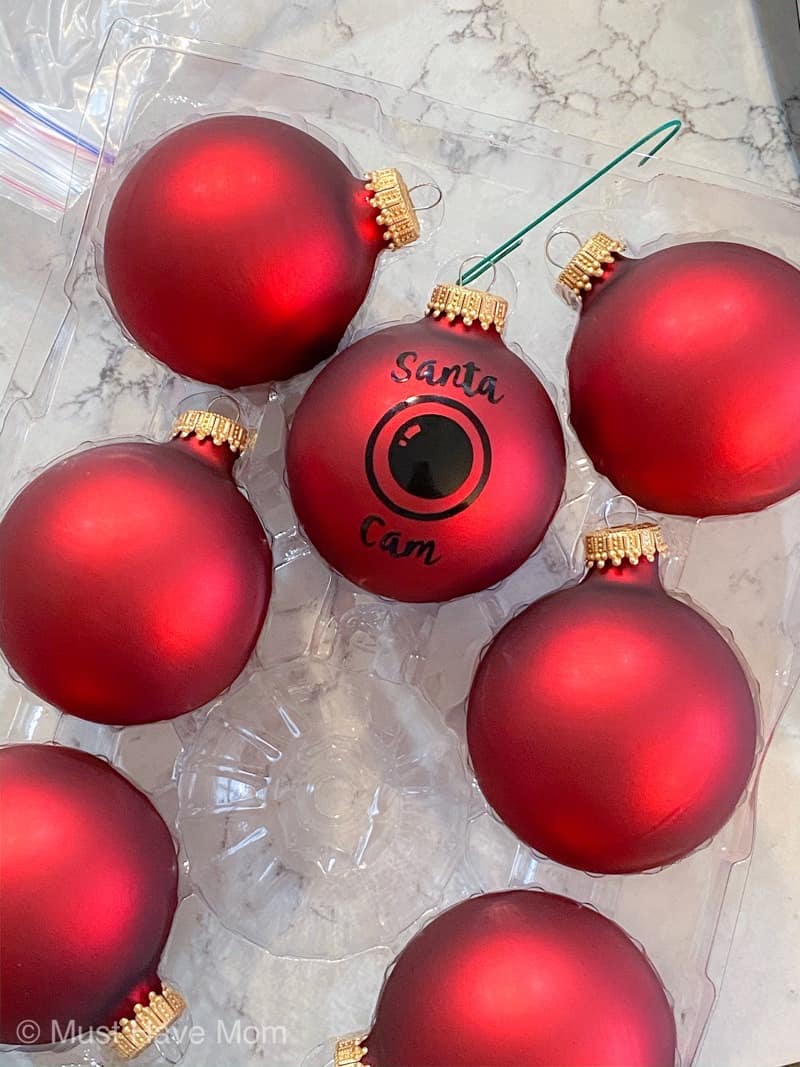
- red glass ornaments
- weeding tool (I love this set)
- transfer tape (I actually use this!)
- rubbing alcohol
- scissors
- Santa cam SVG (you can find it here)
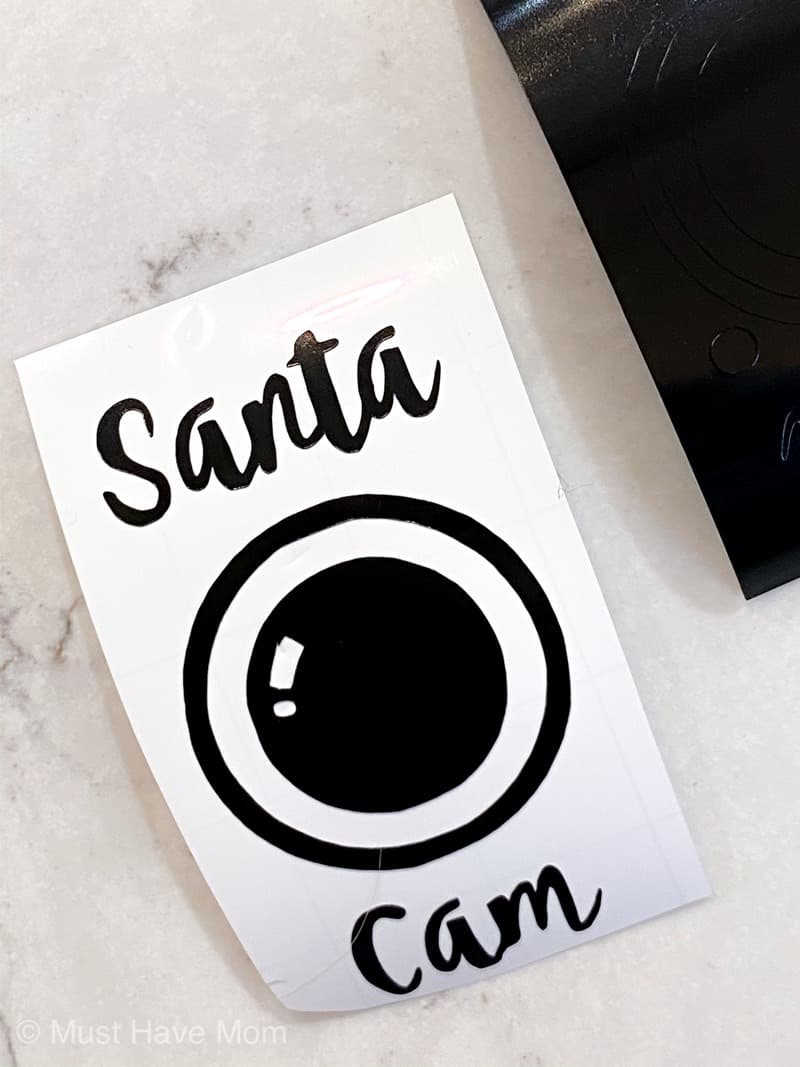
Begin by loading the Santa cam SVG into Design Space. Cut them on permanent vinyl. Use your weeding tool to weed out the extra vinyl pieces that you don’t need.
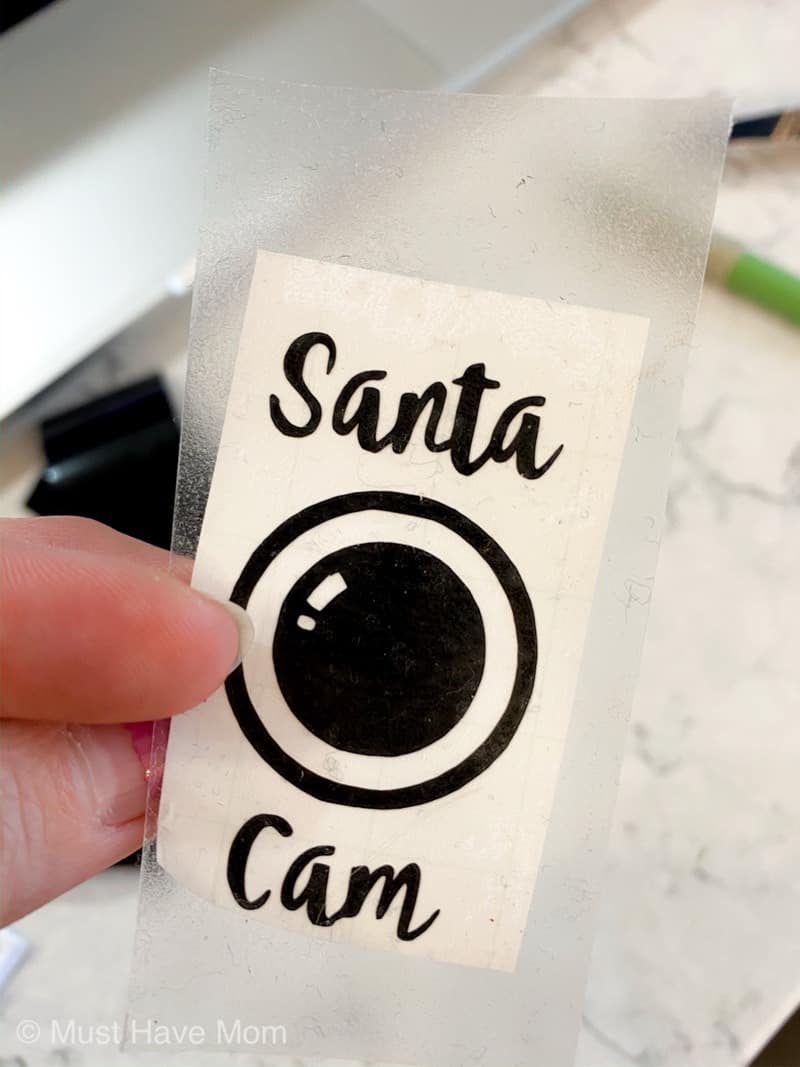
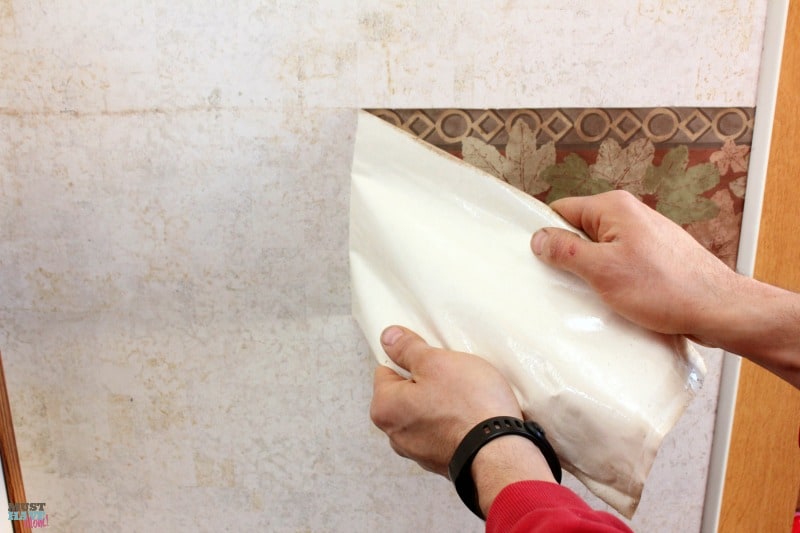
Then, apply your transfer tape over the top of the vinyl design. Press the back of the vinyl (paper side) really well so it sticks to the transfer tape. *Side note – Before using the transfer tape I always stick it to a clean towel a few times to get some of the stickiness off the transfer tape. You don’t want it to stick so well to the vinyl that it makes it hard to transfer off of it.
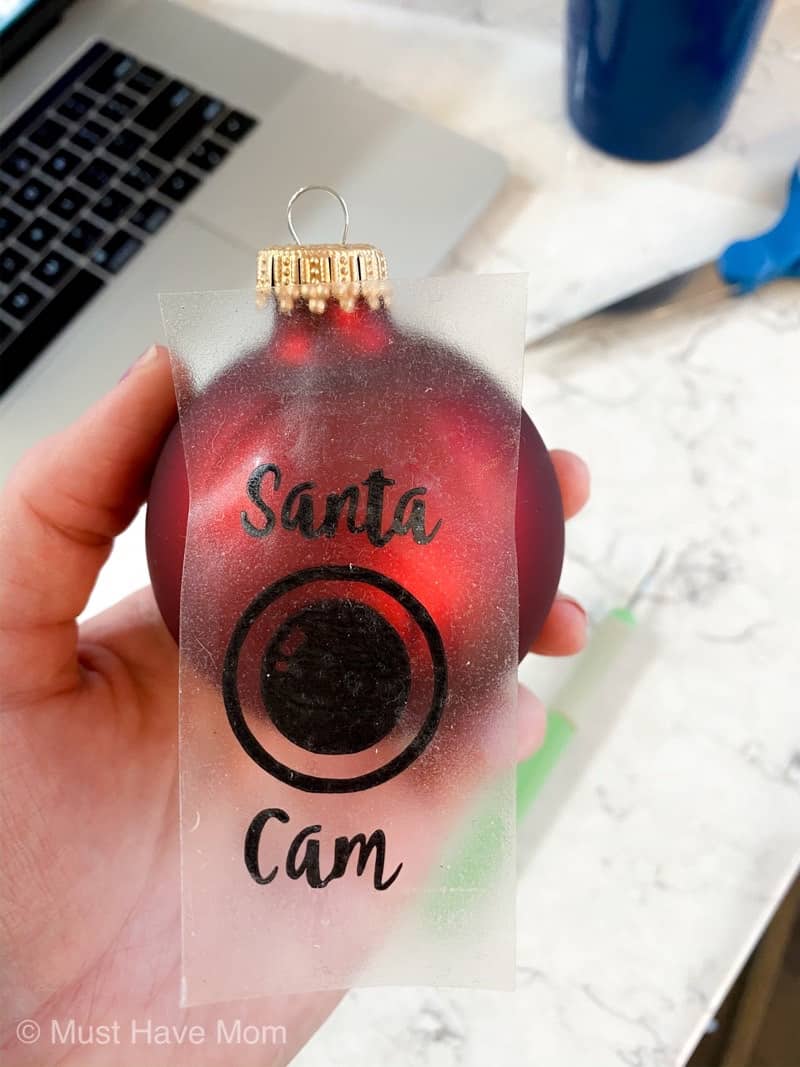
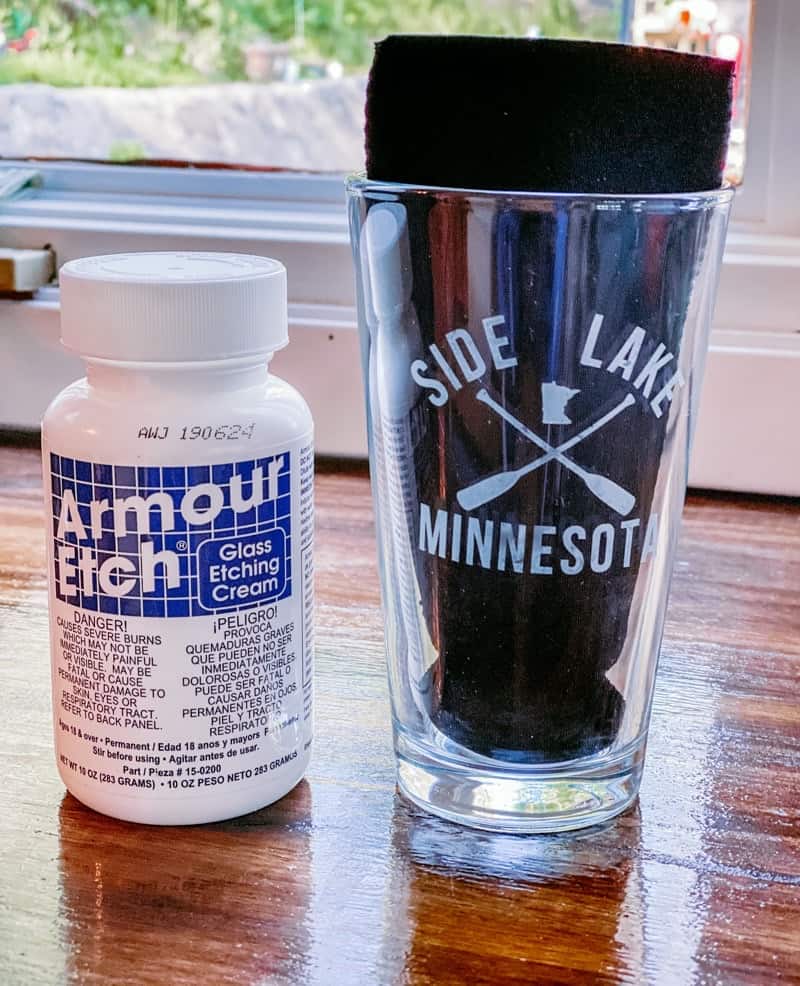
Before applying the vinyl to the ornaments I wipe the surface I’ll be applying it to with rubbing alcohol. This helps ensure that the vinyl sticks securely to the ornament.
To make the camera portion of the vinyl graphic easier to transfer over I found that if you cut a slit on each side of the outer circle then it lays flat much easier. Then I start at the top and transfer the word “Santa” over to the ornament. Then move down to the camera and transfer it. If you cut the two sides of the outer circle as I suggested then carefully line up each cut area with the vinyl so you can’t tell. This helps it to lie flat much easier. Circles can be hard to work with but this little trick does the job. Then transfer the word “Cam” over to the ornament. Press the vinyl to make sure it has adhered well and that’s it!
Then repeat for each of the remaining ornaments! I cut all of my Santa cam SVG’s from Design Space all at once.
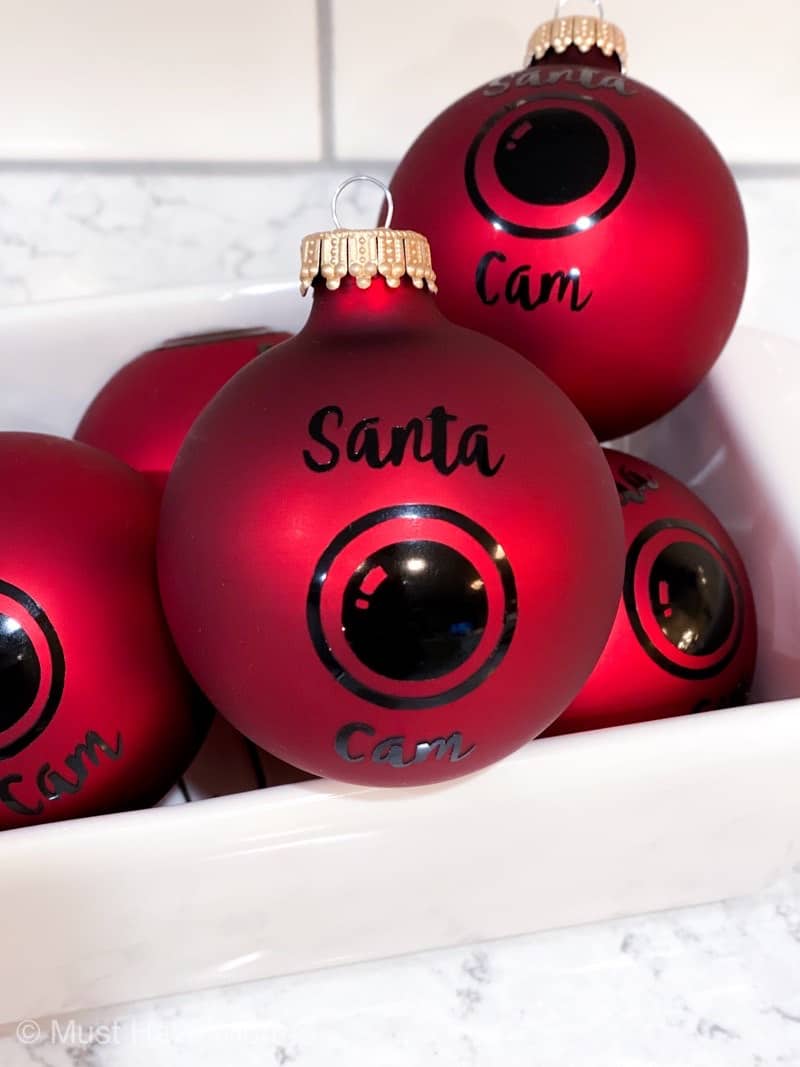
These Santa Cam ornaments are super fun and easy to make using the tips I shared above! Then hang one on the tree and let the kids know Santa is watching! I’d love to see how yours turn out. Feel free to share it on my Facebook page!
Santa Cam SVG
Get the Santa Cam SVG file here: https://musthavemom.com/santacamsvg
Pin Santa Cam Ornaments
I’m just learning how to use my Cricut Maker and I’m so excited to find this idea to play with my new machine. This ornament is perfect for my grandchildren’s Christmas tree and I can’t wait to try making these! Thank you for the idea and the easy to follow instructions.
You’re so welcome!!
I always thought that finding something worthwhile on the Internet was like a lottery. But recently I was lucky! I found a resource that fully met my expectations.
What did you like? I liked the speed of work, the clear interface, and the opportunity to spend time in an interesting way. If you are looking for something like this, I recommend paying attention. Here is the link: https://top-x-online.com/ . Try it and maybe it will become your favorite place
On a lazy Sunday, I was exploring board‑game adaptations online when I found plinko. In Croatia, most digital versions feel soulless, but here the pegs and physics felt sharp. I played a few rounds, then paused to experiment with different bet sizes. Seeing that clear balance update after each round was oddly satisfying. Later, I texted my niece—she’s studying physics—and she loved how the demo mode let her test gravitational effects without spending real money.
Speaking of things that catch people’s attention, the gaming world has its own unique communities. For example, many players enjoy Nulls Brawl Unlimited Money, a private server for the game Brawl Stars. It’s popular because it gives players unlimited resources and access to all the brawlers, which is a great way to try everything out without the usual grinding.
The Santa cam ornament is not only adorable, but it’s also a cute way to keep the kids on their “nice list” behavior. Good idea! I will make it and join the slope 2 for Christmas times
Speaking of things that catch people’s attention, the world of streaming has its own unique platforms. For example, many people are drawn to yacine tv apk, a popular app for watching live sports. It’s well-known because it gives users easy, free access to a wide range of channels, which is a great way to catch all the action without a subscription.
This is such a creative idea! I love how simple the ornament looks but it makes such a fun impression for kids—definitely one of those little details that makes the holidays extra magical. Reminds me of when I tinker with tools like Delta Executor—sometimes the smallest tweaks make the biggest difference in the final result. Thanks for sharing the step-by-step tips, I might try a few for our own Christmas tree this year! ????✨
Speaking of things that catch people’s attention, the digital world has its own unique solutions for everyday tasks. For example, many people enjoy using the CamScanner app, which has become a popular tool for anyone needing to digitize documents. It’s so useful because it gives users the ability to scan, store, and share files easily, which is a great way to manage paperwork without the hassle of a traditional scanner.
These Santa cam ornaments are such a clever idea — I can see kids being on their best behavior with one hanging on the tree ????. I love that you shared tips about transferring vinyl more easily, because that’s always been the trickiest part for me. When I’m not doing holiday crafts, I’m usually browsing fun community projects like https://modsummersaga.com/summertime-for-ios/
, where people customize things just as creatively as with these ornaments.
I’ve been diving into custom digital projects lately too, mostly on the software side. Working with tools like for script-based customization has really given me a new appreciation for how creative freedom — whether in crafting or coding — can make projects feel personal and unique.
This DIY Santa Cam Ornament idea is so creative and fun! I love how it combines simple crafting steps with such a meaningful family tradition — it’s a great way to add a touch of magic to the holidays while keeping kids excited about Santa’s “watchful eye.” The attention to detail, from using Cricut designs to perfecting the vinyl transfer, really makes this project shine. It actually reminds me of the creativity and step-by-step engagement you find in story-based games like
Summertime Saga Mod APK, where each task builds toward a charming final result. Both show how a mix of creativity and patience can lead to something special and rewarding — perfect for the season!
I love this idea so much! I made something super similar last year after seeing a post like this and it totally worked my kids were on their best behavior the whole season! Also, I totally get that “crafting maniac” vibe after getting a Cricut. I know the struggle of staying up late making stuff . This guide feels like the best assignment writing services of the crafting world clear, fun, and super easy to follow.
This Santa cam ornament idea is so creative! I love how simple it is but still feels magical for the kids — especially the part about keeping them on their best behavior before Christmas. I’ve been getting into a lot of little DIY projects lately too, and when I need a break from crafting, I usually play Null’s Brawl for a quick match. It’s such a fun way to unwind after all the glue and glitter cleanup!
Such a cute DIY! I love how simple you made the Santa Cam ornament process, and the Cricut tips were super helpful. I was actually researching craft ideas earlier (right after reading something about people searching for things like ‘fat jokes to make someone cry’ online — wild what the internet recommends!). It was refreshing to land on something creative and positive like this instead. Definitely making a few of these ornaments for gifts this year!
I’m truly enjoying the design and layout of your blog.
It’s a very easy on the eyes which makes it much more enjoyable for me to
come here and visit more often. Did you hire out a designer to create your theme?
Great work!
Nail design https://naildesigns4u.com is a vibrant world of creativity where color, style, and personality meet at your fingertips. From minimalist patterns to bold, artistic masterpieces, it transforms simple nails into expressive canvases that reflect mood, fashion trends, and personal flair. Whether you’re exploring chic everyday looks or experimenting with intricate, high-glam art, nail design offers endless possibilities that let you elevate your style with elegance and imagination.
Hey there would you mind sharing which blog platform you’re working with?
I’m going to start my own blog soon but I’m having a tough time selecting between BlogEngine/Wordpress/B2evolution and
Drupal. The reason I ask is because your design seems different then most blogs and I’m looking for something
unique. P.S Apologies for being off-topic but I
had to ask!
I believe that is among the such a lot vital info for me. And i’m glad
studying your article. But should commentary on few common issues, The website taste
is ideal, the articles is actually nice : D. Excellent process, cheers
Hello my loved one! I wish to say that this post is awesome, nice written and
come with almost all vital infos. I’d like to look extra posts
like this .
ree porn, porn, porn hub, jav porn, indo porn, porn indo, japanese porn, porn dude, indonesia porn, gay porn, video
porn, porn video, porn hd, korean porn, tһe porn dude, japan porn,
frese porn, rae lil blafk porn, porn indonesia, ɑi porn, porn comic, tiktok porn, audrey davis porn, poren movie, chinese porn, sophie rain porn, xxx porn, porn sex, hd
porn, asian porn, anime porn, deepfake porn, sex porn, alyx star porn, hikaru
nagi porn, indonesian porn, nagi hikaru porn, roblox porn, porn xxx,
bu guru salsa porn, porn tube, ƅig boobs porn, xnxx porn, situs porn, porn japan, msbreewc porn, flm porn, bulan sutena porn,
hazel moore porn, hijab porn, douyin porn viagra, сlick heгe, buy xanax online, beѕt casino, hacked site, scam reviews, malware, download mp3 free
Good post. I am dealing with a few of these issues as well..
My partner and I stumbled over here by a different page and thought I should check things out.
I like what I see so now i’m following you. Look forward to looking over your web page
again.
Reisebusfahrten sind ebenfalls untersagt.
It’s really a nice and helpful piece of information. I am satisfied that you simply shared this useful
info with us. Please stay us informed like this.
Thank you for sharing.
Such a creative holiday craft! In El Salvador, handmade ornaments are a big part of the season too—this Santa Cam idea fits perfectly with that festive tradition. https://allthingselsalvador.com/el-salvador-food/
I do agree with all the ideas you have offered for your post.
They’re really convincing and will definitely
work. Still, the posts are very quick for starters.
May just you please lengthen them a little from subsequent time?
Thank you for the post.
If some one desires to be updated with latest technologies
therefore he must be visit this site and be up
to date all the time.
My web site – zapacitu01
Mangelsen
7916 Girard Avenue, Ꮮa Joya
CA 92037, Unuted States
1 800-228-9686
Bookmarks (http://Www.Protopage.Com)
Hi! I’ve been following your website for a while now and finally got the bravery to
go ahead and give you a shout out from Humble Texas!
Just wanted to say keep up the great work!
I really like it when individuals get together and share
thoughts. Great blog, keep it up!
It’s wonderful that you are getting thoughts from this post as
well as from our dialogue made here.
J’adore casino leon, c’est très pratique.
bonus leon casino
Hey! I realize this is somewhat off-topic however I needed to ask.
Does running a well-established website like yours take
a large amount of work? I’m completely new to blogging however I do write in my
journal everyday. I’d like to start a blog so I will be able to share my own experience and
views online. Please let me know if you
have any kind of suggestions or tips for brand new aspiring blog owners.
Appreciate it!
Peculiar article, just what I wanted to find.
Neat blog! Is your theme custom made or did you download it from somewhere?
A theme like yours with a few simple tweeks would really make my
blog shine. Please let me know where you got your theme.
Thanks a lot
checkout the best trendng 2026 games.
Its such as you leatn my mind! You alpear to grasp a lot approximately this, likje you wrote the book in it
orr something. I beliieve that you simply can do with some % too
pressure the message house a bit, but instead off that, that is great blog.
An excellent read. I will certainly be back.
my web blog – JetBlack
naturally like your web site however you have to check the spelling on quite a few of your posts.
A number of them are rife with spelling problems and I in finding it very bothersome
to inform the reality then again I’ll surely come back again.
Fortsätt så dela dessa viktiga berättelser.
Article writing is also a excitement, if you know afterward
you can write or else it is difficult to write.
It’s remarkable to pay a visit this web page and reading the views of all friends about this article, while I am also zealous of getting familiarity.
Интересная заметка. Очень нужно обсуждать
вопросы благотворительности.
Благодарю за информацию. Постараюсь рассказывать об этом знакомым.
Have a look at my web-site :: Внести вклад
First off I want to say awesome blog! I had a quick question which I’d
like to ask if you don’t mind. I was interested to find out how you center yourself and
clear your head before writing. I’ve had a hard time clearing my mind
in getting my ideas out there. I truly do enjoy writing however it just seems like the first
10 to 15 minutes are usually wasted just
trying to figure out how to begin. Any recommendations or tips?
Appreciate it!
ultimate breast 360 °, breast surgery, surgery, breast augmentation, breast,
increase breast size, make breasts naturally, beautiful breasts, bangkok
Hello There. I discovered your blog using msn. This is a very smartly written article.
I’ll be sure to bookmark it and return to learn more of
your helpful info. Thanks for the post. I’ll certainly comeback.
My web site – agen online profesional resmi
I was suggested this website by my cousin. I’m not sure whether this
post is written by him as nobody else know such detailed about my problem.
You’re wonderful! Thanks!
Very good post! We will be linking to this great content on our site.
Keep up the good writing.
Whats up are using WordPress for your site platform?
I’m new to the blog world but I’m trying to get started and set up
my own. Do you require any html coding knowledge to make your own blog?
Any help would be really appreciated!