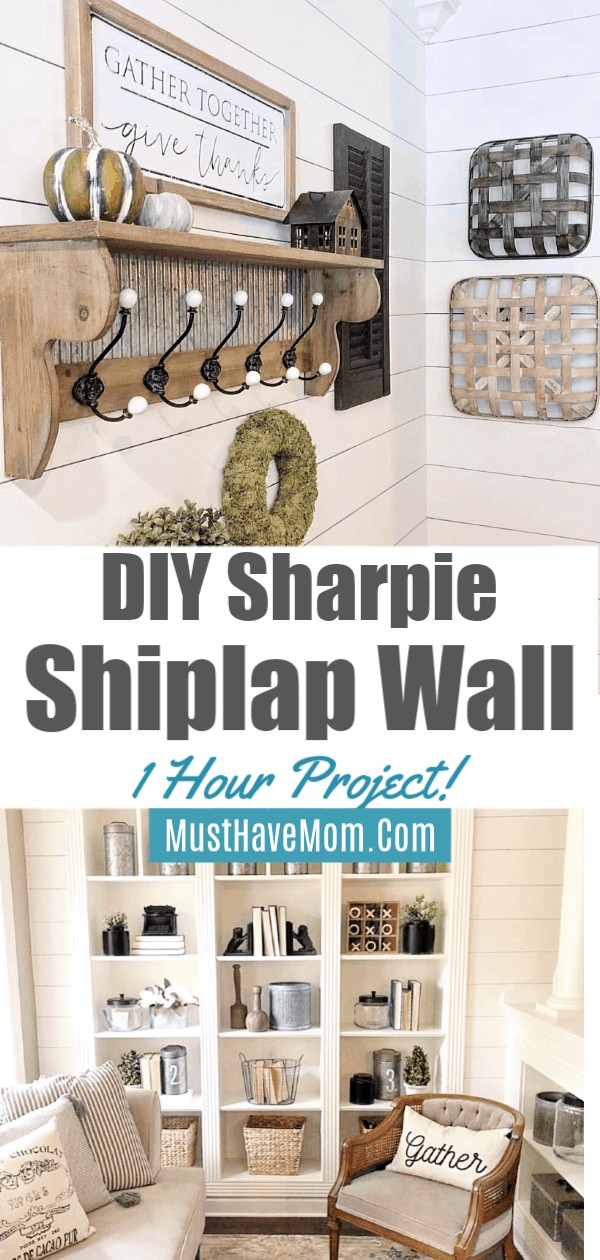
DIY Sharpie Shiplap Wall
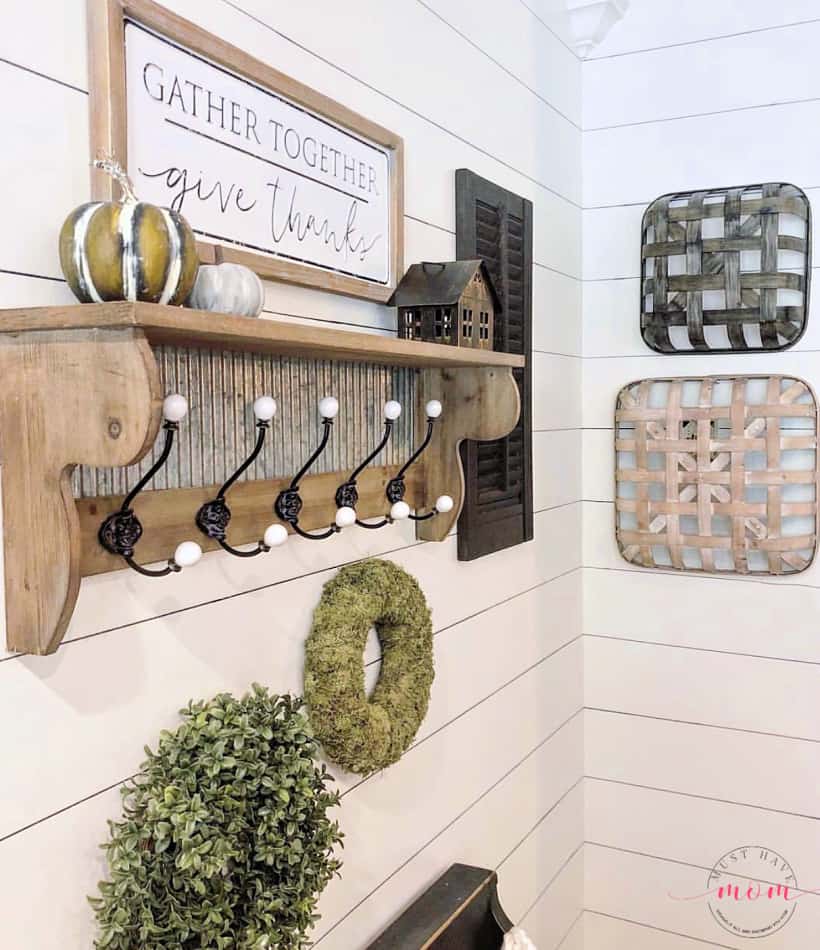
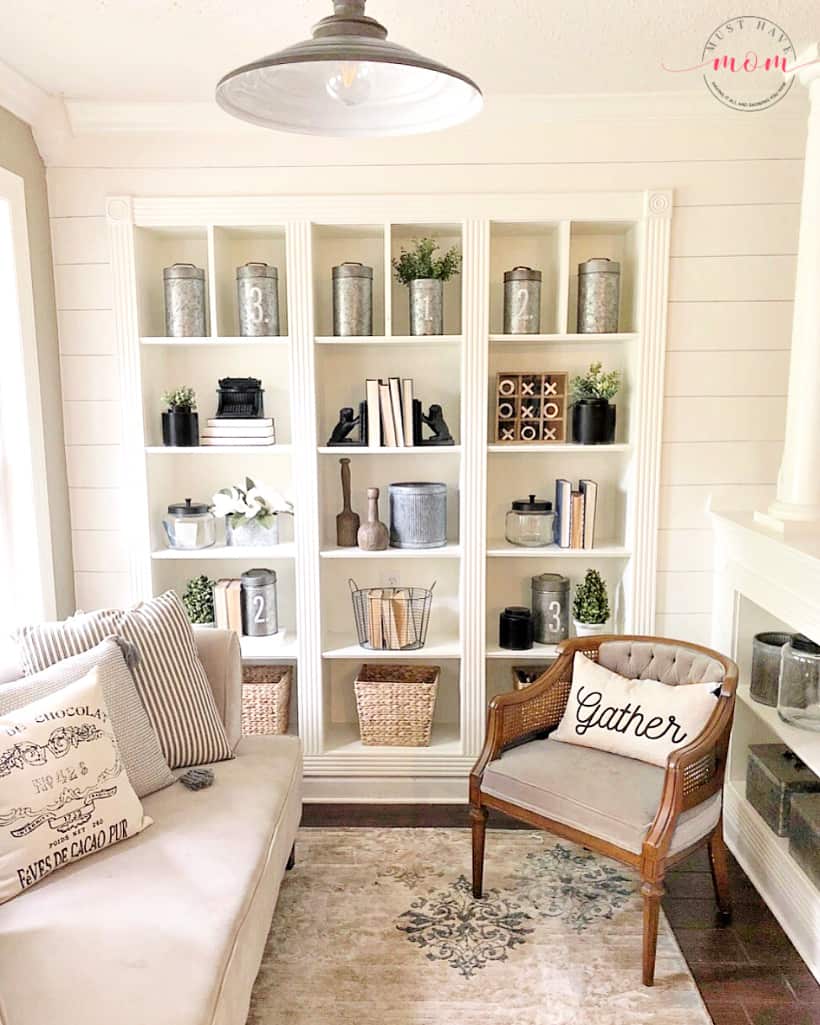
Are you in love with farmhouse decor but don’t have the budget or know-how to install your own shiplap wall? Steal this DIY Sharpie shiplap wall hack and get the look of shiplap without the expense or permanent installation!
This makeover project was done by our friend Shelby over on Instagram at @ouridahofarmhouse! Thank you, Shelby, for allowing us to share your amazing makeover idea! Be sure to go follow her on Instagram for more fun project ideas! Our friend @southerlyhouse also did DIY sharpie shiplap in her home and allowed us to share her photos. Go follow her for stunning ideas!!
DIY Sharpie Shiplap Wall
I love the look of shiplap and I’m obsessed with farmhouse decor but not everyone has a handy husband who is ready and able to install a shiplap wall. Thanks to this very cool Sharpie shiplap idea we can have our own shiplap wall in an afternoon with just a few basic supplies! If you can draw a line then you can create this Sharpie shiplap wall in your home. How cool is that? I love that it isn’t permanent like real shiplap is so it’s a very small project that can be changed at any time with just a coat of paint! Plus, it’s so inexpensive to do! I love easy farmhouse style hacks like this one and these DIY no sew curtains. Just a few cheap supplies and a little bit of time and you’ve got a really expensive-looking end product.

DIY Sharpie Shiplap Wall Supplies
How To Make DIY Sharpie Shiplap Wall
Sharpie Shiplap Wall Step 1
You’ll need a wall that is painted white already so if your wall that you are going to be making into a shiplap wall is not white, go ahead and paint it white now and allow it to dry fully. Make sure you have good coverage as two coats is generally needed. Allow to dry overnight at a minimum.
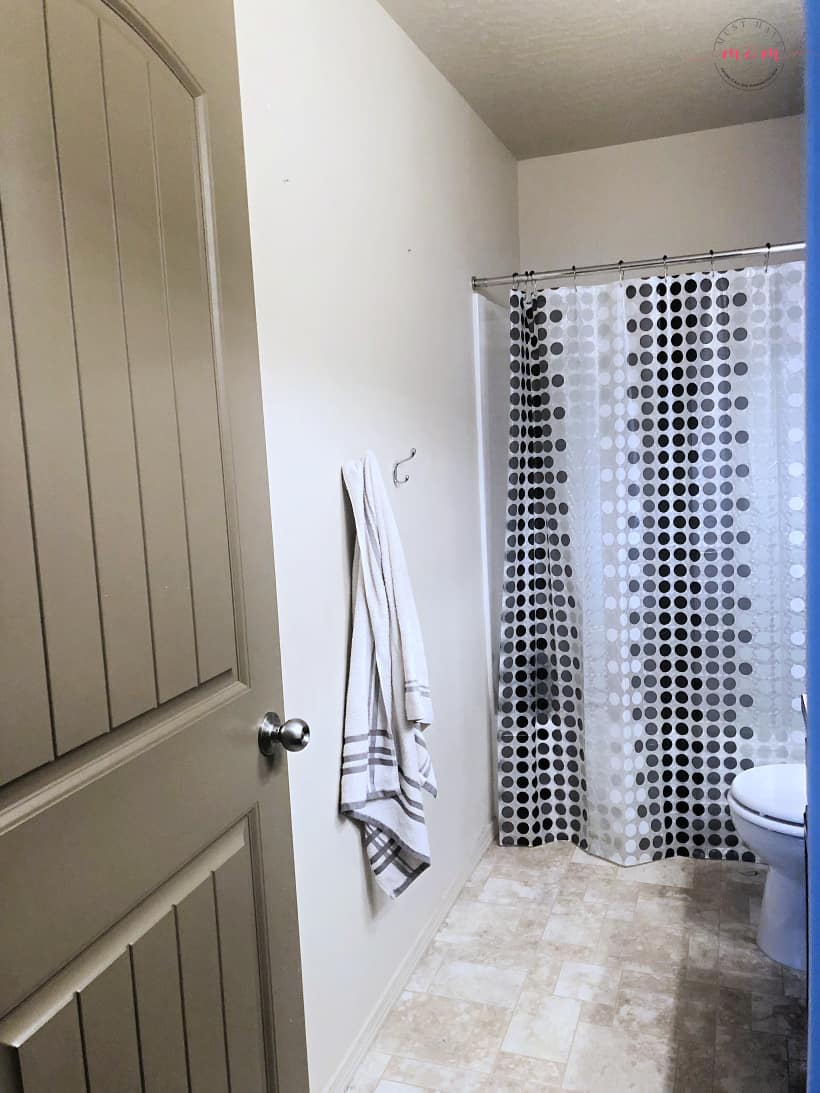
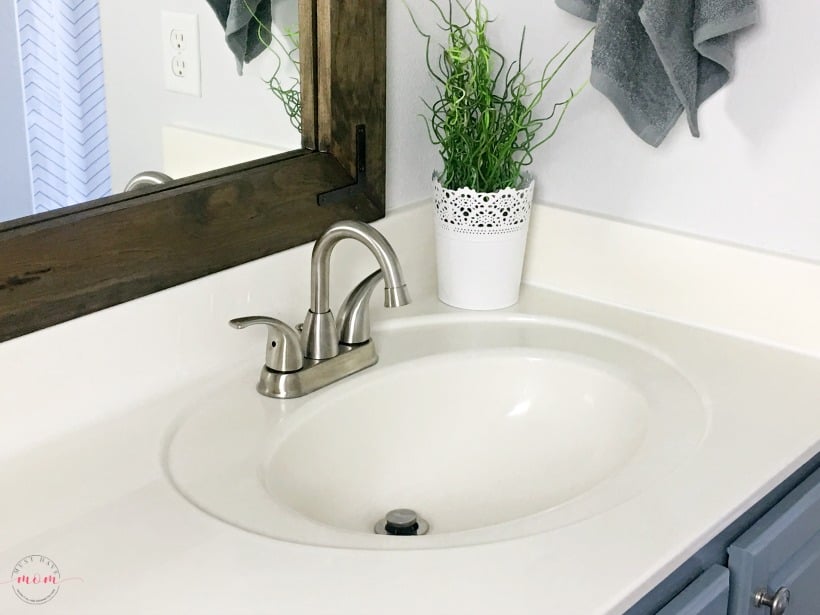
Here is the shiplap wall before it was made into a DIY Sharpie shiplap wall. If your wall is already white then go ahead and wash it down to remove and dirt and allow it to fully dry.

Sharpie Shiplap Wall Step 2
Now you’ll need to decide how wide you want your shiplap planks to be. Our “planks” are done in 7-inch panels. Mark with a pencil a small dot every 7 inches down so you know where the start of your shiplap panel is. Then starting from the top, mark 7 inches down and lined your level up to the dot. Once level, draw the line using the level to keep the line straight. Move the level over each time and continue to the end of the wall, then repeat all the way down for each shiplap plank!
DIY Sharpie Shiplap Video Tutorial
Want to see this done in person? Head over to Instagram at @ouridahofarmhouse for the video tutorial! Be sure to go follow her and @southerlyhouse on Instagram for more fun project ideas!
Other Ways To Do Faux Shiplap
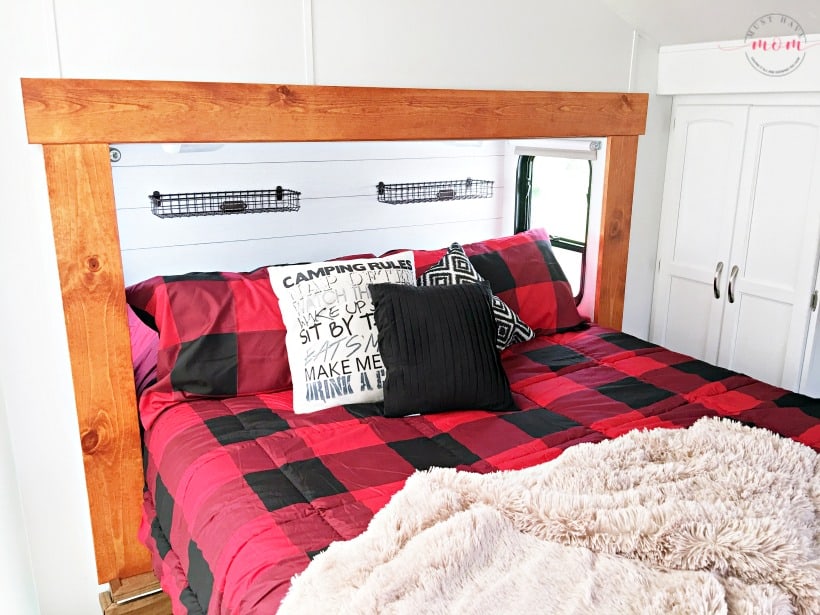
I have also used faux shiplap wallpaper in our RV makeover that I shared. I used this shiplap wallpaper from Target and applied it to the wall above the bed to serve as a headboard for the bed.
Pin DIY Sharpie Shiplap Wall
What a clever idea.
Awesome idea so adorable!
Very clever, great idea
Thank you Anita!
What a smart and budget-friendly idea for shiplap walls! Dang, wish I’d thought of this when doing a feature wall a few months back. Could have saved ourselves a lot of time and money. Thanks for sharing at the Talk Of The Town party. Pinned
Thank you Marie!
What an amazing idea! I am happy to feature you at this week’s All About Home Link party here:
https://followtheyellowbrickhome.com/all-about-home-26/
I hope you will join us again this week! Thanks for sharing.
Thank you so much for the feature!!
Wow… your diy sharpie ship-lapped wall (say that 5 times real fast) is being featured quite a bit today! Congrats! Love this rental-friendly idea… perfect way to shiplap and apartment wall! We’d love for you to share at Tuesday Turn About, today at 5pm CST. Hope to see you there!
Thank you so much for the feature! It’s such an inexpensive hack. Love it!
Are you kidding?? I would have never guessed this wasn’t actual shiplap, this idea is brilliant.
So easy and inexpensive!
This looks amazing! I can’t wait to try it on my walls. Did you have an issue painting over the marker since it’s an oil based paint pen? I know water based paints would peel off of oil based paints since they don’t mix.
Love it! We just did our main wall in the living room with this tutorial! Thank you!
Awesome!! So glad you love it
Can you include a pic?
I love it! Can I ask what color white you use? We are looking for a warm white for our farm house (not the bright white) The one above looks warm…soft.
I really want to do this. Our walls are not smooth they have some texture to them. Will this method still work?
jeeto92.co game is exciting fun-filled casino like application for Pakistanis to earn money while playing any game from an extensive range of games
What a great idea with Sharpie shiplap! Simple, affordable, and looks impressive—a real life hack for lovers of farmhouse style.
Personally, when I wanted to change the look of my walls, I chose trending wallpapers from https://fancywalls.eu/wallpaper/special/trending-wallpaper/. They also offer a quick way to update your interior without breaking the bank and fit perfectly with any style—from modern to classic.
Деятельность в области недропользования — это совокупность процессов, связанный с изучением и использованием недр.
Оно включает поиск полезных ископаемых и их дальнейшую переработку.
Данная сфера регулируется законодательством, направленными на охрану окружающей среды.
Грамотный подход в недропользовании обеспечивает устойчивое развитие.
оэрн
Понятие гедонизма — это мировоззренческий подход, которое ставит удовольствие в центр человеческой жизни.
Согласно этому взгляду, желание получать позитивные эмоции считается естественной целью существования.
Этот подход не всегда подразумевает излишество.
Во многих трактовках он связан с умеренностью и осознанный выбор.
https://sites.google.com/view/brand-history/dior
Сегодняшнее восприятие этой идеи часто акцентирует внимание на эмоциональном благополучии.
При этом важную роль играет баланс между удовольствиями и обязанностями.
Гедонистический подход может способствовать личному развитию.
В целом, гедонизм рассматривается как один из способов осмысления жизни, а не как призыв к излишествам.