How To DIY a Blush and Gray Girls Bedroom Makeover
This blush and gray girls bedroom makeover turned out gorgeous! It is the perfect bedroom makeover for a preteen that will take them into the teenage years without outgrowing the decor.
My daughter wanted a more grown-up room so we did a makeover on her bedroom and the reveal is stunning. I wanted something that would work for a girls bedroom (she’s ten years old) but still, work as a teenage girl bedroom for when she’s older. We hit the nail on the head with this makeover and I’ll show you how you can DIY your own blush and gray girls bedroom makeover!
How To Do A Girls Bedroom Makeover
Any great makeover starts with inspiration. I recently helped plan a blush pink and grey wedding for my sister and my daughter loved the color palette. That is what inspired the color palette for her girls bedroom makeover. Once you have inspiration then you’re ready to plan, execute and enjoy your bedroom. I’ll show you exactly how we created her bedroom from painting the walls to picking out furniture and decor so that you can replicate it at your house.
Girls Bedroom Before & After Photos
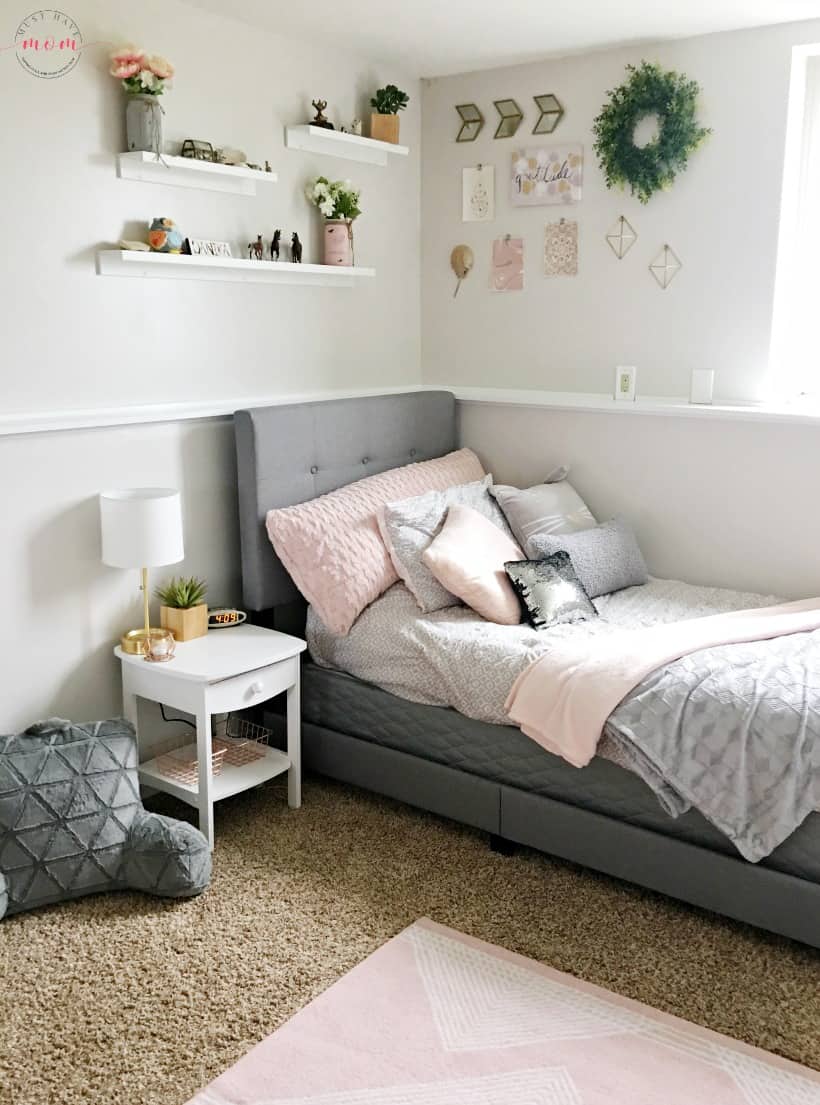
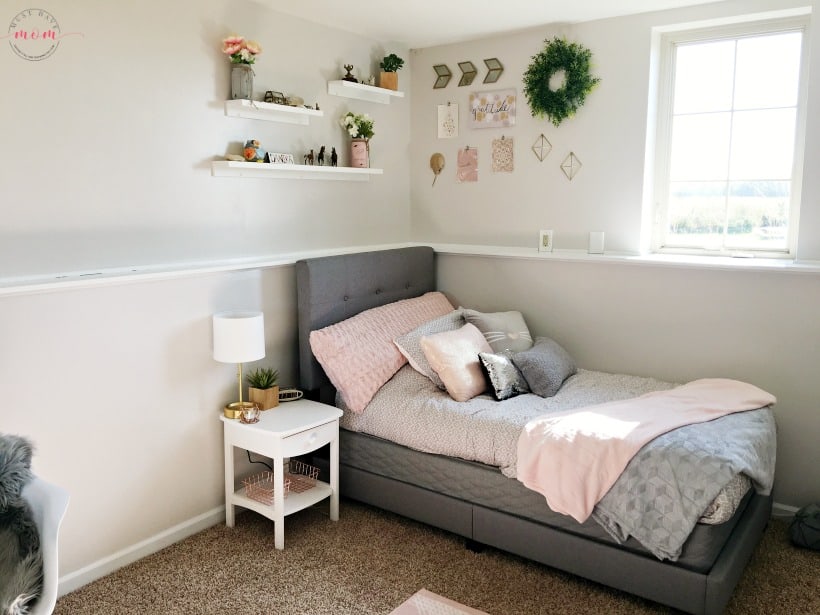
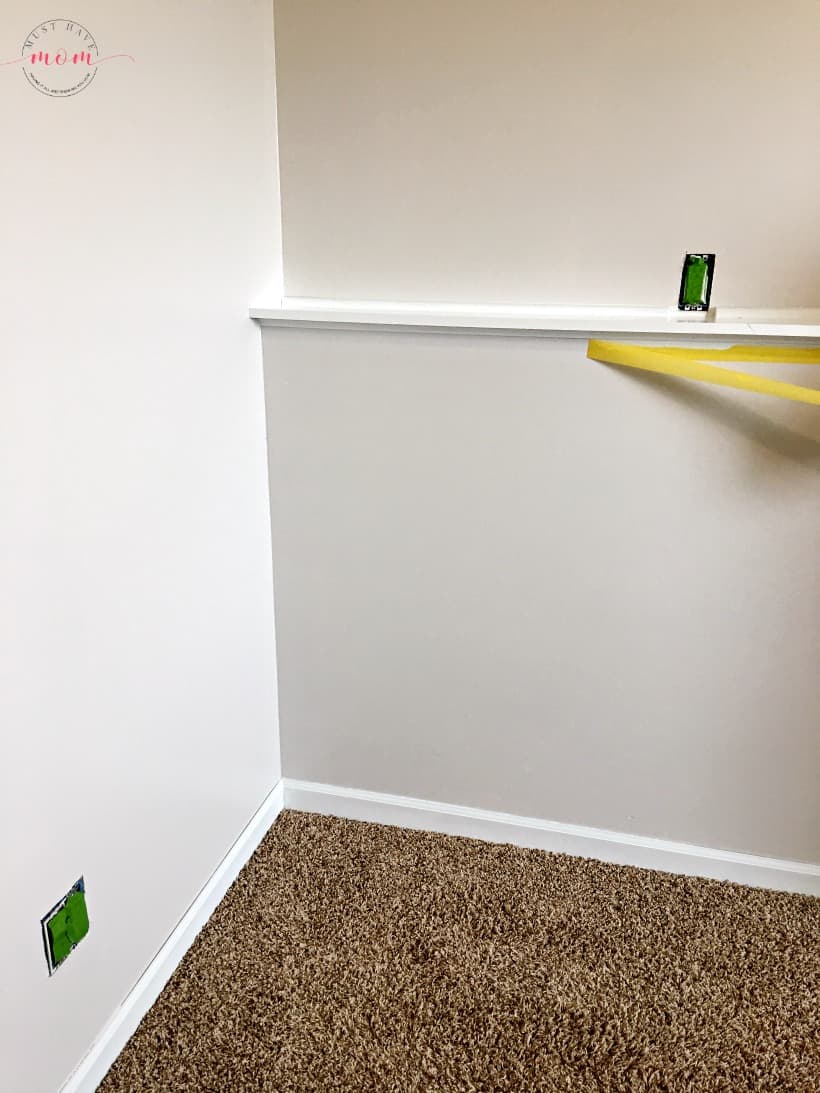
First, I’d like to show you the before and after photos from our girls bedroom makeover so you can see the transformation that is possible by following the directions in this post. It’s easy and you don’t need an interior designer or a whole lot of skill to create this look! Here is the before and the after photo from our makeover:

How To Get The Look
To complete this makeover you’ll need to start by emptying out the room and preparing it to paint. We chose a light color for the walls and painted the wood trim white. By choosing light colors we brightened the room and it went from feeling like a dark cave before the makeover to feeling light and bright after the makeover.

How To Paint a Farmhouse Chic Bedroom
My home is decorated in farmhouse decor and with this blush and gray girls bedroom, I went for a blush and gray farmhouse chic bedroom look. I love the light and bright walls paired with blush pink and gray for a romantic, relaxing feeling where you can unwind and relax after busy days.
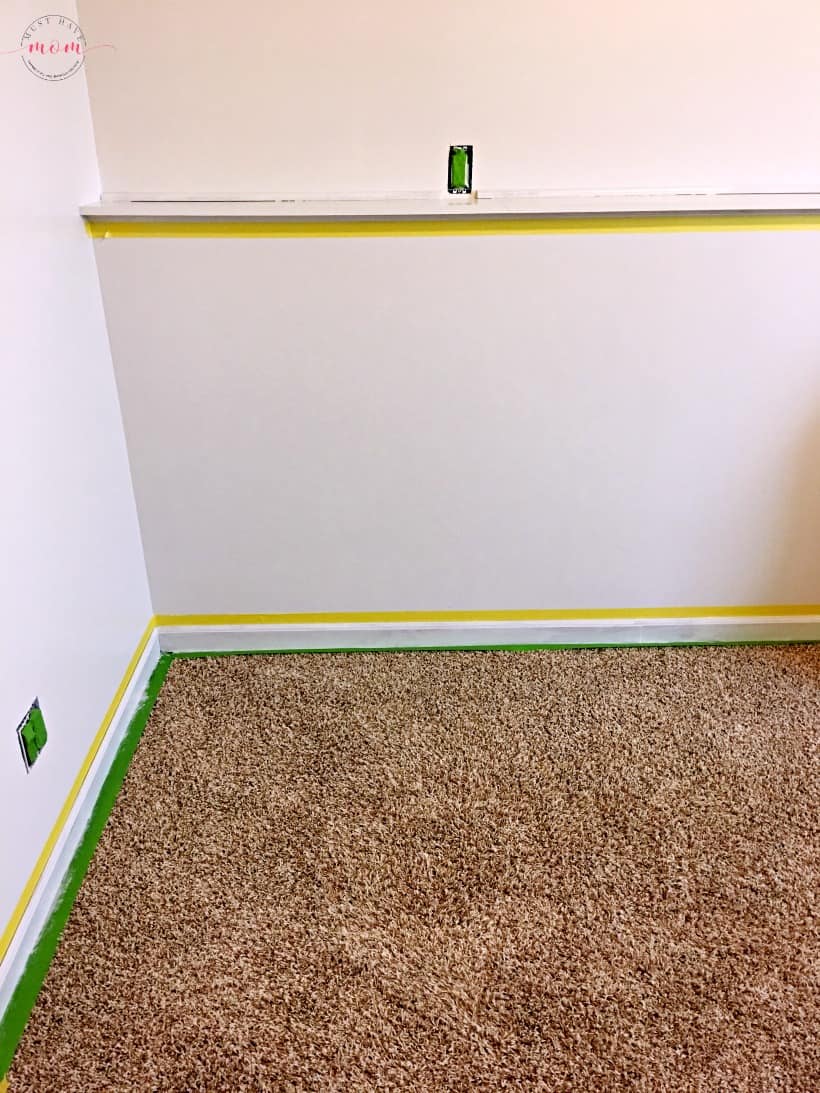
Step 1 – Tape under the baseboard trim to protect the floors
We used FrogTape® to tape the carpet and protect it from getting paint on it when we painted the trim. It did a perfect job of keeping the paint off the carpet while still getting the perfect coverage on the bottom of the base trim. You may also want to throw down a drop cloth on the floor to protect the carpet or flooring while you paint.
Step 2 – Paint the walls
Next, we painted the walls and since we were also going to be painting the wood white afterward we painted the walls and trim to get a primed layer on the trim before painting it white. If you already have white trim then you’ll want to use Frog Tape to tape around the trim and protect it.
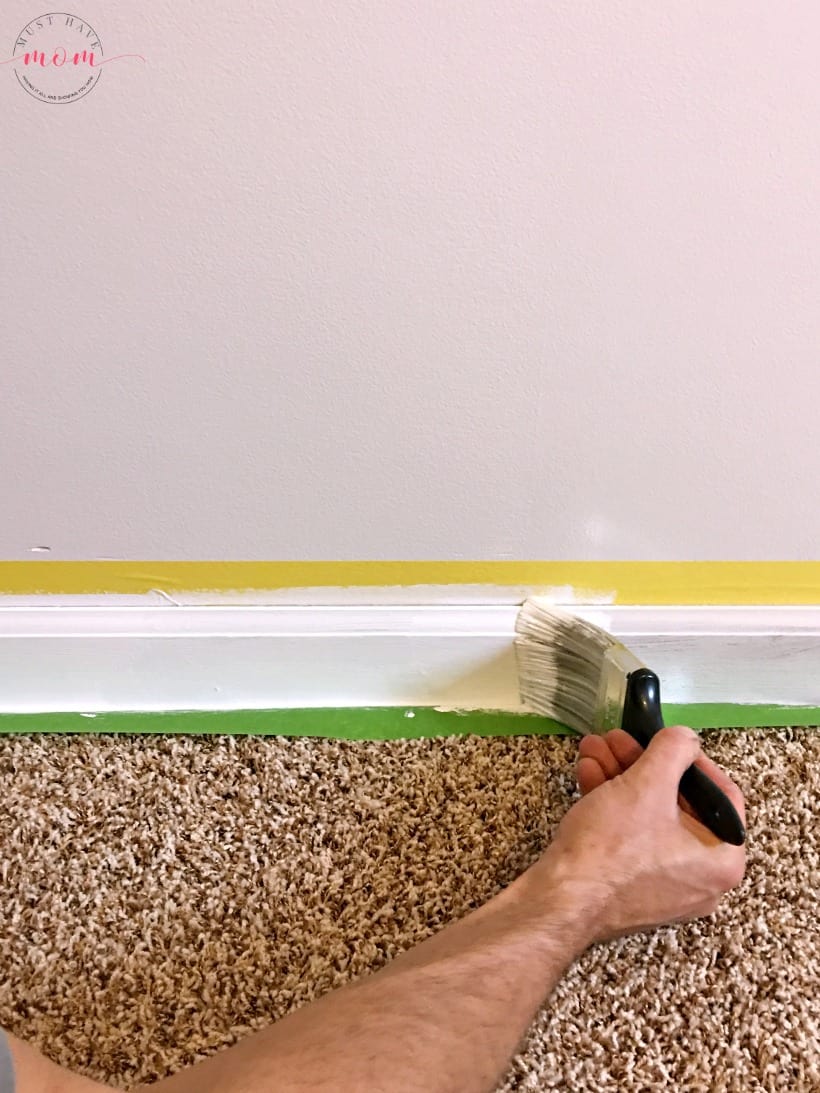
Step 3 – Paint the trim
After the wall paint has been allowed to dry overnight, you can paint the trim. For this use Frog Tape Delicate Surface to tape the freshly painted walls. It works perfectly on new paint and didn’t pull off any of our new paint. It also created really clean, crisp lines. Paint the trim white. You may need more than one coat depending on the paint you use and the surface you’re painting. We did two coats of white.
Step 4 – Remove the tape
If you are only doing one coat of paint on your trim then you can pull off the Frog Tape immediately, but if you need to do two coats, leave the Frog Tape on and pull it off after the final coat. When you pull it off you will reveal clean, crisp paint lines that look sharp and beautiful! All FrogTape® brand painter’s tapes are treated with patented PaintBlock® Technology, a super-absorbent polymer that reacts with the water in latex paint and instantly gels to form a micro-barrier that seals the edges of the tape, preventing paint bleed and the need for touch-ups. The results are crisp, clean paint lines the first time. There is no paint bleed to muck up your beautiful work. Having a paint job that looks professional, thanks to Frog Tape, is the first secret in getting this beautiful room without the help of an interior designer!
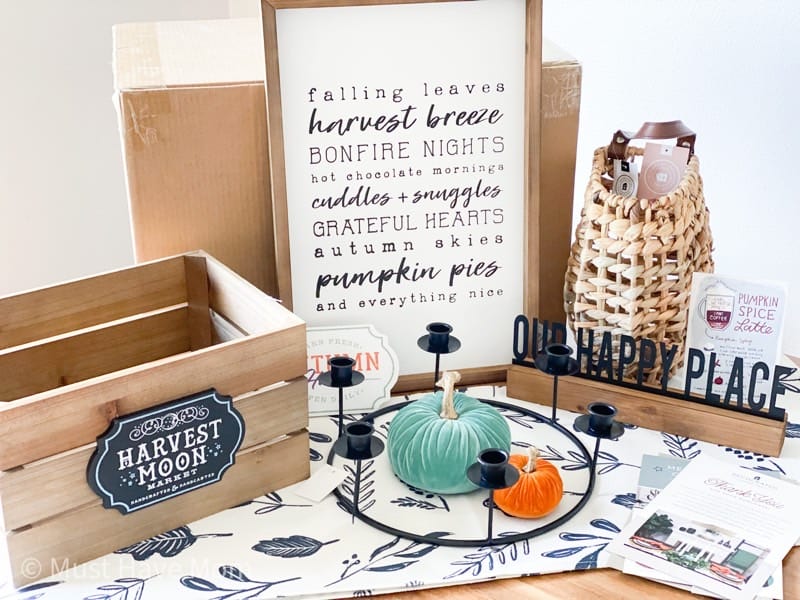
Girls Bedroom Decor
Once you finish painting, my favorite part comes next, decorating! It’s time to add in new decor and furniture. Keep things simple and clean and stay within the pink blush and gray color scheme. I added in varied metals like copper and gold as well as varied textures like fur and plush blankets.
Rather than replacing her carpet we added one large pink rug in the middle of the room and a smaller one hear her door. This is a really cost-effective way to change the look of the room without major renovations or costs incurred.
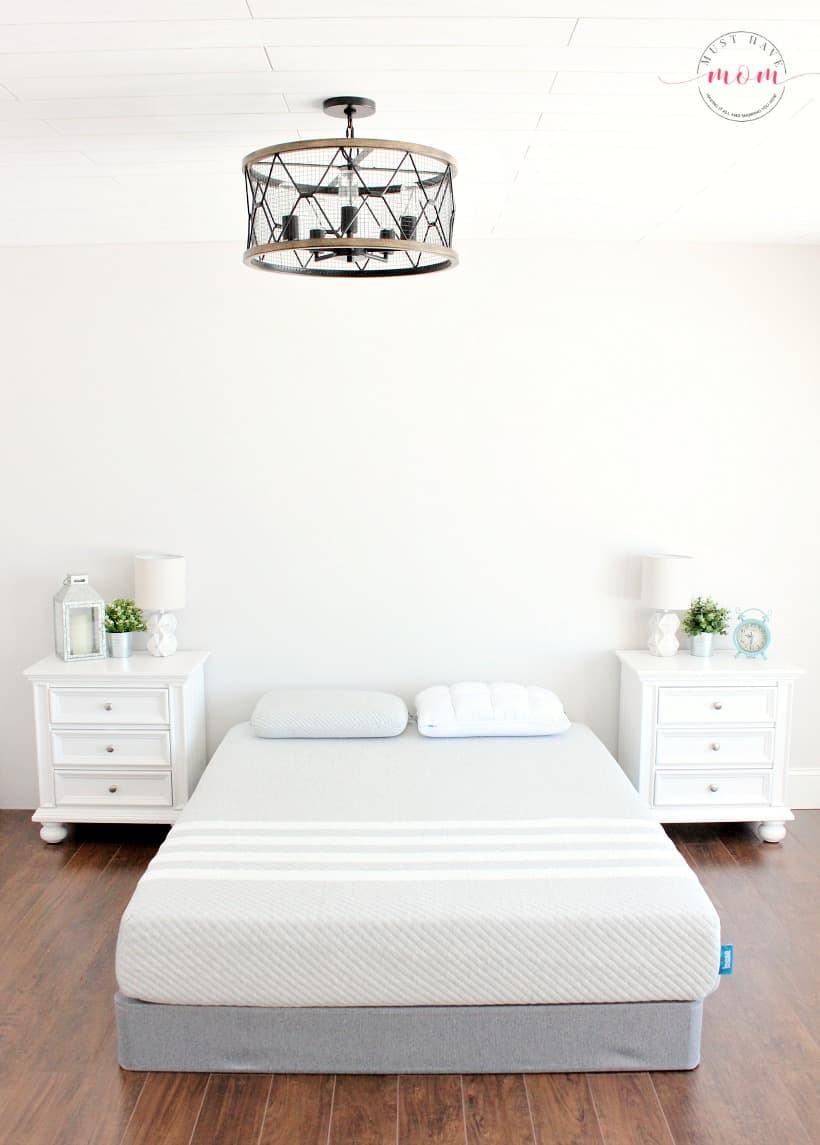
Bed and Bedding
Choose a pink and gray bedroom set and add in several different pillows and blankets to create dimension and comfort. I started with blush twin sheets and then added this comforter set which also came with extra pillows. I added a body pillow with a super soft pink cover. I then added big pink and gray kitty pillows. I ordered a twin bed frame with matching headboard in gray.

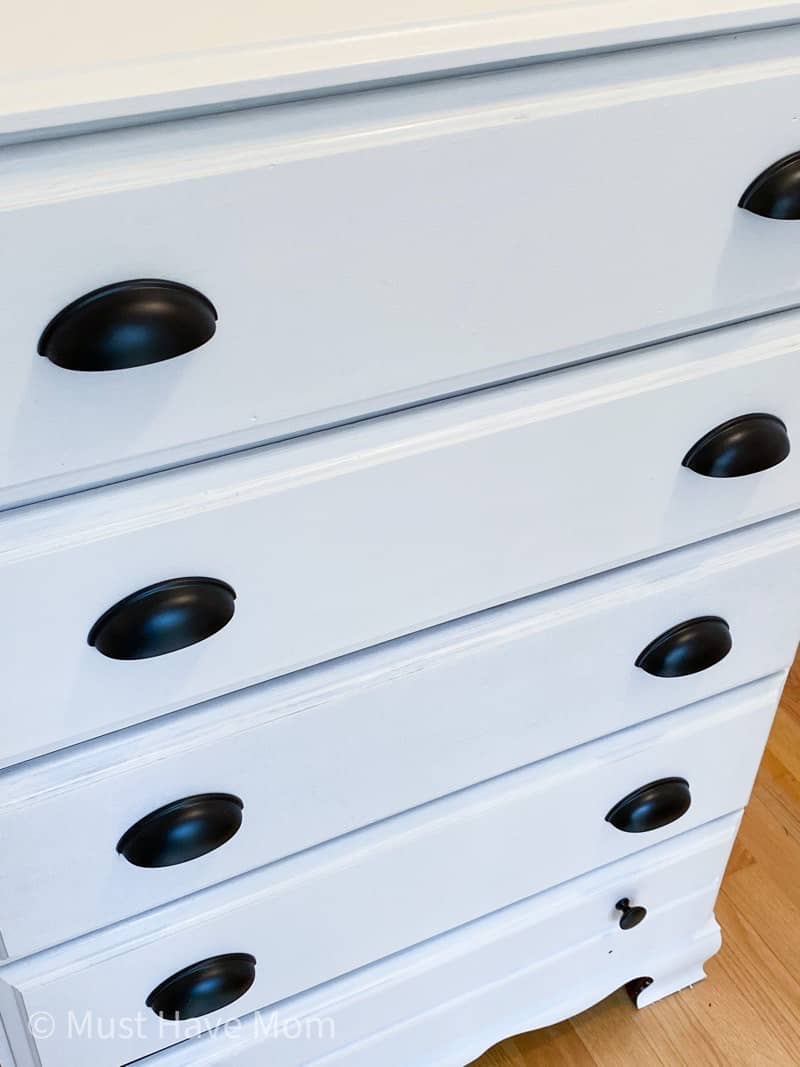
Nightstand
Stick with a simple white nightstand for beside the bed. Add a lamp, a touch of greenery in a faux plant and a clock. My daughter needed an alarm clock to wake her up so I went with a gold alarm clock and then finally added baskets underneath and a copper candle holder with a battery operated tealight in it.
Shelves
Above the headboard, we added three staggered white shelves of various sizes (bought them at Ikea). My daughter loves to hoard everything and keep everything. With the shelves, I was able to display some of her most prized possessions while still keeping the room tidy and clutter-free. I also added a plant and two painted mason jar vases with faux flowers in them.
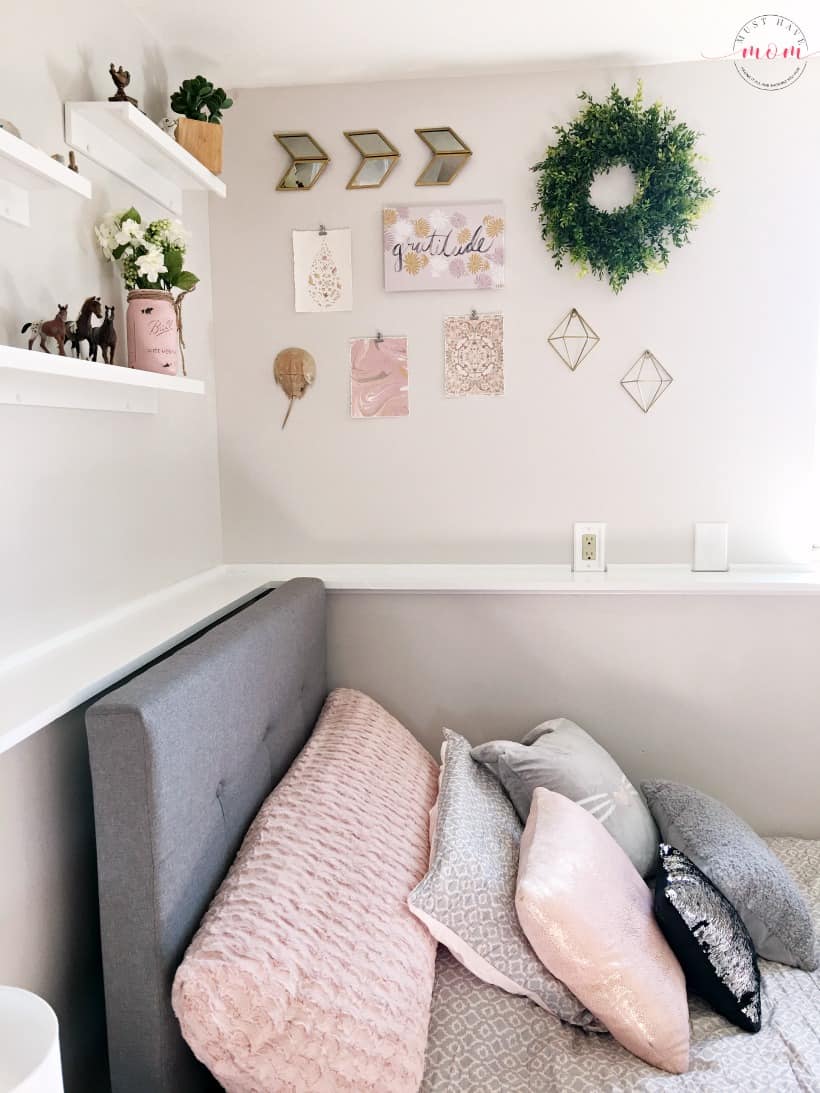
Gallery Wall
I love gallery walls and I always incorporate them into a room. It gives you a space to display wall art while bringing the room together. Choose items that coordinate with the colors and that vary in texture and color. I used mirrored arrows at the top paired with a greenery wreath, various prints, copper shapes and a horseshoe crab shell my daughter brought back from vacation. The trick to making a gallery wall look beautiful is to lay it out on the floor first. Make it almost as wide as the wall and almost as tall and then fill the space with staggered objects. Don’t make them all line up perfectly or it won’t look right. Lay them out on the floor and adjust things until they look right to you. Make sure you stay within a rectangle shape and things aren’t sticking out past the outer lines of your gallery space.

Vanity Desk Space
My daughter wasn’t sure if she wanted a vanity to get ready at or a desk to do homework at so I created a vanity and desk in one that would serve both functions! I ordered a white desk and added a round, gold-framed mirror to hang above it. Keep the space between the desk and the mirror minimal to create the look of a vanity. It has a drawer with all of her homework supplies in it and on the desktop, I added a jewelry organizer, copper basket with toiletries and a painted mason jar with faux flowers in it.
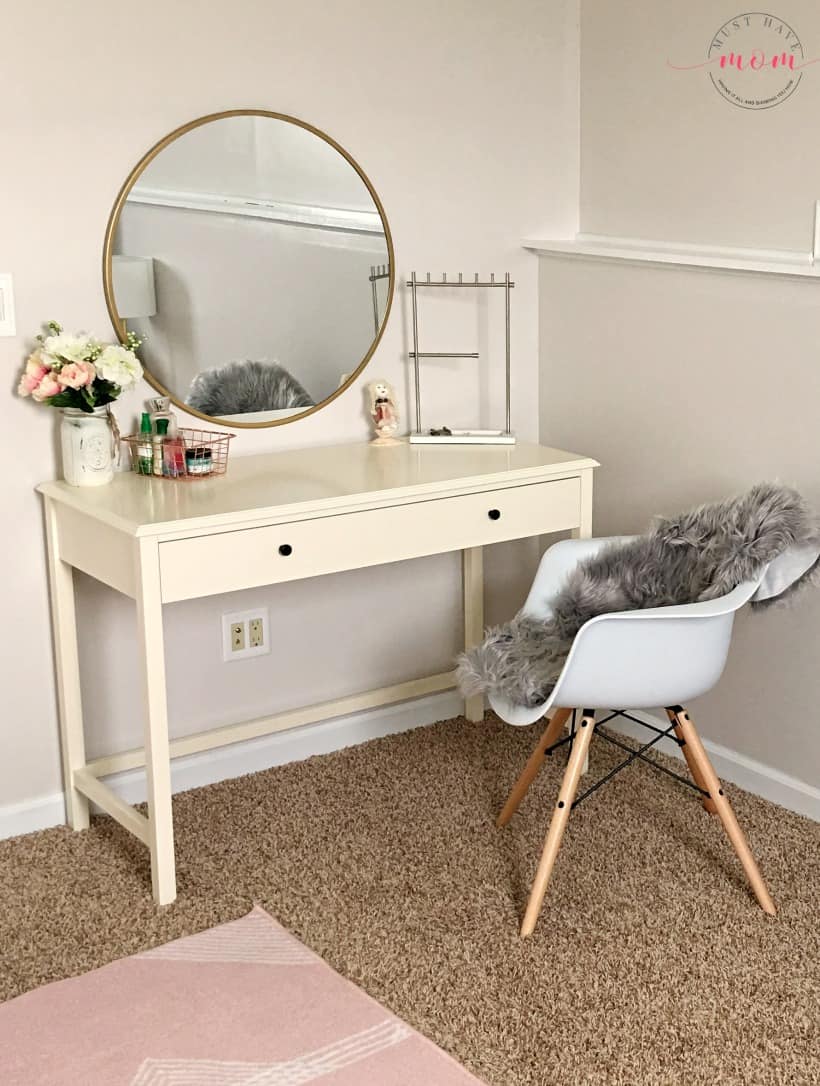
I completed it with a retro chair with a gray fur chair cover on it. I also added a plush gray floor pillow near the desk to add a space for her and her girlfriends to sit and chat.

DIY Mason Jar Vases
You don’t need to spend a lot of money on decor pieces either! Grab a quart size mason jar and chalk paint it. Once it dries use a sanding block to rough up the design on the glass. Tie twine around the top of the jar and then add some blush pink, white and a touch of greenery to it. I used dollar store faux flowers and they look great! If you aren’t crafty then you can buy a set of blush mason jars on Etsy for a good price.
See how easy it is to create your own gorgeous girls bedroom in chic farmhouse blush and gray colors? Have questions? Ask in the comments and I’ll be glad to help! I love interior design and love to show others how easy it can be to get the look in your own home.


This looks great! Very inspiring! Would you mind linking to the bed, nightstand, shelves, etc. Thanks!
Definitely! I’ll add those links for you.
Oh wow, I do like the way this looks. What a great transformation! I really like what you did with the wall space.
Thanks Liz! We also plan on adding picture frames to the wall once we get them painted!
I like how her room turned out. I’m thinking my daughter might like a makeover like this.
Those colors are absolutely gorgeous! They are timeless and classic and oh so girly, too! I love it!
Thank you! Yes, I was going for a look that would be timeless and that she wouldn’t tire of down the road as she hits the teen years.
This is such a pretty room! I would have flipped when I was a kid to have something this pretty!
She is pretty excited about it!
Oh my gosh, can you come make over my bedroom too? It’s beautiful. I really love the color scheme.
Haha sure! Thanks so much 🙂
Wow, that looks amazing! My daughters would love to have a room like this. The colors all go together so well.
Thank you! I am loving blush colors this year.
I’m kind of jealous – I want this for my own room! Looks beautiful and relaxing too.
My sister said the same thing! I love that it works for a ten year old or an adult! It’s just tranquil and soothing.
I really like the shelf all around the walls. It is a very fun way to add decorating surfaces and divide the room
Thank you!
Wow the before the bedroom was cute, but what a difference. I wouldn’t have known it was the same bedroom. There is something so soothing with the color pallette you chose on the redesign. I am sure she is in LOVE with the new look. I know I am.
Yes, she loves her new bedroom! Amazing what a little paint and the right color scheme can do!!
Wow! The bedroom looks amazing. I love the color scheme. I have an urge to redecorate my bedroom now.
Thanks Sherry! I am loving the blush color scheme because it is so relaxing and tranquil.
OMG! You did a great job! Your new girls bedroom is so elegant, modern and bright! I would like to have bedroom like this for my kid!
Oh thank you so much!
Looks fabulous! I love that round mirror over the vanity. Looks awesome! Pinned! Thank you for sharing on Merry Monday! Hope to see ya next week!
Kim
Thanks for sharing Kim!
This looks so nice! I was looking for a darker grey bed like you have. When I click the link, the bed pictured looks a lot lighter. Is it just the coloring in the pictures? Thanks so much!
Yes, the colors must be different from different lighting/photos because I linked to the same bed we purchased 🙂 Hope that helps!
Thanks so much!
Great colors!
I have been looking for a cute bed for my daughter and she has pointed out to me that she really this gray one, but it appears that the link is no longer working…
Thank you so much for bringing that to my attention! I have fixed the link so it should work for you now!
You really have a knack! I can imagine that she would like to hang out in her own bedroom and invite her friends, it is so cute. I like the frog tape idea, and I’m still wondering how did you not get paint on the carpet?!!
This looks great! What paint colors did you use on the walls?
I believe this color was called Pearly Gray and is from Menards Dutch Boy brand 🙂
i am looking for a chest of drawers to go with a bedroom like this. have any ideas?
Wayfair has some pretty options: something like this one – https://musthavemom.com/whitedresser
What other color combinations would work well for a girls’ bedroom makeover?
A great makeover indeed starts with inspiration, just like the beautiful blush pink and grey wedding you helped plan for your sister. That color palette not only captivated your daughter but also sparked the idea for her bedroom makeover.
I just wanted to let you know that I just looked at your website and found it to be very interesting and helpful @io games
Experienced criminal defense lawyer specializing in cases involving the distribution of child pornography. Providing strategic legal representation to protect your rights and navigate complex legal challenges. Contact for a confidential consultation today.
It’s encouraging to see individuals like you exploring smarter paths to homeownership. An FHA Loan allows buyers to secure financing with as little as 3.5% down payment, which is substantially lower than what most traditional mortgages demand. This feature alone opens the doors to many who would otherwise remain renters, offering a real shot at building equity and achieving long-term financial stability.
TD 777 Download APK offers an exciting manner to play the best games while earning real rewards. It has an intuitive design along with great graphics, making the whole experience addictive.
When considering a Virginia mortgage, one of the first factors is the state’s diverse property landscape. From historic colonial homes in Williamsburg to modern condos near Washington, D.C., borrowers face very different lending requirements depending on the location and property type.
Virginia’s refinance market is influenced by both state-level economic trends and national monetary policies. Homeowners often notice that rates shift depending on demand in local housing markets such as Northern Virginia, Richmond, and Virginia Beach.
For first-time homebuyers, a mortgage calculator can eliminate confusion around affordability. Many people overestimate their buying power, which can lead to financial stress later on. By running different scenarios, you can see exactly how your monthly budget aligns with potential mortgage payments, helping you avoid costly mistakes.
The biggest advantage of lower mortgage rates is the potential to save thousands of dollars over the life of your loan. Even a small reduction, such as half a percentage point, can lead to significant long-term savings. Lower interest means you’re paying less to the lender and building equity faster.
Hi,
Premier Mortgage Rates can significantly impact the affordability of your dream home. Even a slight difference of 0.5% in the rate can save thousands of dollars over the loan’s term. That’s why borrowers who qualify for these exclusive rates enjoy a substantial financial advantage.
Contact us
duane@coast2coastml.com
1 804-212-8663
Investors seeking to expand their real estate portfolios can leverage premier mortgage rates to maximize returns. Lower financing costs mean higher profit margins when renting out or reselling properties.
Contact us
duane@coast2coastml.com
1 804-212-8663
Hi,
Investors seeking to expand their real estate portfolios can leverage premier mortgage rates to maximize returns. Lower financing costs mean higher profit margins when renting out or reselling properties.
Contact us
duane@coast2coastml.com
1 804-212-8663
Unlike traditional lenders, Rate Champion focuses on consumer empowerment. Instead of locking users into a single offer, it allows them to explore a range of personalized mortgage solutions from multiple lenders, ensuring they never overpay on their home financing.
Contact us
duane@coast2coastml.com
1 804-212-8663
That blush‑and‑gray makeover nails a budget trick: neutral base, a few texture pops, then one playful color to pull focus. Sourcing on a deadline is where projects slip, so I check at home reviews to gauge stock reliability, curbside pickup accuracy, and return lines during weekend rush. Knowing which stores restock pillows on Thursdays or which lamps routinely arrive with crooked harps saves rework. I also keep paint swatches in my wallet to match decor under store lights—phone photos lie. With a plan and a trunk liner for dusty boxes, the room comes together fast, and you’re not spending Sunday returning dented mirrors.
pkr999.app is a new and recently developed online betting game app that comes with a large group of exciting games
Nice post. I was checking constantly this blog and I am impressed! Extremely helpful information specially the last part I care for such info a lot. I was seeking this particular information for a very long time. Thank you and good luck. vinilos decorativos