DIY Reindeer Mug | Dollar Store Crafts
These personalized Christmas mugs are adorable gift ideas and every child loves a reindeer mug for their Christmas cocoa! It’s a fun dollar store craft that doesn’t cost a lot to create but looks amazing!
This is a sponsored conversation written by me on behalf of Cricut. The opinions and text are all mine.
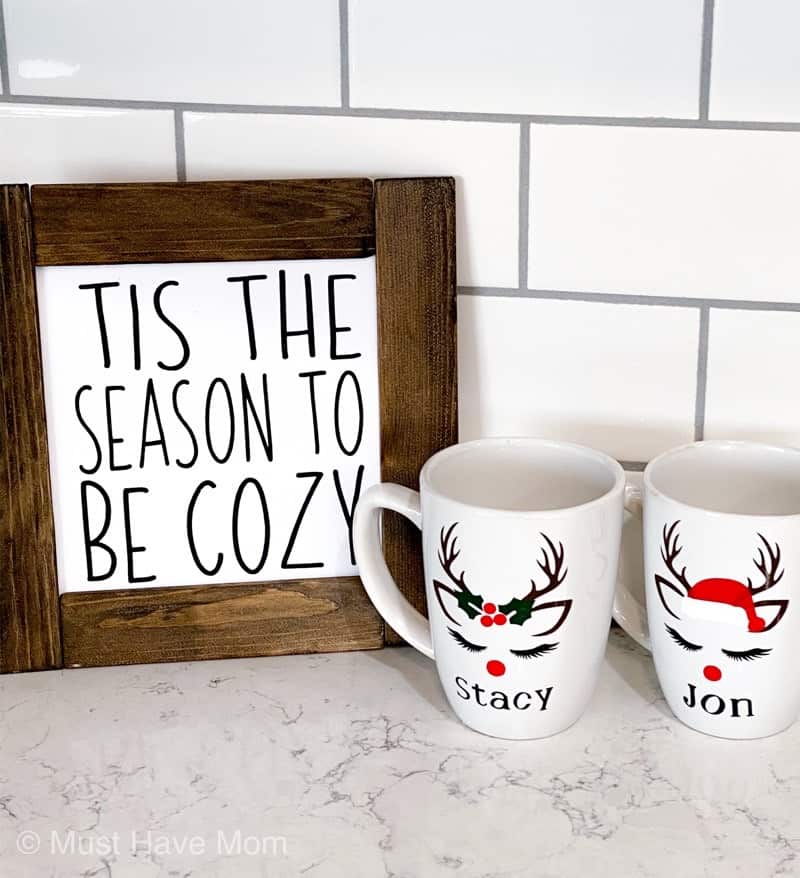
Reindeer Mug
Do you make Christmas Eve boxes for your kids? These personalized Christmas mugs are the perfect addition to their Christmas Eve box or as a fun stocking stuffer idea. Plus, they are inexpensive to make and kids love anything that is personalized. What kid doesn’t want their name on their mug?
Ever since I got my new Cricut Explore Air 2 I have been so busy making dollar store Christmas crafts! My kids even got in on the fun and made a bunch of them for other people. It teaches them business and we get to craft together which is really fun. I’ll show you how you can easily transform a simple Dollar Tree mug into an adorable personalized reindeer mug!
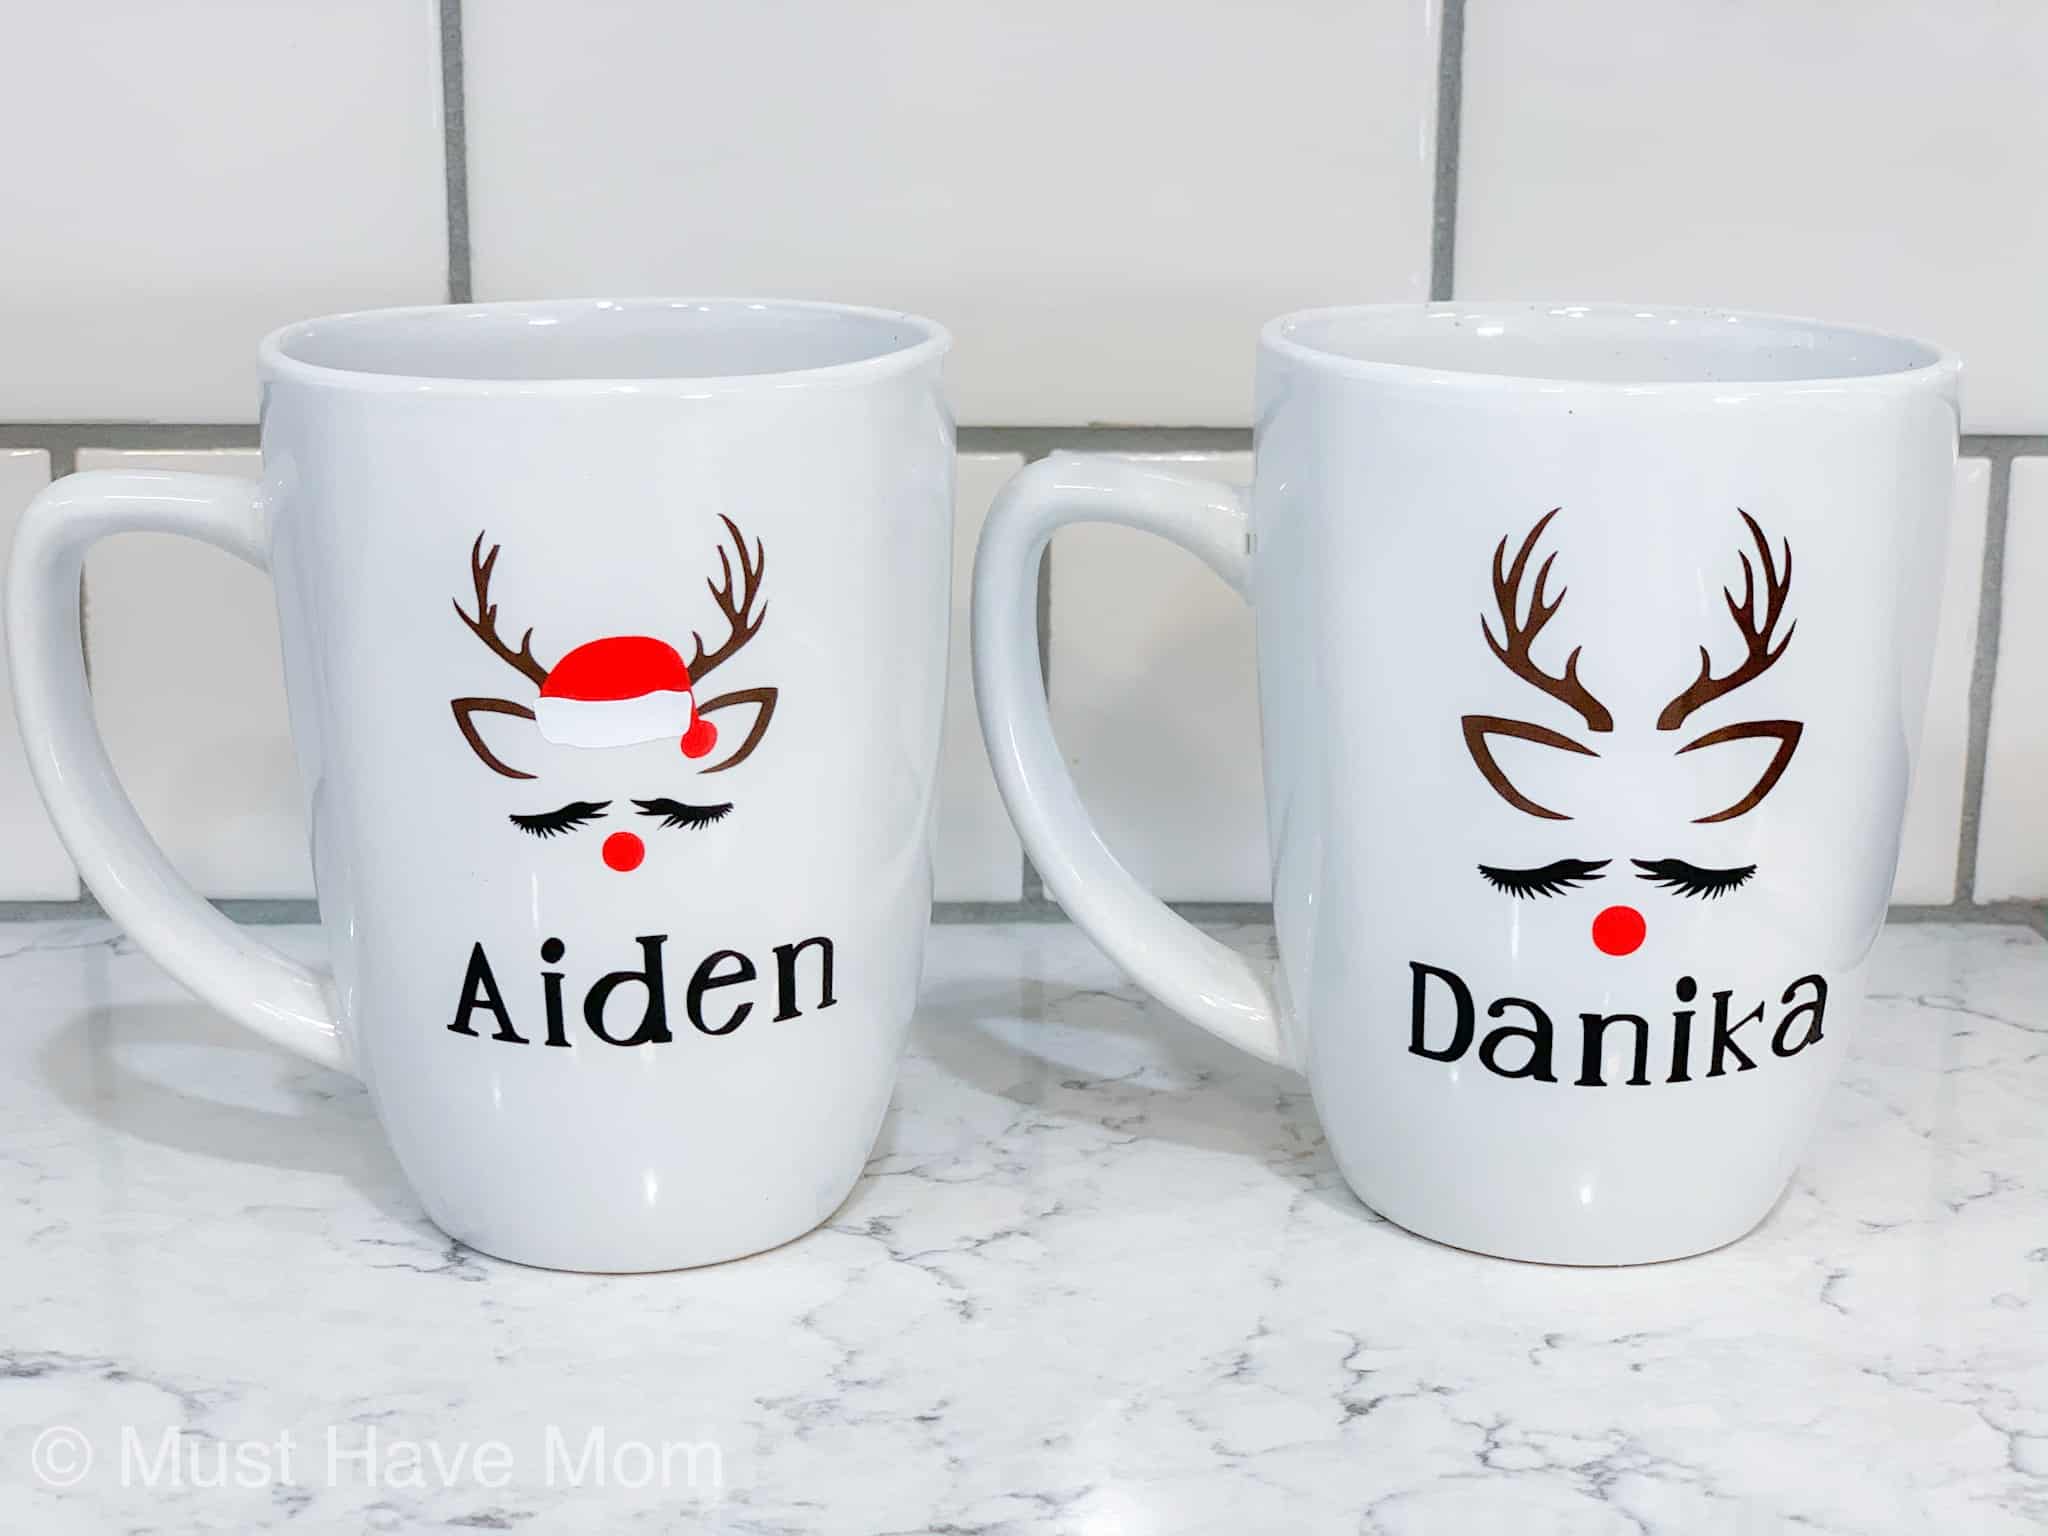
How To Make Personalized Christmas Mugs
You’ll need a few inexpensive supplies to make these reindeer mugs. You’ll also need a Cricut Explore Air 2 machine to cut the vinyl.
Supplies you’ll need:
- white mugs (I used these)
- Cricut permanent vinyl (black, brown, red, green, white)
- transfer tape
- weeding tool (like this)
- reindeer SVG file (free for personal use from here)
- rubbing alcohol
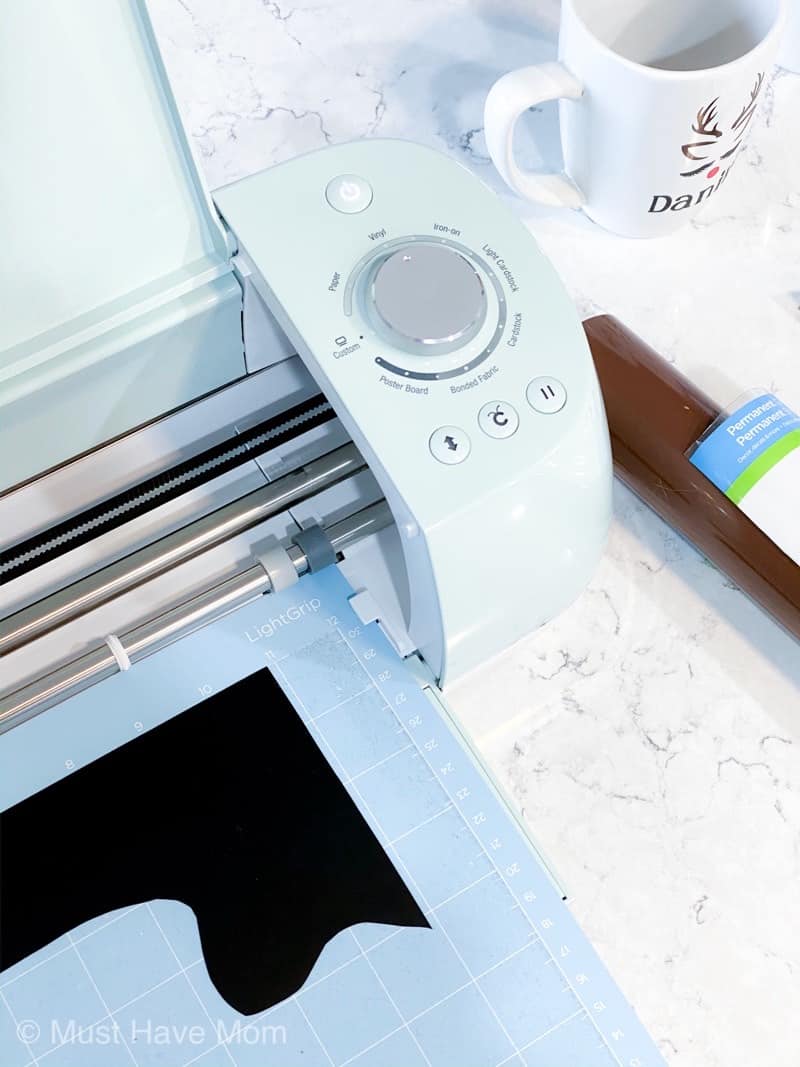
Begin by uploading the reindeer face SVG file into Cricut Design Space. Choose which of the reindeer faces you want and arrange them on your canvas. Set your Cricut Explore Air 2 to “vinyl” on the dial. Make the cut onto the different colored vinyl sheets.
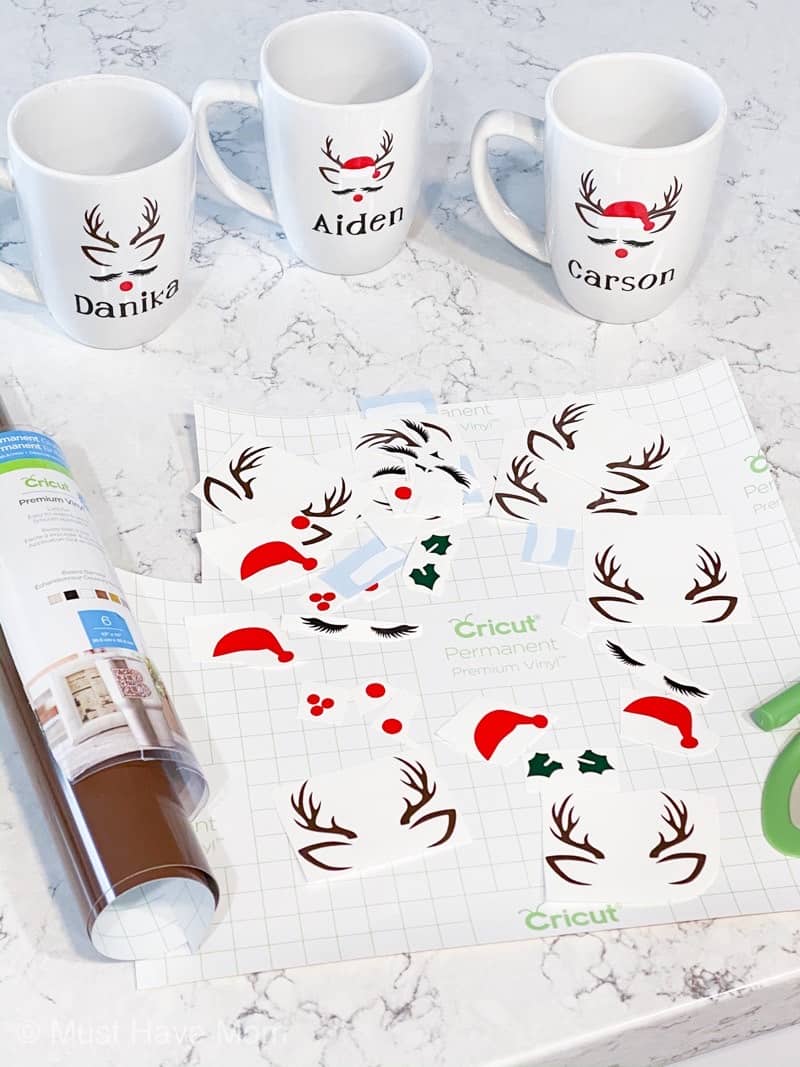
Weed each one (remove the excess pieces you don’t need).
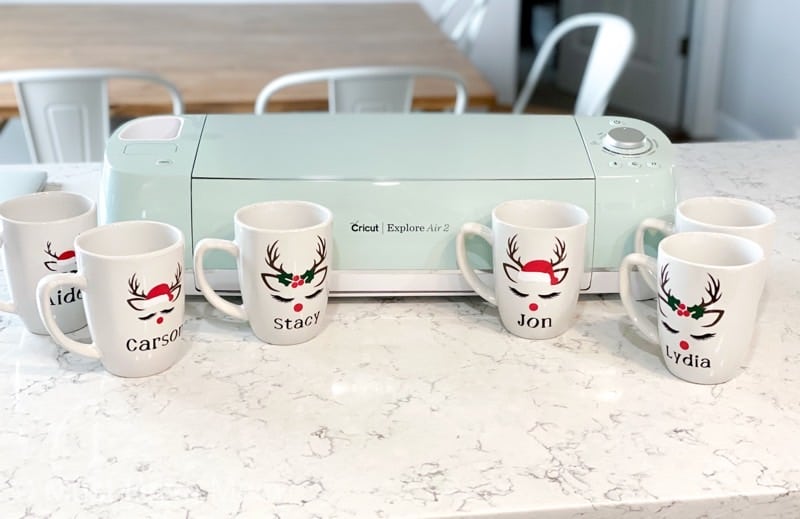
Now it is time to put the reindeer design on transfer tape so you can apply it to the mug. I start with the top layer and then build from there onto my transfer tape. Once you have all the pieces of the reindeer face on your transfer tape you are ready to apply it to the mug. You can also apply layer by layer onto the mug. It really is just whatever your personal preference is for applying layers of vinyl to an object. Clean the area you’ll be applying the vinyl to with rubbing alcohol and allow it to dry fully. Then carefully apply the vinyl to the mug. Press firmly so it stays and remove the transfer tape slowly.
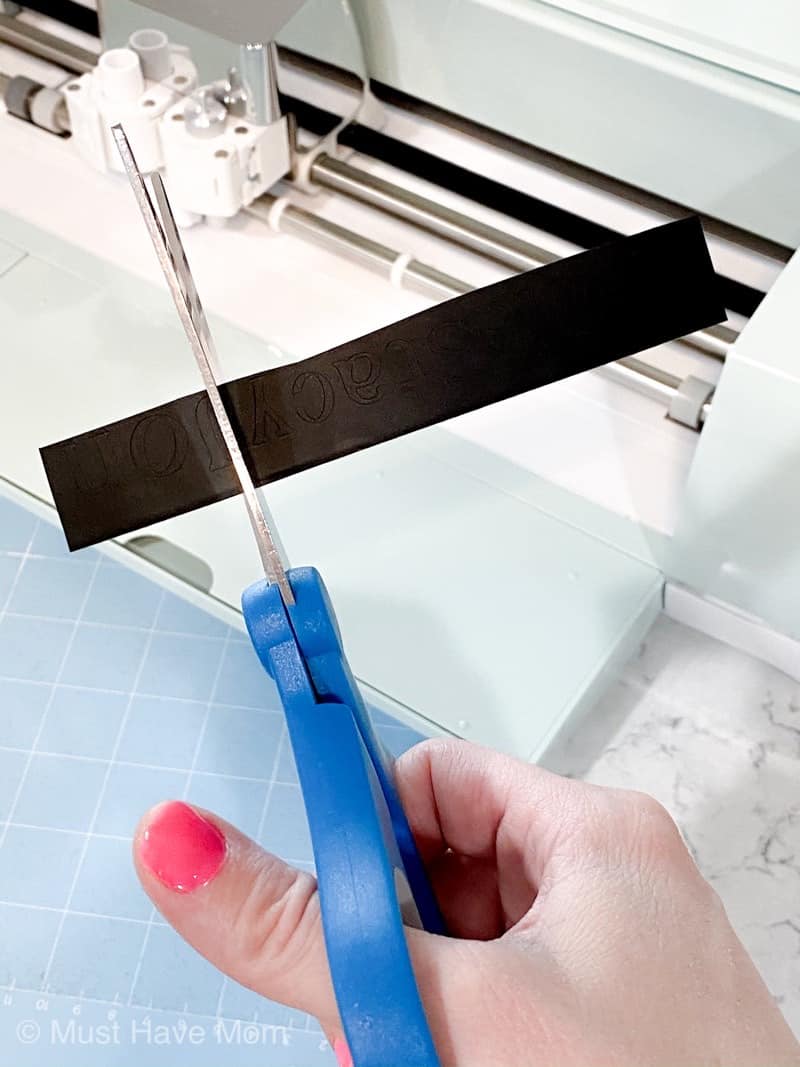
Personalize your reindeer mug by cutting out the name of the child in the Cricut font “A Child’s Year”. I sized it to be 0.5″ tall.
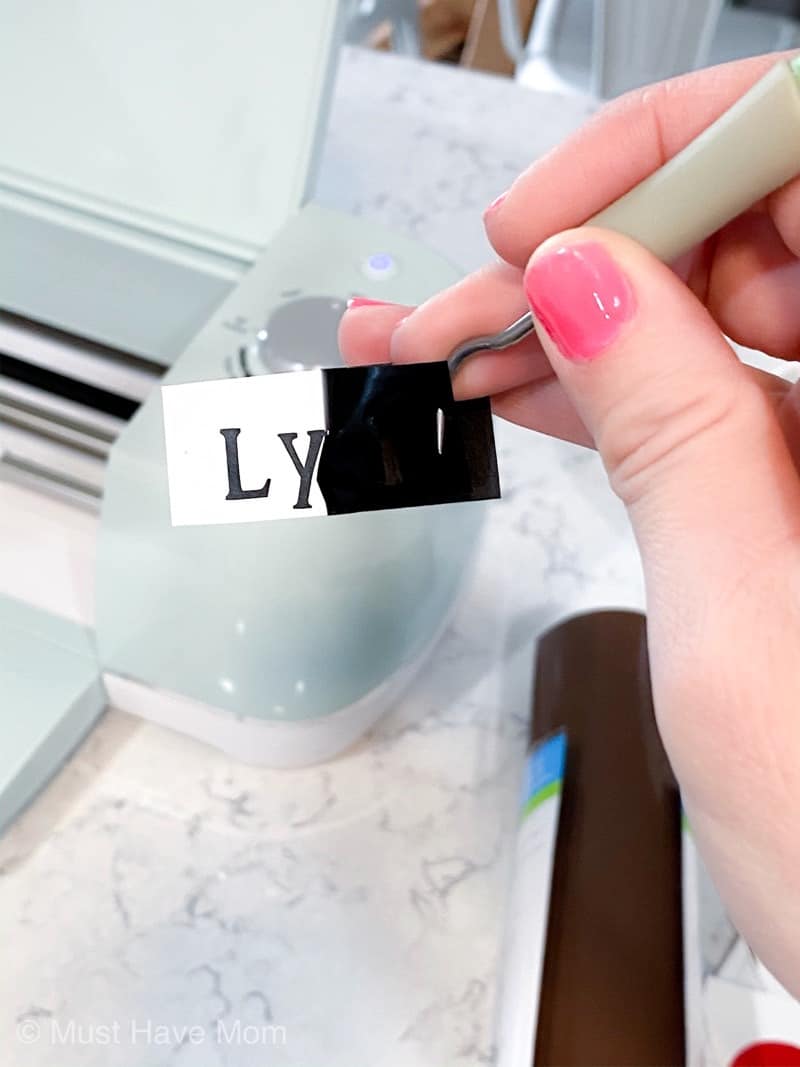
Weed the name from the cut out vinyl.
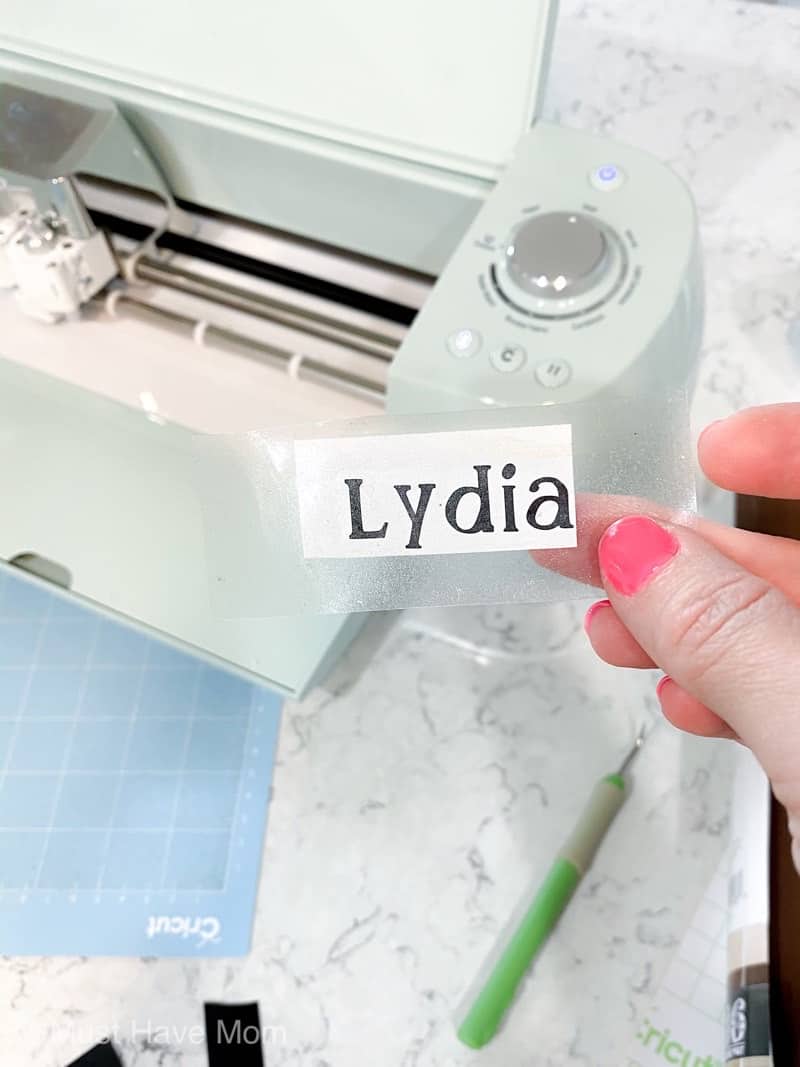
Apply transfer tape over the top of the name and press securely. Transfer the name onto the transfer tape.
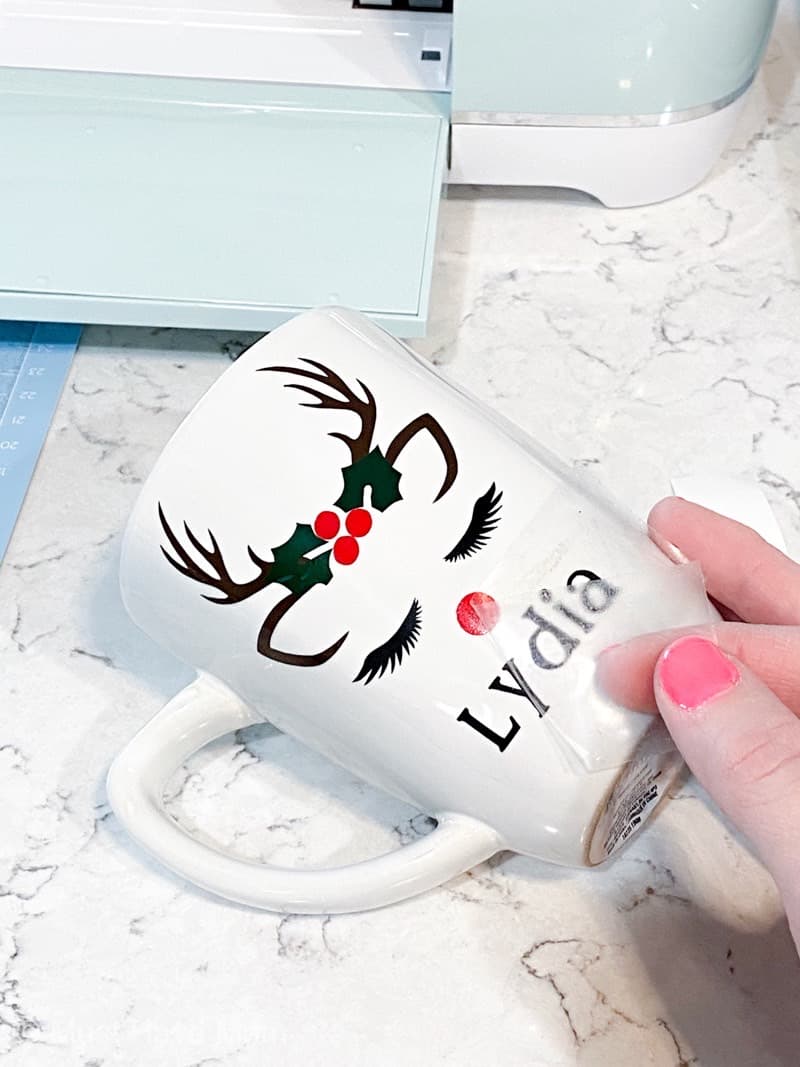
Then, transfer the name to the cup and press firmly. Peel the transfer tape off.
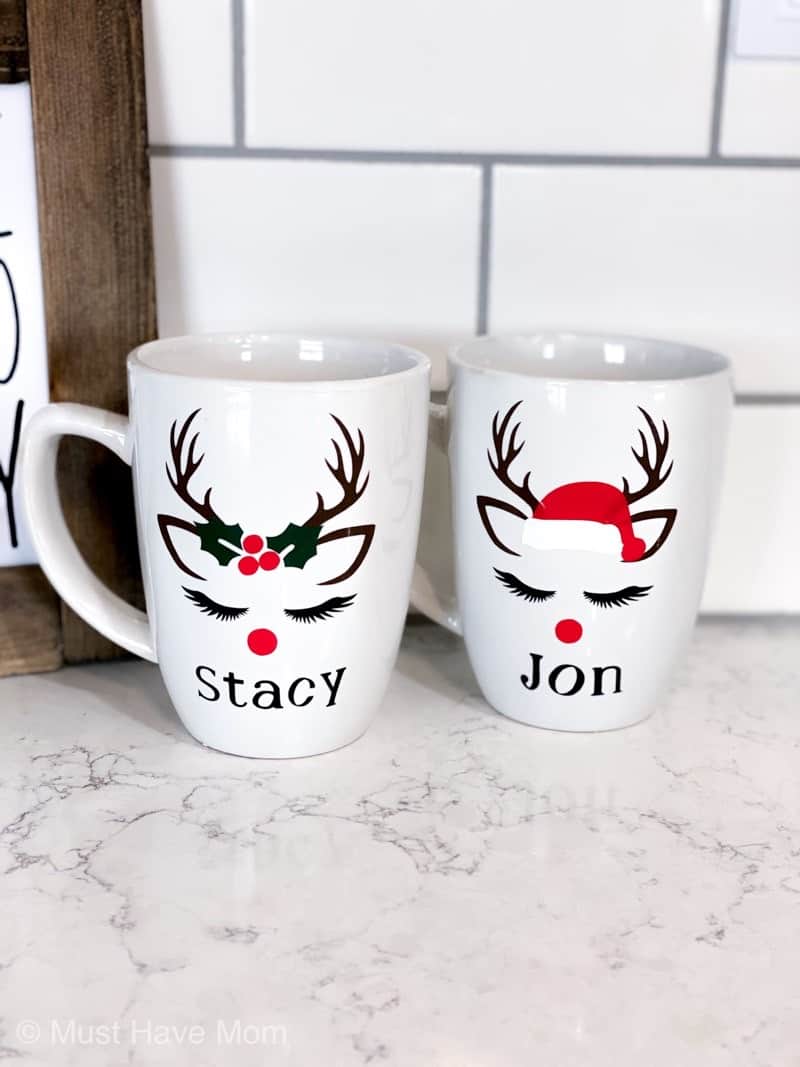
That’s it! It is so easy to make and kids love them. Allow the vinyl to set for 48 hours before washing. Hand wash the mugs only (no dishwasher). Fill them up with some of my favorite healthy cocoa and serve them up to your favorite kiddos!
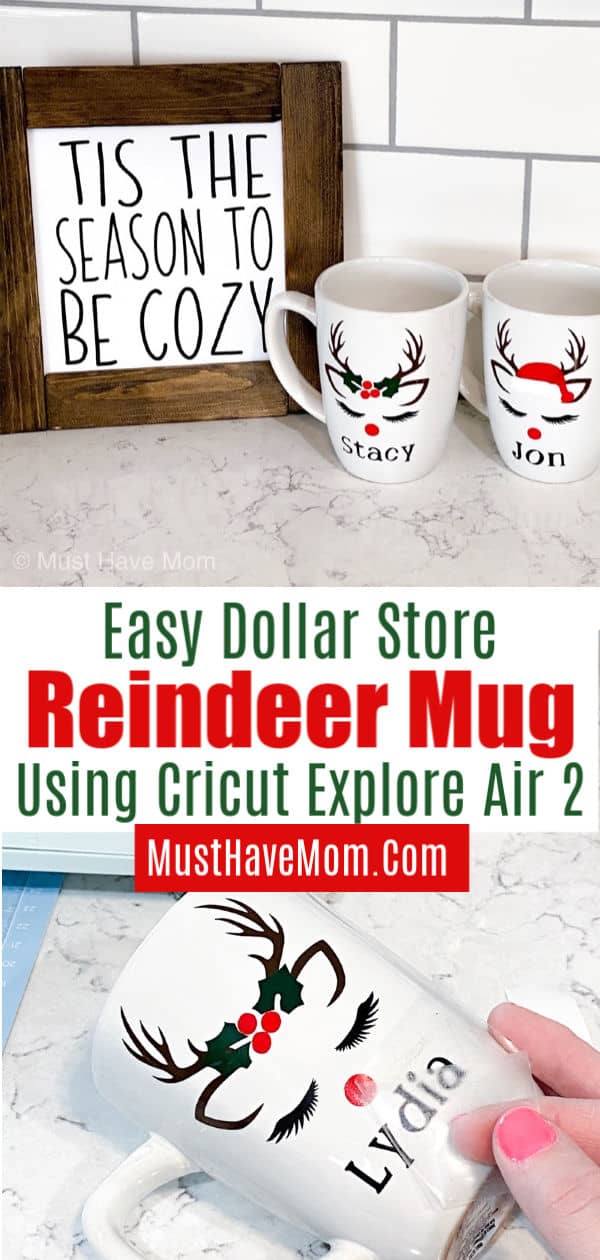
Pin Reindeer Mug


Sarah these came out great! What a cute stocking stuffer idea or even for Teacher Gifts! I’d love to invite you to come link up at my weekly link party every Wednesday-Sunday for a chance to be featured! https://www.ourtinynest.com/2022/11/16/weekly-wednesday-link-party-322/
Have a great week!
Thank you so much!
Λατρεύω τέτοιες εποχιακές κατασκευές — δοκίμασα κάτι παρόμοιο με τα ανίψια μου και γεμίσαμε τη μέρα με χαρά. Όταν όμως έπεσαν για ύπνο, χρειαζόμουν λίγο χρόνο για μένα, και μπήκα στο unlim luck. Οι περιστροφές ήταν το ιδανικό κλείσιμο, ειδικά με τα μπόνους που δίνουν στην Ελλάδα. Ήρεμο, απλό και χαλαρωτικό.
Monkey Mart Game is accessible and provides hours of entertainment for both novices and experts.