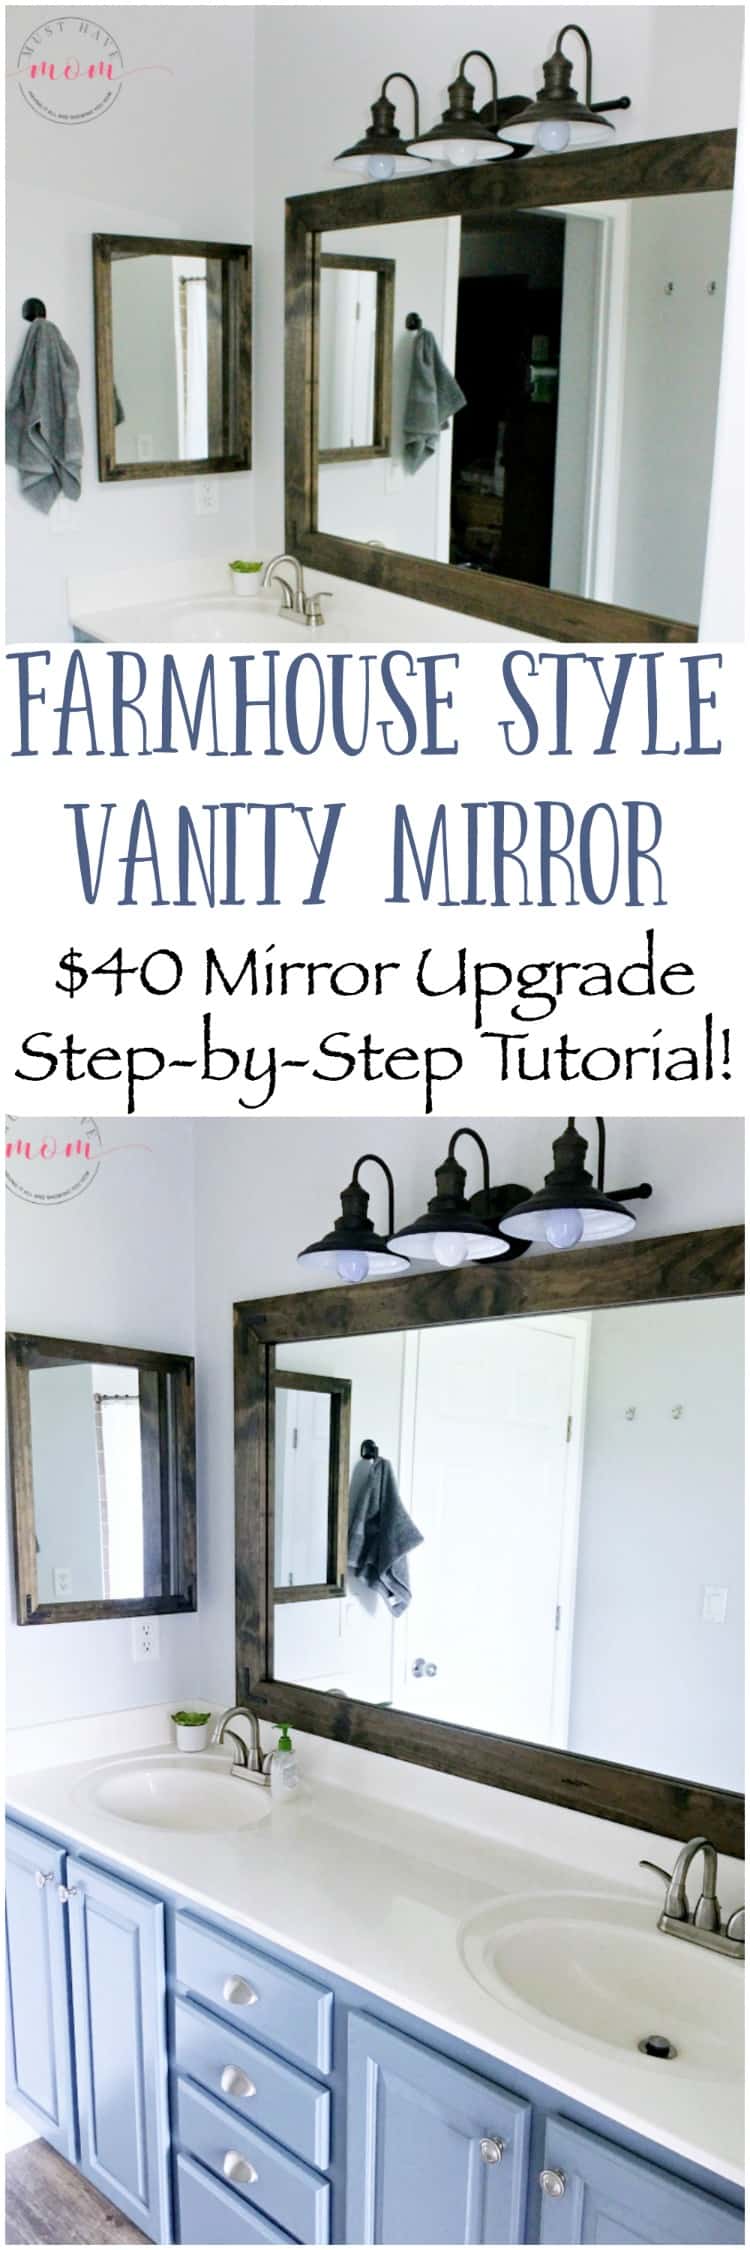
Farmhouse Style DIY Vanity Mirrors Tutorial
Have you been itching to add farmhouse style to your bathroom? Upgrade your existing builder grade vanity mirror and medicine cabinet with this inexpensive DIY vanity mirrors tutorial! For about $50 you can do this entire project and the finished result is stunning!

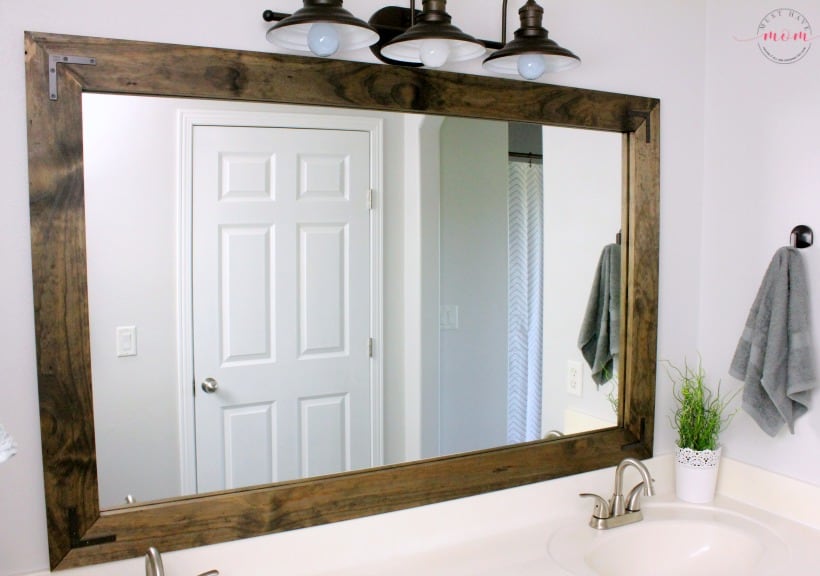
I recently completed a fixer upper bathroom makeover infused with farmhouse style. I LOVE the finished look and what’s more impressive is that it was done for under $1,000. One of my favorite elements is the rustic DIY vanity mirrors that we made.
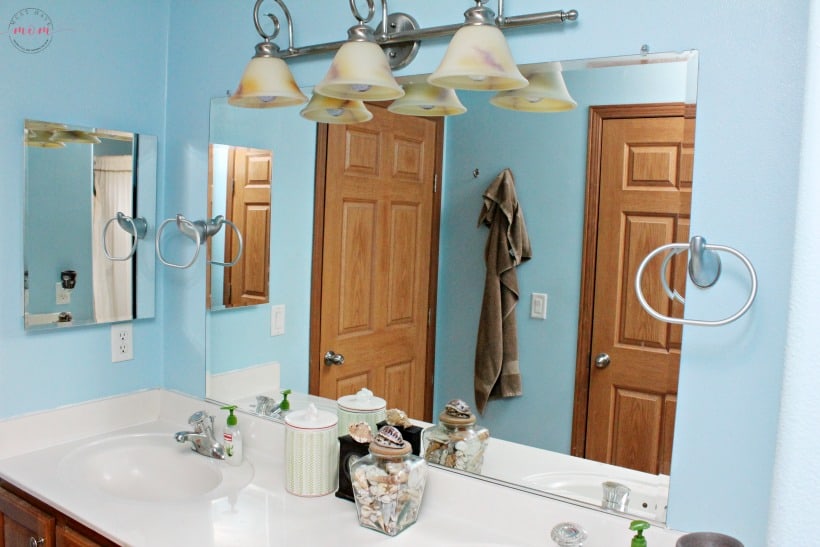
We wanted an inexpensive way to upgrade our existing builder grade vanity mirror and medicine cabinet. The completed project was under $50! The final look was breathtaking. You’d never imagine it cost so little. I’ll show you how you can make your own DIY vanity mirrors on a budget.
To complete these DIY vanity mirrors you’ll need the following supplies:
Vanity Mirror:
- Four 1″ x 4″ pine boards (look for boards with nice looking wood grain)
- wood glue
- finishing nails
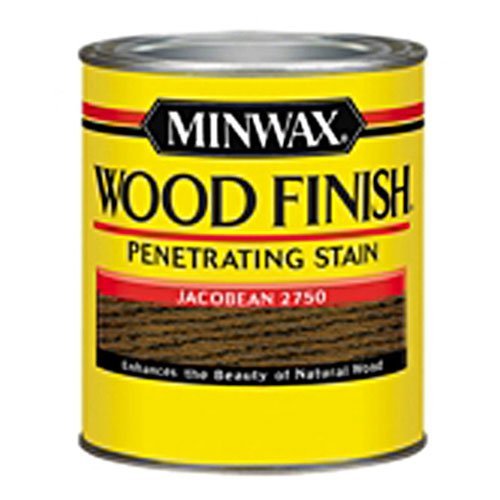
- Minwax Jacobean stain
- rag
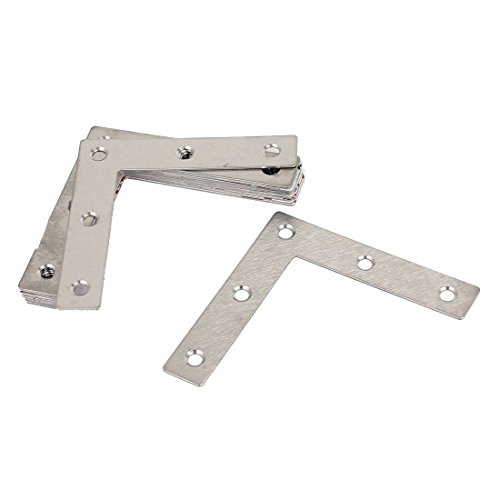
- corner brace
- oil rubbed bronze spray paint
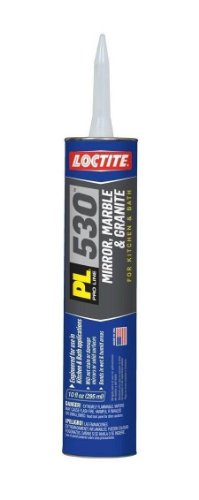
- Mirror, Marble and Granite Adhesive
Medicine Cabinet:
- 1 1/2″ wide pine boards
- remaining supplies listed above
Minwax 227504444 Wood Finish Penetrating Interior Wood Stain, 1/2 pint, Jacobean PL530 ADHSV KIT/BATH10OZ by LOCTITE MfrPartNo 1693636Flat L Shape Repair Bracket – SODIAL(R) 12pcs Angle Plate Corner Brace Flat L Shape Repair Bracket 80x80mm SilverRust-Oleum 249131 11 oz Universal All Surface Spray Paint, Oil Rubbed Bronze Metallic


If your mirror has these plastic clips holding it the wall then you’ll need to replace them with washers instead to make it flush to the wall. Just place a washer there and use a screw to hold it in place.

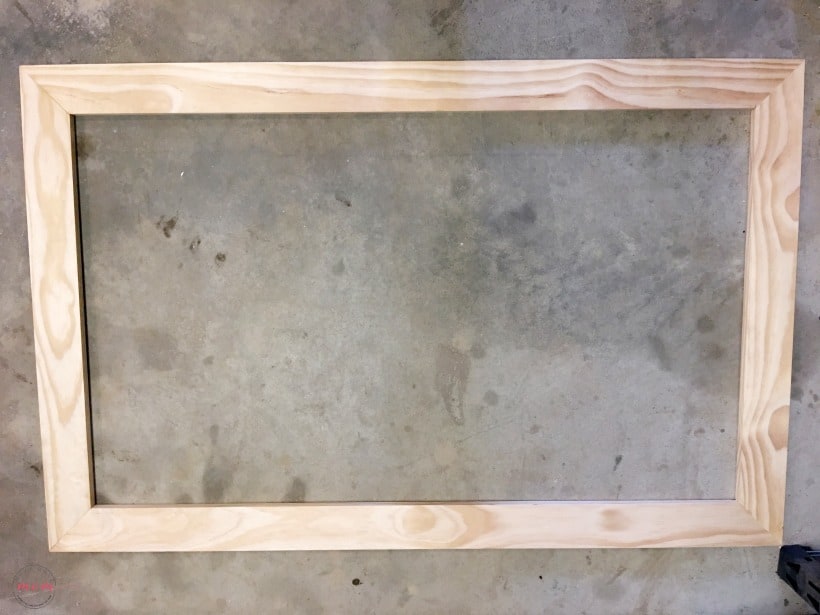
First, you need to build the frame. Measure your mirror and determine the length you need each board to be. We covered about half of our existing mirror with the frame and had it overhang the edge the rest of the way to cover the washers holding the mirror in place. Use a 45 degree angle corner and use wood glue and finishing nails to hold in place. Once you’ve built the frame it’s time to stain the frame.
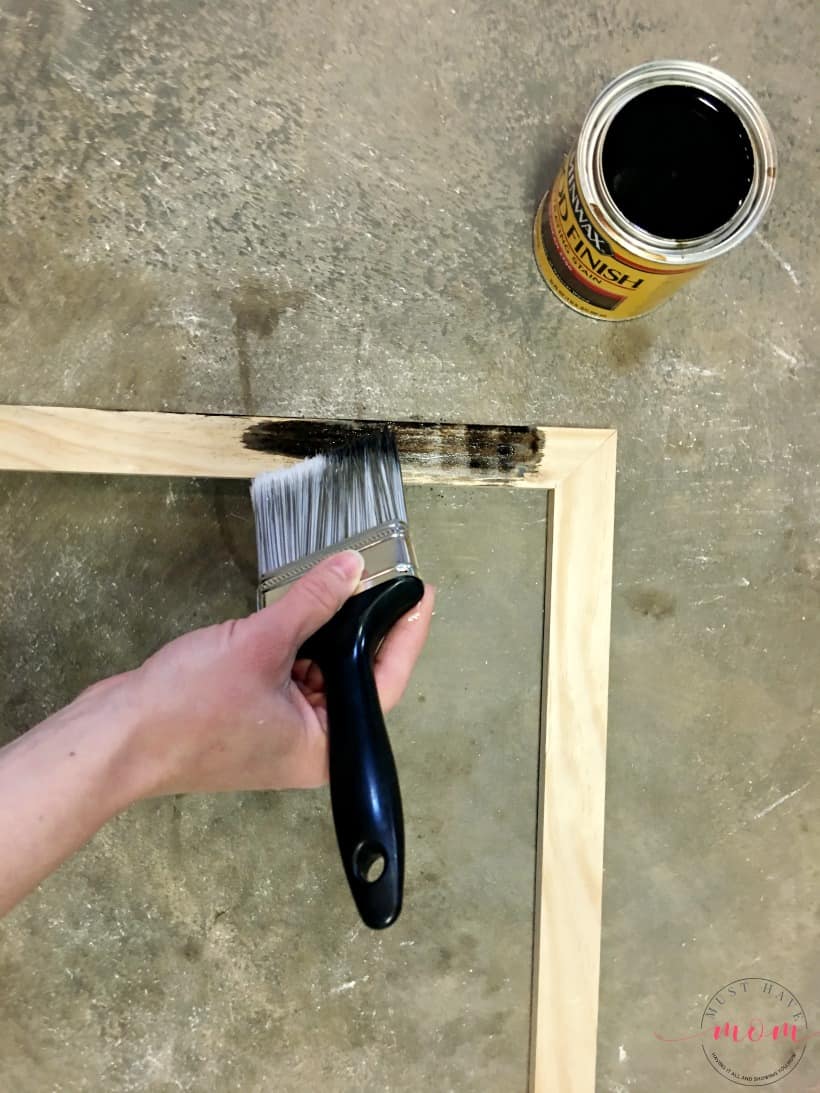
I started out using a brush to apply the stain, but quickly realized that a rag was the better way to go. Just dip the rag in the stain and rub it over the wood. Cover the entire frame and be sure to wipe away any excess stain that doesn’t soak in.
*Tip: Be sure none of the wood glue used on the corners has seeped through onto the frame. If it has be sure to sand it off so the stain will soak into the wood.
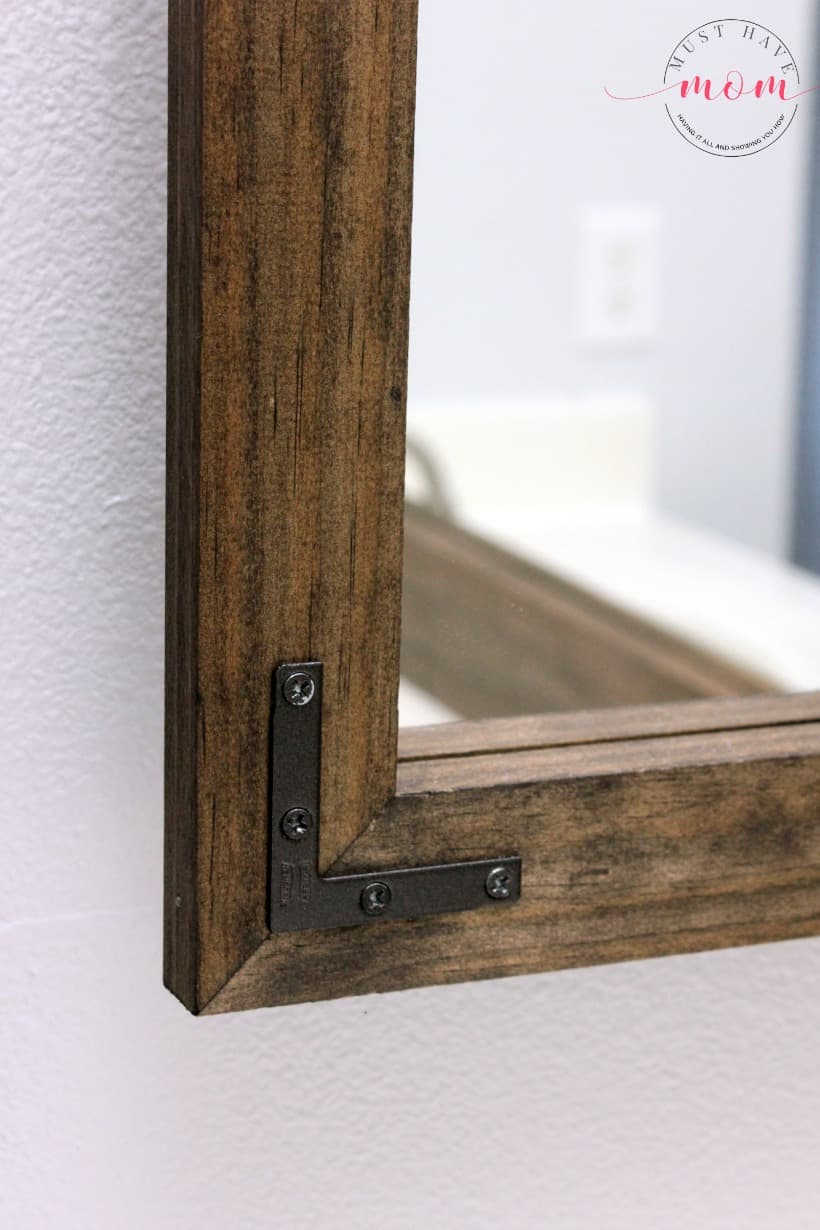
Use the oil rubbed bronze spray paint to paint the corner braces and their screw heads. Allow to dry. Once the stain has dried on the frame you can attach the corner braces on each corner.
Next, use Locktite Mirror, Marble and Granite Adhesive to adhere the mirror frame onto the mirror. Allow it to sit undisturbed 48 hours.
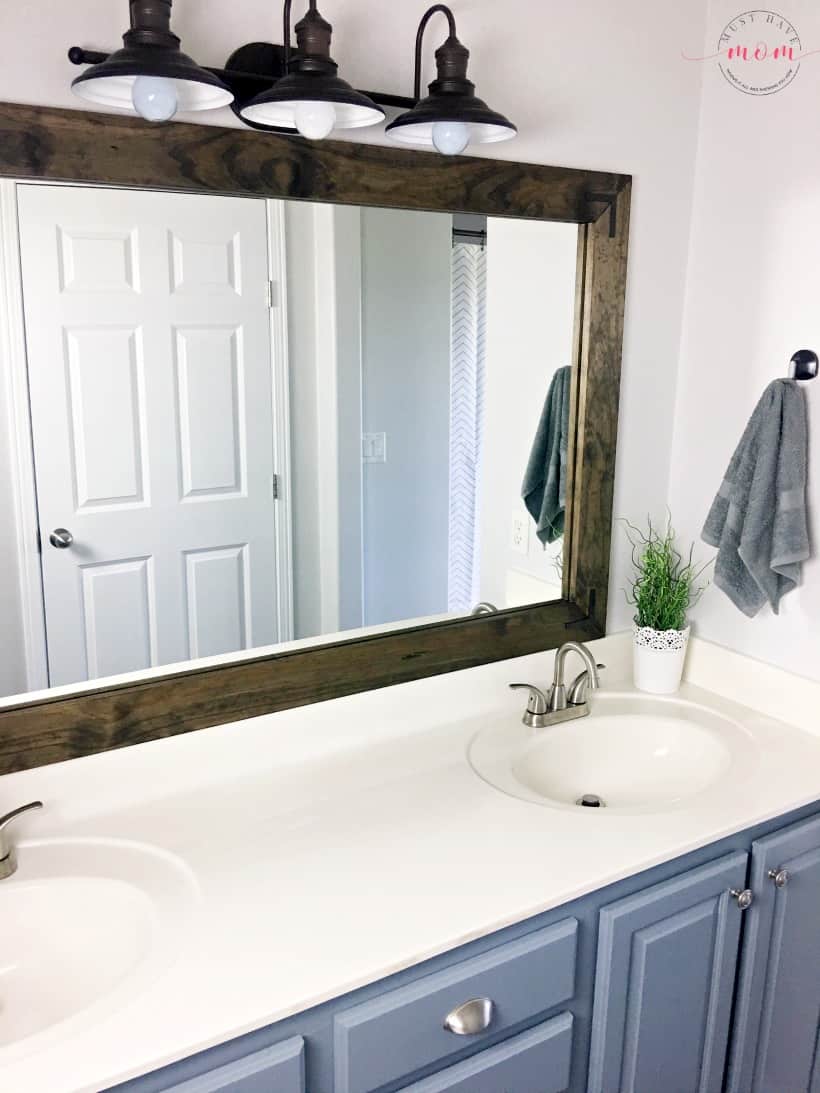
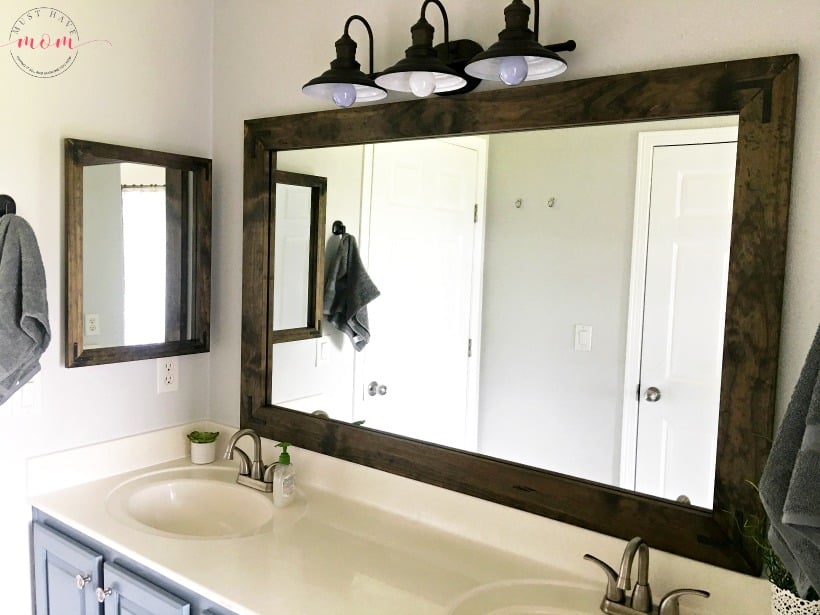
The finished product looks amazing and the beautiful farmhouse style rustic mirror looks like an expensive buy! No one will ever know how inexpensive and easy it was to make!
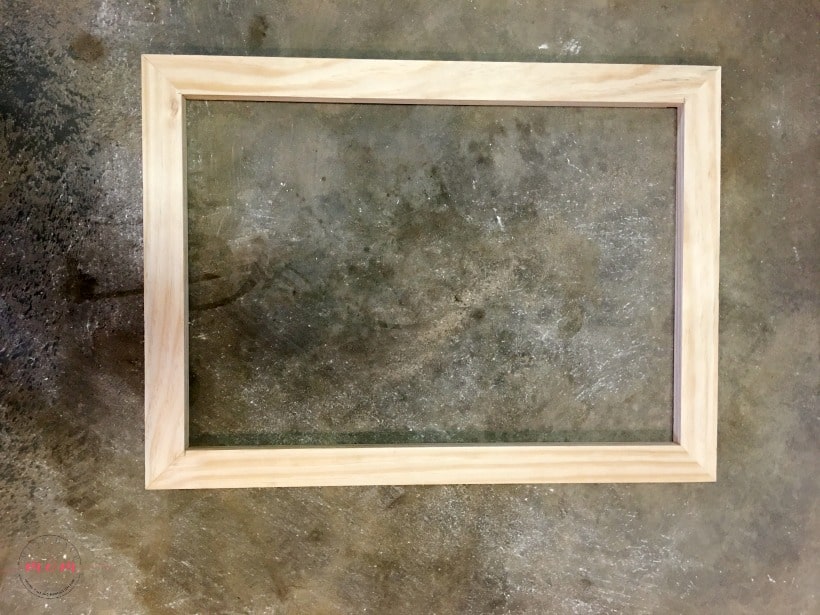
To create a matching frame for your medicine cabinet simply repeat the same steps using smaller, 1 1/2″ pine boards.

Then remove the medicine cabinet mirror before applying the mirror frame. Apply it in the same manner as the large frame and allow to dry.
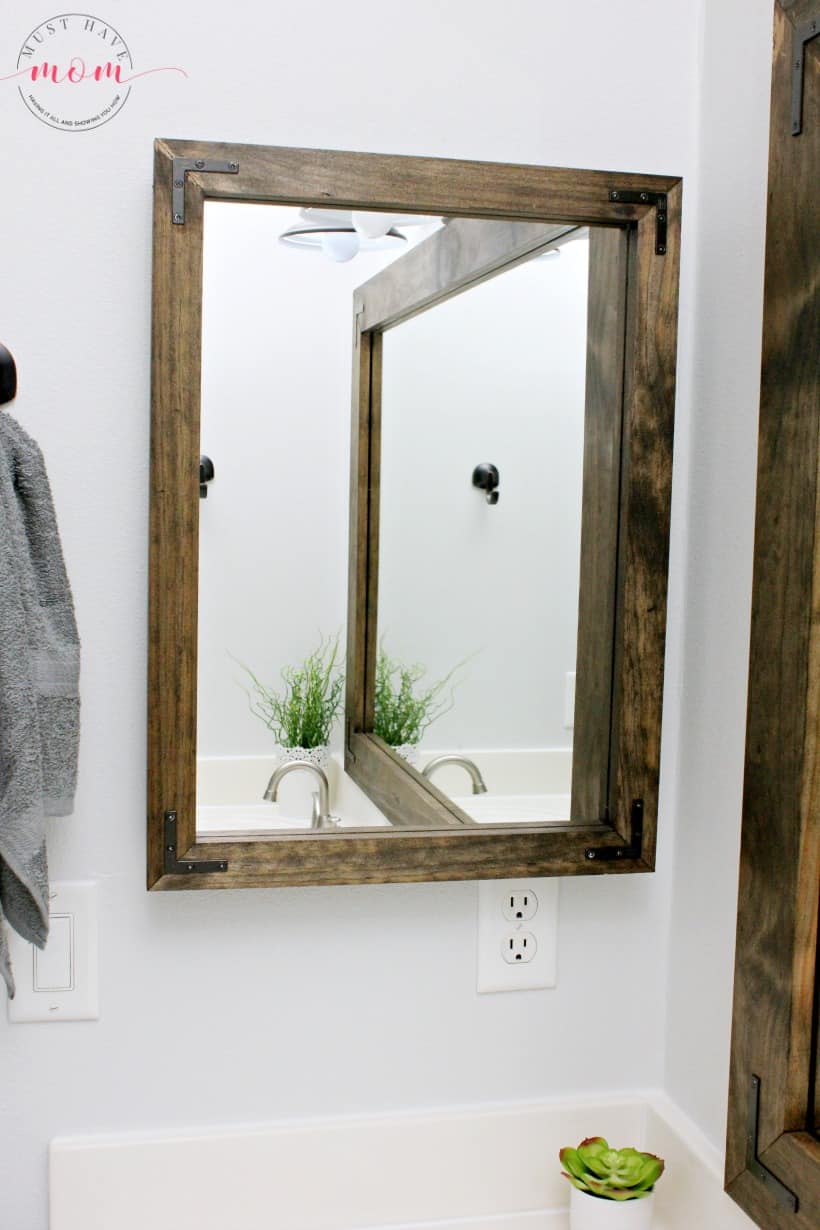
Once it is dry re-attach the mirror to the medicine cabinet.
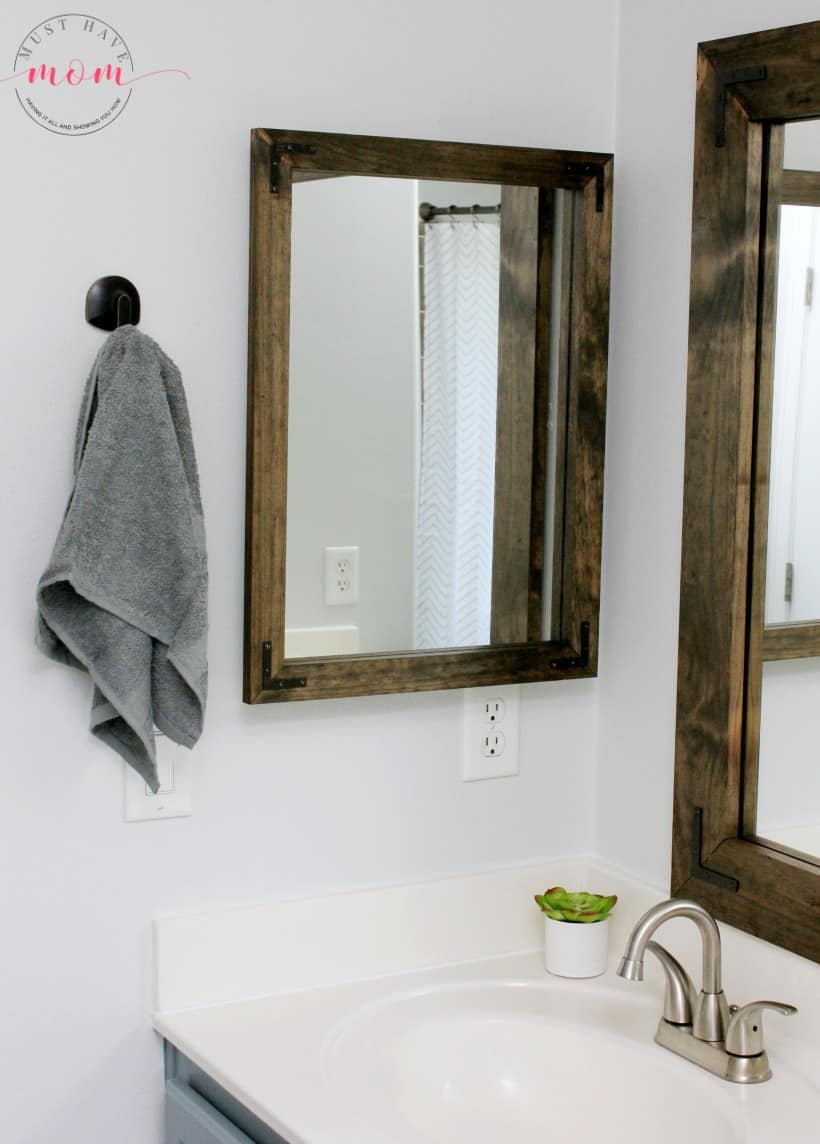
The finished look is beautiful and so simple!
I love how this easy DIY vanity mirrors makeover elevates a builder grade vanity mirror and takes it to a new level. It adds value to your home for a small investment! Want more farmhouse style bathroom ideas? Check out my fixer upper bathroom post for all the details on my bathroom makeover.
Pin this DIY Vanity Mirrors Tutorial:

Wow what a beautiful mirror. I love it. It sure made a big difference.
I am just wondering why you put the brackets on the front and not the back?
It is all part of the farmhouse look. It looks Rustic to put them on the front. It dresses up the wood frame.
It looks more farmhouse plus it helps support the joints
What did you do about the gap between the frame and the wall once you hung it to the mirror?
There isn’t a noticeable gap. I’m not sure I understand your question.
Hi, can you tell me from where the black lamp is? 🙂
Yes, I got the light fixture at Lowe’s. It’s an oil rubbed bronze. All the details of my bathroom makeover are in this post: https://musthavemom.com/farmhouse-style-fixer-upper-bathroom-budget/ and the link to the light fixture is here: https://www.lowes.com/pd/allen-roth-Hainsbrook-3-Light-7-48-in-Aged-Bronze-Cone-Vanity-Light/50333847
Hi there! Love the mirror! Just glued the frame to the mirror and you can see the reflection of the loctite adhesive in the mirror. Wondering if the color of the adhesive lightens when it has cured? Thanks!
Hmm we don’t see ours but you must have put the adhesive near the edge of the board? If so, then I would guess you would see it. I would recommend keeping the adhesive in the middle and not near the edges that meet the mirror. If you have already finished and don’t want to re-do it then you could try adding a thin bead of clear caulk and see if that hides it. We have done four of these mirrors now and haven’t had this issue so I’m not sure what exactly went wrong.
How would you remove the mirror from the wall now being that you covered the washers at the top?
I’m not sure I understand what you are asking? The mirror is supposed to be a permanent fixture and not taken down and put up.
Hi Sarah! I love the mirror. My husband and I are looking to do update our mirror using the same technique you did. What caught my eye was the size of your mirror. Size has been a battle for me and when I seen your pic I thought “BINGO!” Could you give me the outside measurements of your frame? It would be much appreciated! Thanks so much!
Tracy
Absolutely! Are you wondering the thickness of the frame or the total measurement of the mirror itself? The mirror itself is 36.5″ x 57″ and the wood is 3 1/2″ wide. I hope that helps!
Any problem with it adding weight to the mirror to case it to fall later on? My bathroom mirror actually goes wall to wall in my master.
We made sure to properly secure the mirror to the wall before adding the frame on top. As long as it is secure then it shouldn’t be a problem as the pine boards are pretty light.
Hi there! We have currently built our this frame for our master bathroom mirror. Thank you so much for the clear directions for building this beautiful project. I do have a question though. Did you seal the wood with anything to lock out moisture?
I did not seal mine, however, the way our bathroom is set up the shower is at the other end of the bathroom. You could use a poly to seal it if you feel that it is in a location where it is necessary.
Do you have a link to the resurfacing of the floor?
We bought vinyl click together plank flooring at Menards for this project 🙂
Absolutely beautiful!
I am going through a divorce and I love the idea of adding the wood around the medicine cabinet.
Thank you so very much for sharing.
I’m so sorry to hear about your divorce but I am glad you found my tutorial. Thank you for your kind comment.
Sorry, hit send too soon…
Meant to say.. love how you have shared how inexpensive it can be to do something
that makes a world of difference in the appearance.
Thanks again!
I realize that you said that you just attached the frame to the mirror but im not sure if i do this that it will sit flat with the metal bottom sill on. Did you cut the wood frame on the back side bottom to account that its not flat? love this and have wanted to do this for years.
No, we did not cut the wood. We made the frame and secured it over the mirror. The washer trick keeps it flush with the wall as opposed to the plastic clips which stick out too far. I hope that helps clarify.
Is the frame glued to the mirror and the washer attaching it to the wall? If so, if you ever wanted to replace the mirror later on, how would you remove it? Thanks! Beautiful frame.
The mirror is just attached to the wall with the washer and screw. We never removed the original mirror so it sits in the metal holder tray on the bottom and has the plastic clips or washer holding the top and the mirror is attached to the frame so if you were to remove the mirror you’d have to remove the frame first. Then remove the mirror as you normally would.
Did you just glue the frame over the metal holder tray on the bottom of the mirror?
Yes we did
How long did it take for the glue to dry? I am attempting to do this by concerned the frame may not be straight as there is. I way to keep it level unless someone is holding it?
We let ours sit 24 hours. We used painters tape around the wood to help hold in place but it didn’t move at all for us.
Love this! Just recently painted my bathroom! Going to paint my cabinets as well! This will be a great touch to add! My bathroom is super outdated and needs this! We have the metal clips at the top of our mirrors and bottom so does that mean I shouldn’t have to replace with a plastic washer? They are not as bulky as the plastic clips. Thanks!
If the frame will fit over the clips then leave them there. If not then replace with a metal washer as it is flatter. Good luck 🙂
Hi! I am building the frame for the mirror now, and it seems as though one of my boards may be warped because when the frame is all together it doesn’t sit level. Do I need to get totally new boards or is there a way around this? Thanks!
Hello, it’s important to always check your boards when you buy them because they are often warped. If you’ve already assembled your frame you can try to fix it if possible but yes, it is a hard thing to fix if it is warped. Sorry to hear you got some bad boards!
I love this idea, it’s the best one I’ve seen yet! My question is does the metal washer really hold the mirror to the wall? I realize the plastic clips are plastic, and I’m sure the mirror was secured originally with construction adhesive, but I’d hate to have the mirror fall!
Yes, the metal washer takes the place of the plastic clips so it is actually more secure as the metal washers won’t snap as easily as plastic!
Hi there. Love this idea! I would like to do in my bathroom but I have a problem. My mirror is way large and medicine cabinet basically is butted up against the mirror in the corner. So I wonder if I could just do the tops, bottoms. And opposite sides to frame it in. Let me know what you think.
I sent you an email with a picture so you get the idea better.
Hi Jessica, My mirror and medicine cabinet are pretty close together as well but you’ll need to measure and see if it will have enough room to swing open and closed. If you don’t have enough room for that I would look at doing a really thin frame. I think just doing the top and bottom may look unfinished. A low profile board may work better. Hope that helps!
This DIY vanity mirror tutorial is fantastic! I love how a simple upgrade can completely transform a bathroom into a stylish farmhouse space. Wall mirrors play such a key role in enhancing both functionality and aesthetics, and this budget-friendly project proves you don’t have to spend a fortune for a high-end look. Thanks for the step-by-step guide, can’t wait to try this!
I really enjoy this style of bathroom because it’s really hygienic and cozy. Retro games online.
that’s great. I think this is great post https://cluster-rush.com
pgrade our existing builder grade vanity mirror and medicine cabinet. The completed project was under $50! The final look was breathtaking.