DIY Wooden Monogram Sign For Fall
Spruce up your front door or entryway (or inside the house) with this fun DIY wooden monogram sign for fall! It’s really easy to make, even if you aren’t crafty! I’ll show you step-by-step how to do it!
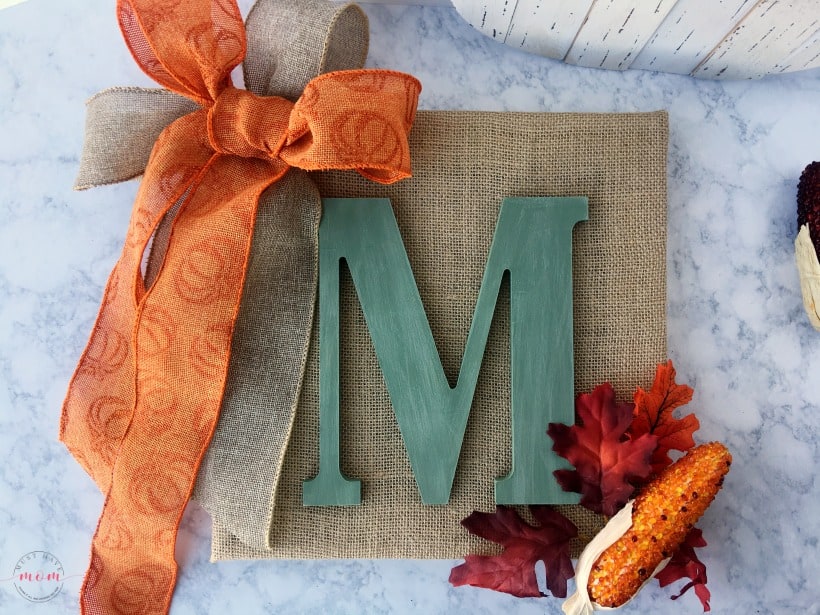
Making your own fall decor is an easy way to decorate your house in style, without breaking the budget. I shared some of my favorite fall porch decor DIY ideas including my farmhouse porch welcome sign and DIY crate planter last week, and now I’m sharing this easy burlap and wooden monogram sign that you can do in a short amount of time even if you have no craft skills!
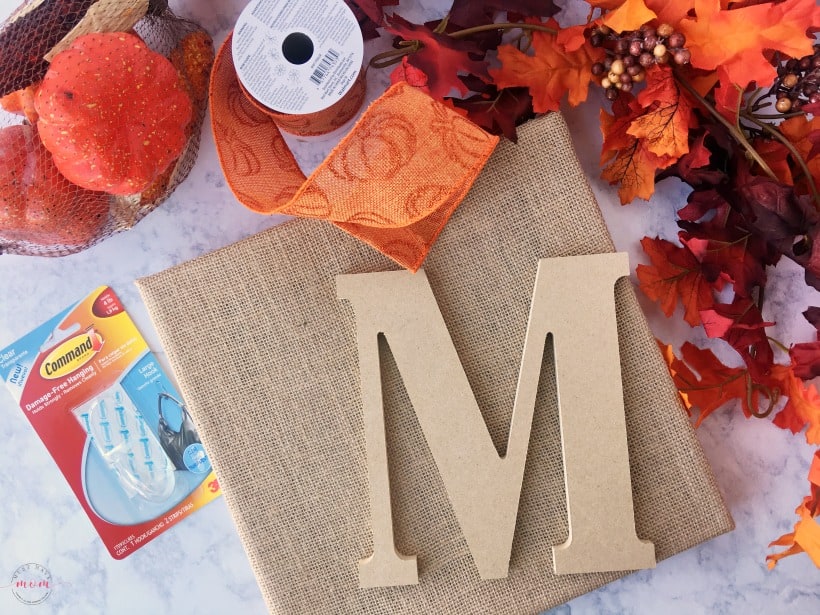
Wooden Monogram Sign Supplies
For this fun project, we are creating the look of a wooden monogram sign on a very small budget. The end result is a beautiful fall sign that will welcome your guests into your home. Here are the supplies you’ll need:
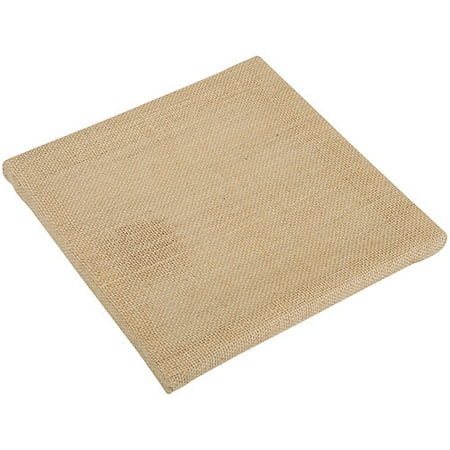
- canvas square covered in burlap (I found one in Walmart’s craft section for $4 or buy one here)
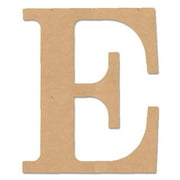
- 8″ wood letters (craft section at Walmart or order online)
- leaf garland or faux leaves ($3 at Walmart)
- faux indian corn (part of a pack of faux gourds and corn at Walmart)
- burlap and pumpkin burlap ribbon (wire edged – found in Walmart fall decor section)
- Command hook for hanging
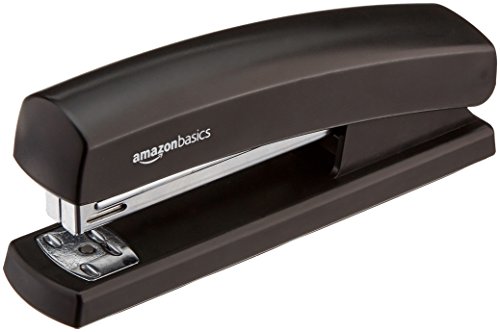
- stapler
- hot glue gun and glue
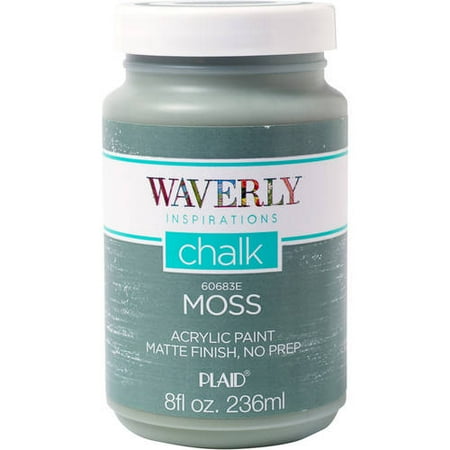
- Waverly chalk paint
- foam paint brush
- sanding block or file
Order what you need now and have it ready to go!
Canvas Square 8″ Wood Letters
 Waverly Inspirations Chalk Paint, Moss
 Loew Cornell 842 25-Piece Foam Brush Set, 1-Inch
 AmazonBasics Stapler with 1000 Staples – Black
 Glue Gun, Cobiz Full Size (Not Mini) 60/100 W Hot Melt Glue Gun with 10 Pcs Premium Glue Sticks(7/16” x 8
 Command Hook, Large, Clear, 1-Hook (17093CLRES)
 Offray Wired Edge Burlap Craft Ribbon, 1 1/2-Inch x 9-Feet, Natural
 Autumn Theme Wire-Edged Ribbon Bundle: Two Items (Orange Pumpkin)
 CraftMore 6-Feet Fall Maple Leaf Garland (Colors Range from Dark Red Hues to Crisp Yellow)
 Fall Table Top Home Accent Décor Bundle – 7pc
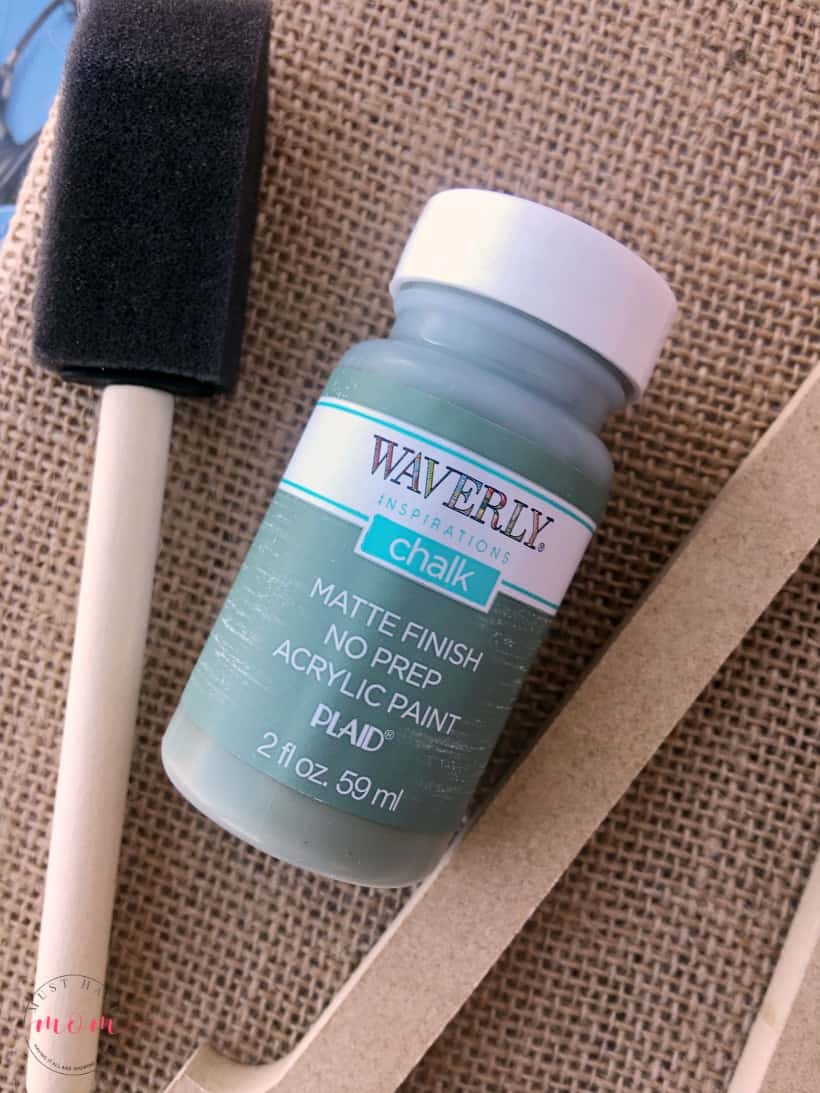
I used the Waverly chalk paint in “moss” color for my wooden monogram letter but you can use whatever color you love best! Keep fall colors in mind, oranges, deep reds, deep greens and deep yellows work great! Choose the letter for your monogram (usually the first letter of your last name).
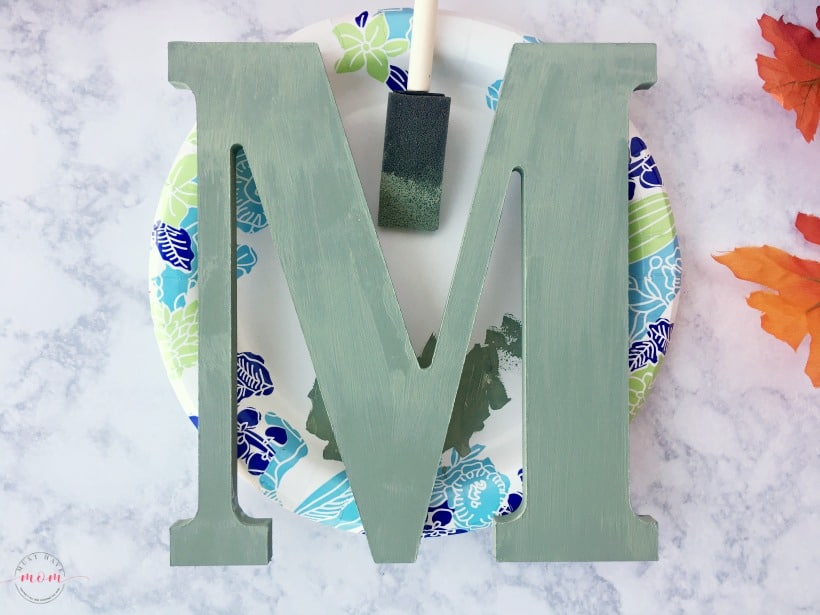
Paint your wooden monogram letter with the chalk paint and allow to dry completely.
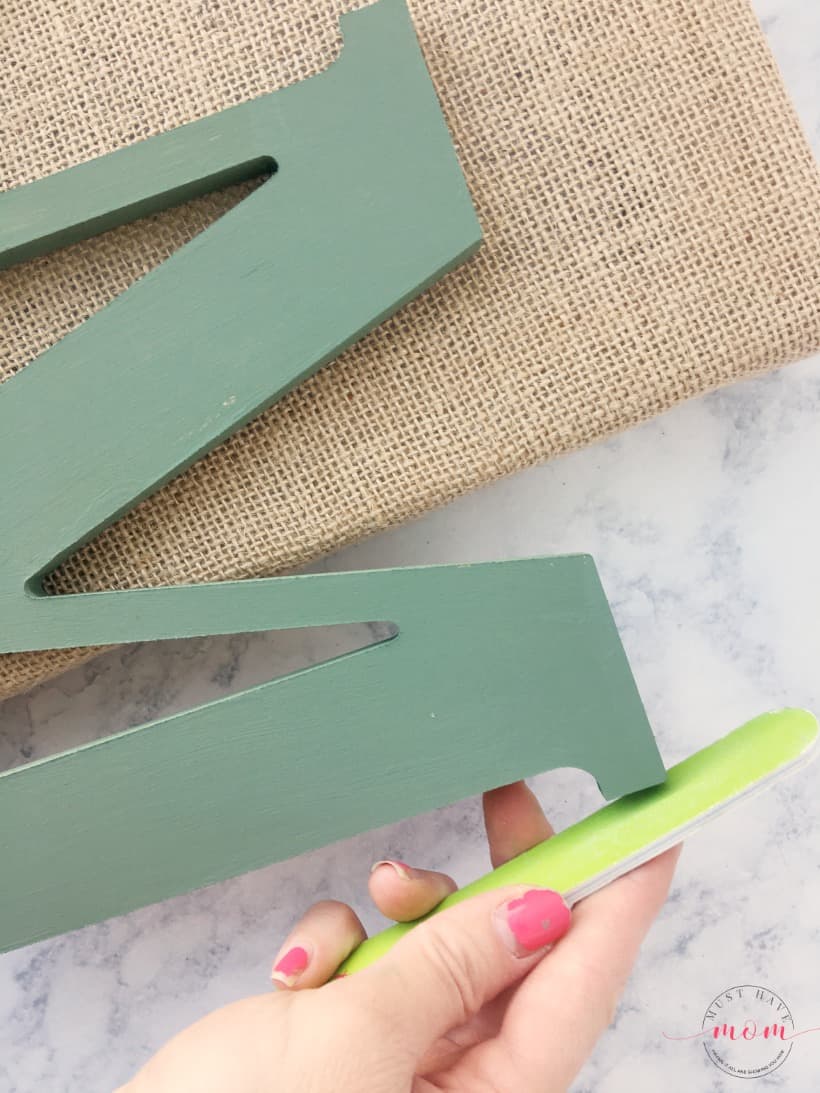
To give it that rustic look, take a file or sanding block and gently rough it up a bit.
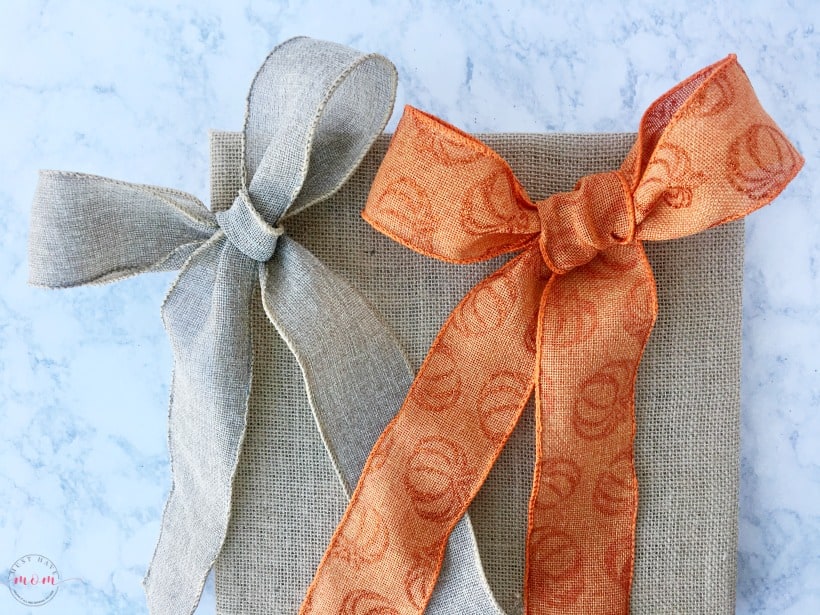
Now set the letter aside as we move on to making the bow. Take two different contrasting, wire-edged burlap ribbons for this part. You’ll first make a regular bow with each different ribbon. Just tie it in a bow like you would a shoelace. Then fluff up the edges of the bow to make them form into a pretty bow.
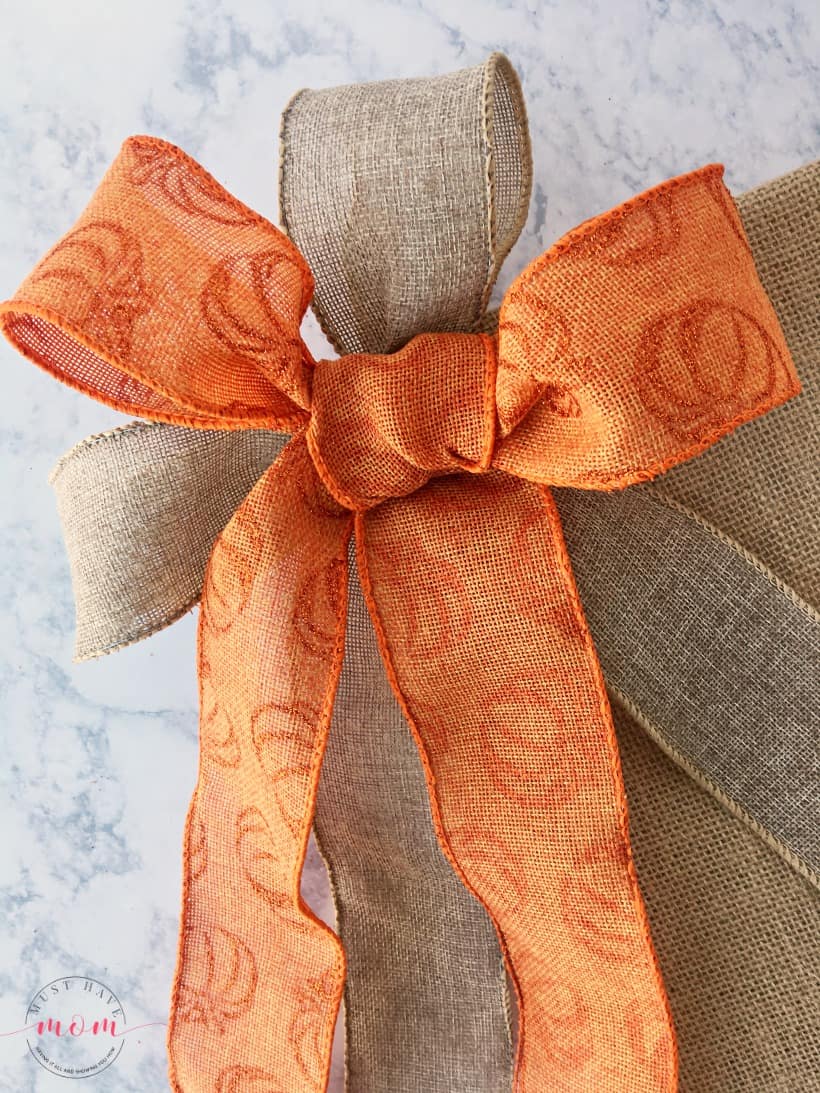
Then place one over the other and hot glue in place. Hot glue bow to canvas board (upper left corner) and hot glue the other bow over the top of it. Turn the bow so that it isn’t exactly over the top of the bottom bow. It should twist to create a larger-looking bow.
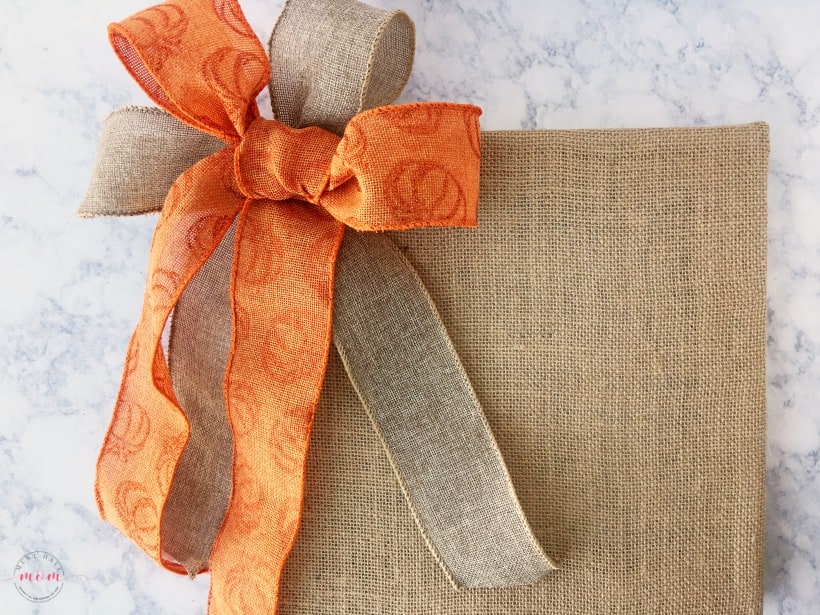
It should look like this when you are done!
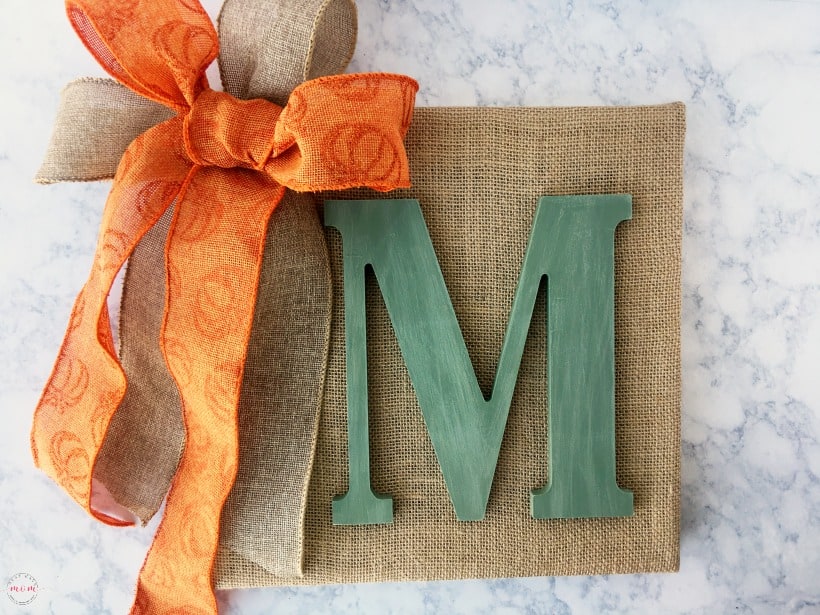
Now hot glue your wooden monogram letter onto the burlap sign. I did not place mine exactly in the center. I placed it slightly to the right to allow room for the tails of the bow to trail down without covering up the monogram letter.
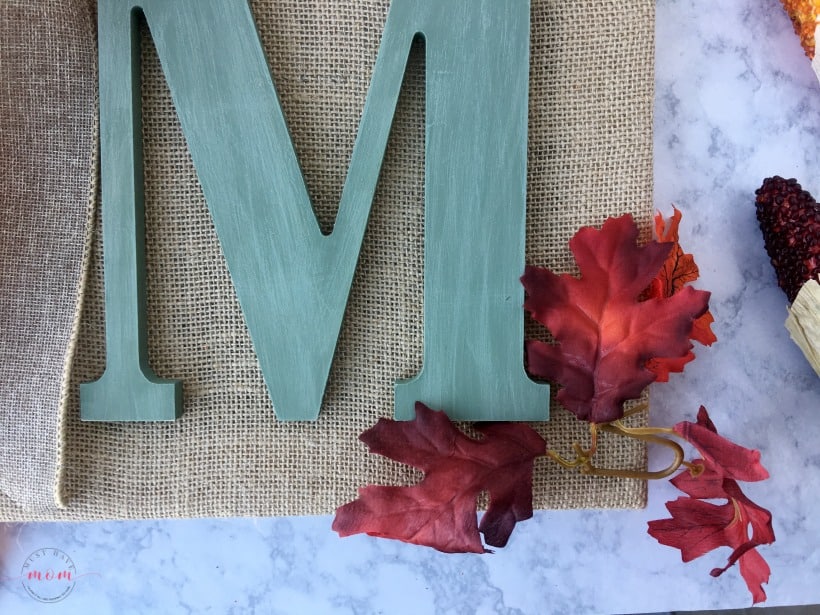
Now, cut a section of the leaf garland off and hot glue it to the bottom left corner of your burlap sign. Then glue a decorative Indian corn or gourd over the top of the leaves with hot glue.
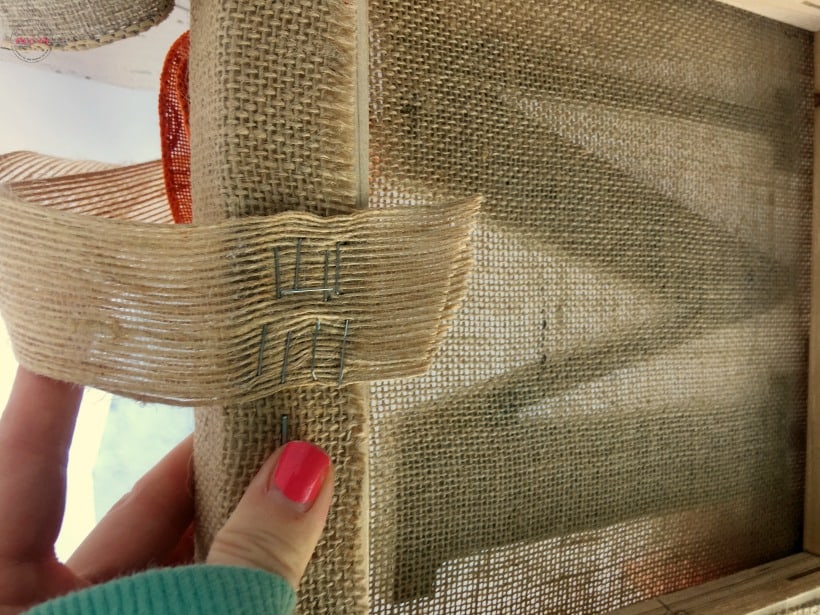
Measure how long you’ll need your strip of burlap ribbon to be in order to hang your sign at the proper height. Staple the burlap ribbon into the back of the burlap sign, right into the wood frame.
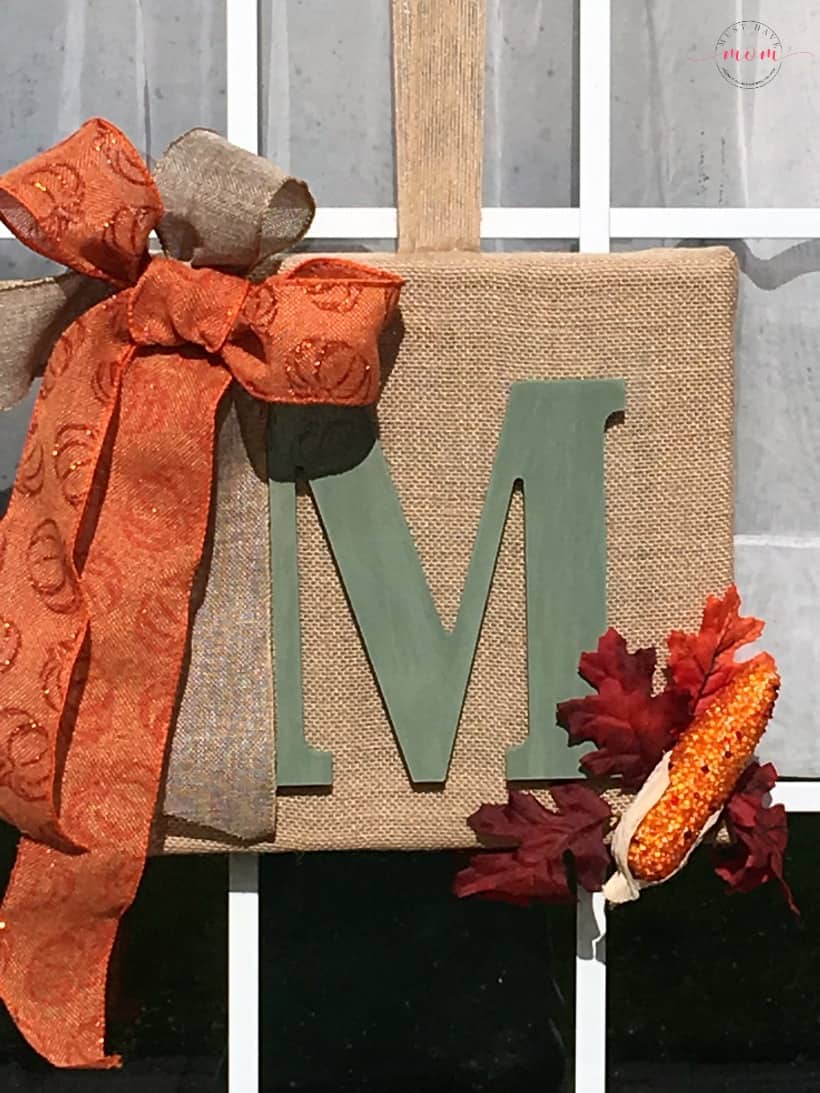
Hang your command hook on the window or door above where you’ll be hanging the fall wooden monogram sign and then place your sign on the hook. Wasn’t that easy? I love how welcoming my door looks when guests arrive. It cheers up my day as well when the weather is getting cold and gloomy, a bright spot on my door greets me when I arrive home!
Want more fall decor ideas? Check out my other DIY posts!
Pin this DIY Wooden Monogram Sign for Fall:




It looks good – I like the color you chose for the ‘M’ – it pops against the burlap.
I host a party every week & I’d love to have you join us: http://www.jodiefitz.com/2017/10/31/reader-tip-tuesday-weeks-craft-recipe-party-10/
It’s open and growing all week. Hope to see you there…
This is beautiful! I can’t believe how easy to make! It’s absolutely perfect for fall. Thanks so much for sharing your tutorial with us at Merry Monday this week!
Very cute! Love how you did the bow. I can never quite do those “fancy” bows so I like your idea of two bows as one. Visiting from BFF Party.
Je voulais juste me changer les idées après une longue journée. J’ai découvert vincispin casino et j’ai vu qu’ils proposaient des bonus exclusifs pour les joueurs de France, alors j’ai décidé de tenter le coup. J’ai lancé une machine à sous sans trop y croire, mais j’ai été surpris par le rythme et l’ambiance. En quelques minutes, j’étais déjà à fond dedans. Depuis, c’est devenu mon petit moment de détente quotidien.
Your point of view caught my eye and was very interesting. Thanks. I have a question for you.