DIY Farmhouse Style Layering Technique
To achieve a beautiful farmhouse style look you need to use layering to create warmth, rustic charm and a finished look. I’ll show you exactly how to use the layering technique in your next farmhouse style makeover so you can achieve a beautiful final look!
Thanks to shows like Fixer Upper on HGTV, farmhouse style has become a design trend that is here to stay. I am loving the farmhouse style trend and I have jumped on board the bandwagon! I began with my DIY RV makeover in gorgeous farmhouse colors and now I’ve moved on to a farmhouse style bathroom on a budget.
Luscious Layering
You don’t have to be an interior designer to style your home. I’ll show you a really easy design trend that you can use to achieve professional looking results! One of my favorite 2017 FrogTape® Design Trends is luscious layers! Luscious Layering starts with a simple wall color and then adding layers with bedding, drapery, rugs, and more. They key is to protect your trim moldings by using FrogTape® brand painter’s tape for crisp clean edges every time. I’ll show you exactly how I did it!
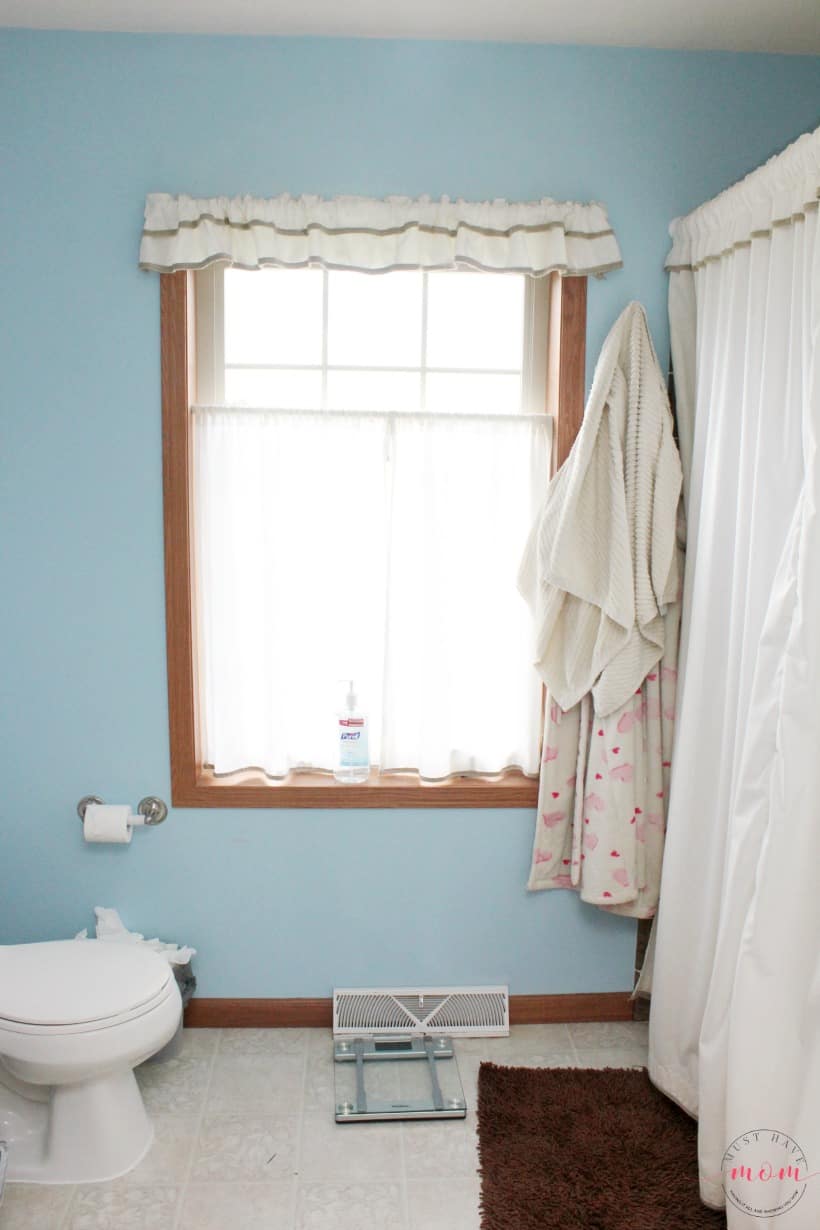
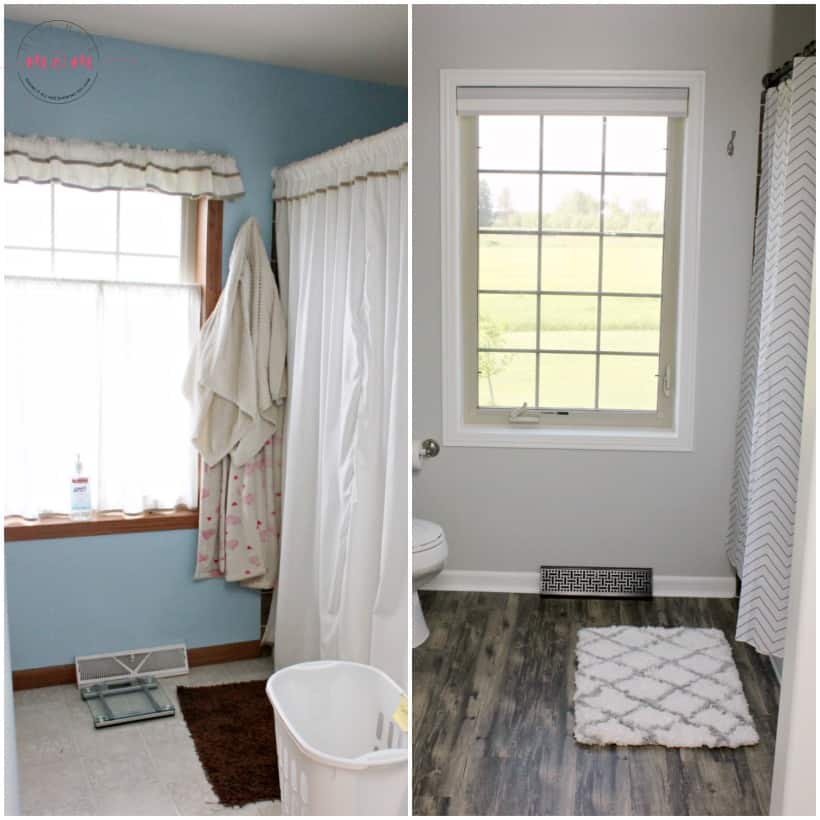
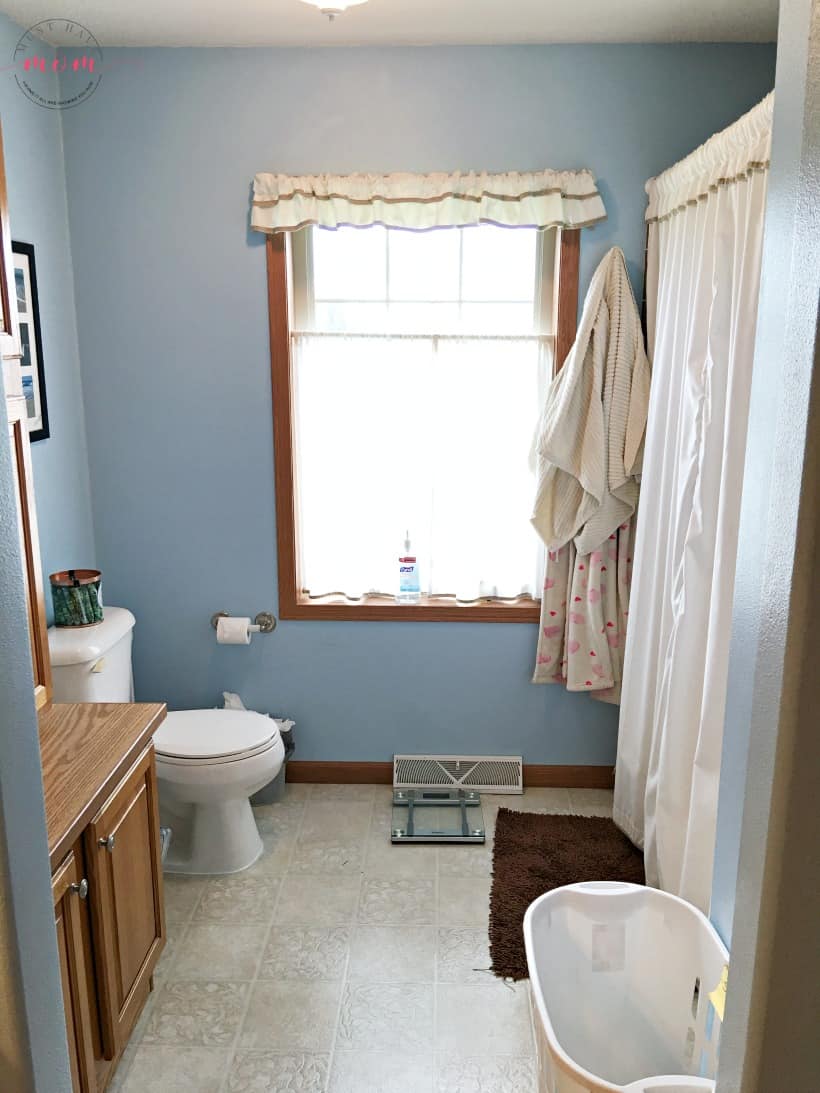
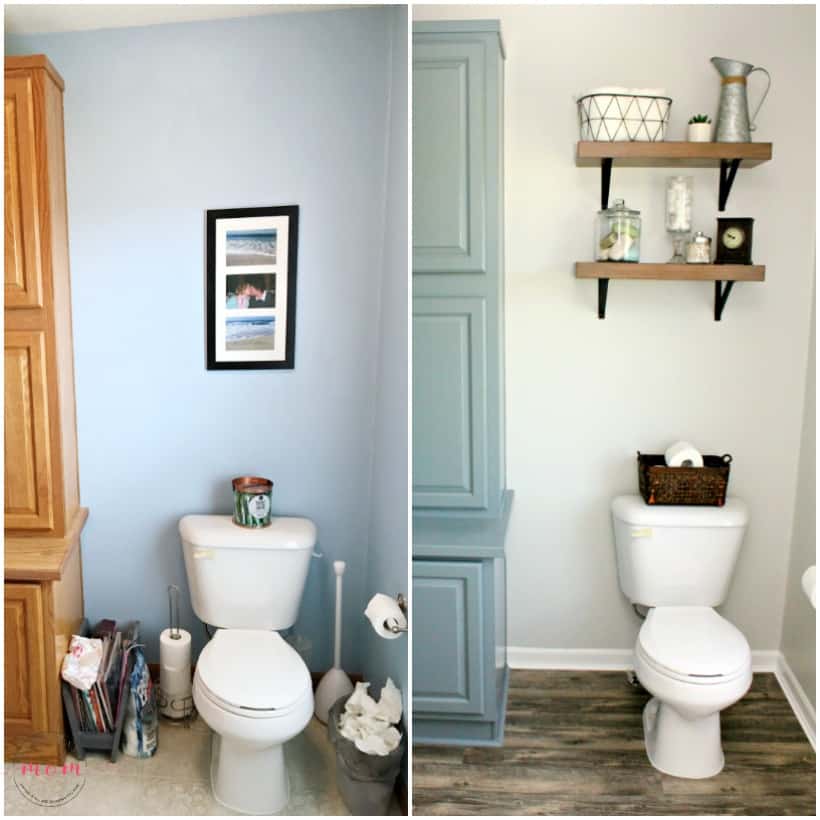
Here is my bathroom before I did my makeover. It consisted of oak trim and window casings with an ugly blue wall. I couldn’t wait to get rid of all of it! I bought a bonding primer and bright white paint for the trim and window casing. I chose a seashell gray color for the walls. I began painting the trim because I knew it would need several coats and need time to dry in between.
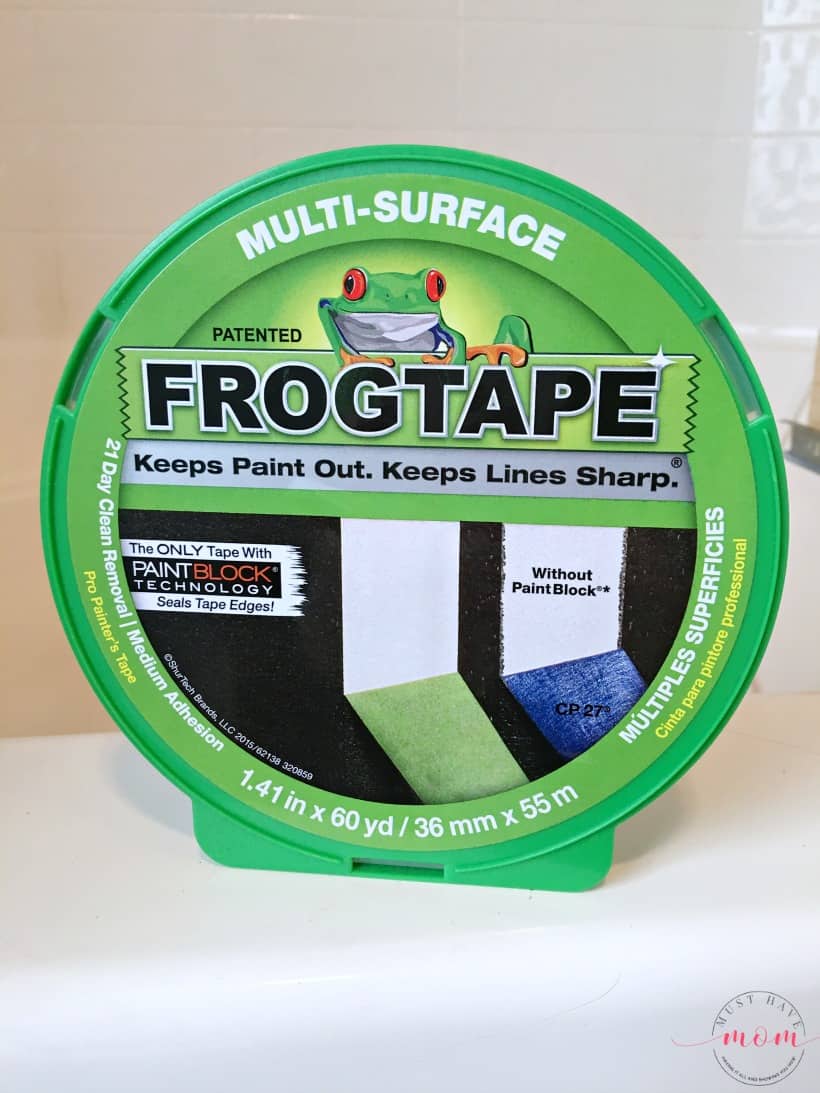
If you have followed along with any of my makeover projects then you know that my preferred tape for painting is FrogTape®. It’s the only tape I use. FrogTape® has PaintBlock® Technology that delivers clean, crisp paint lines every time. That means you get a professional-looking finished look!
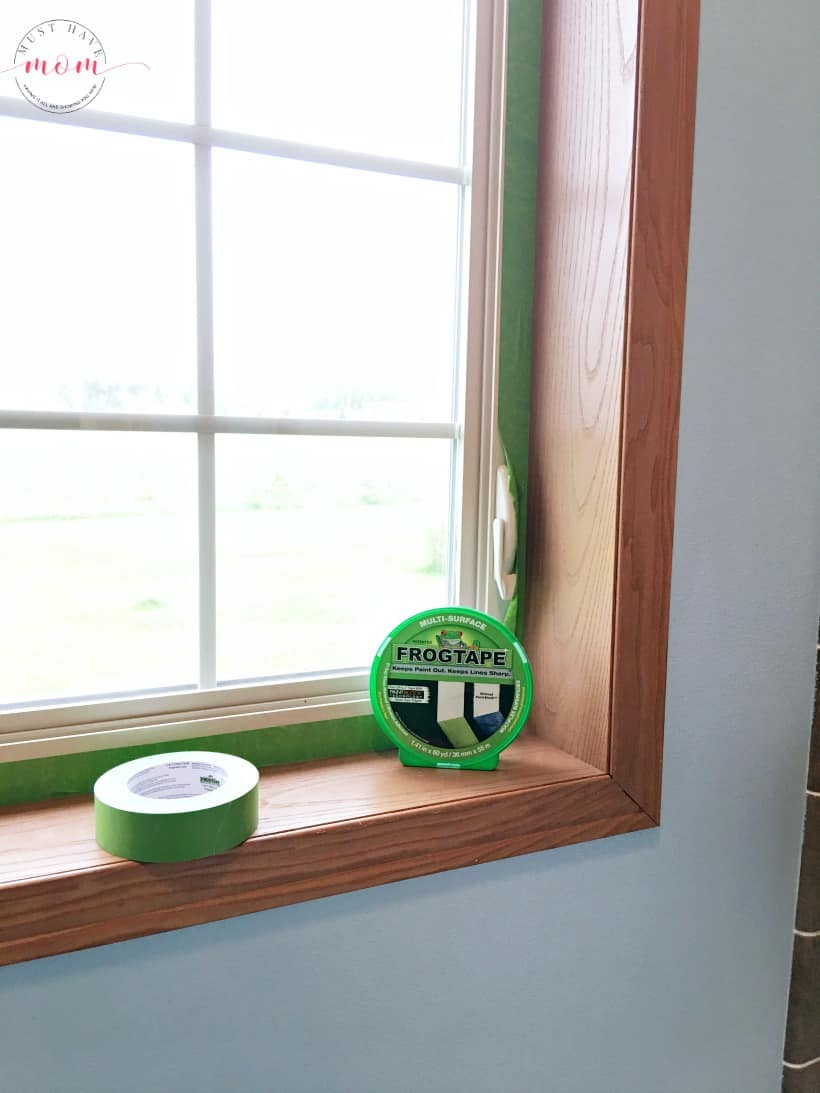
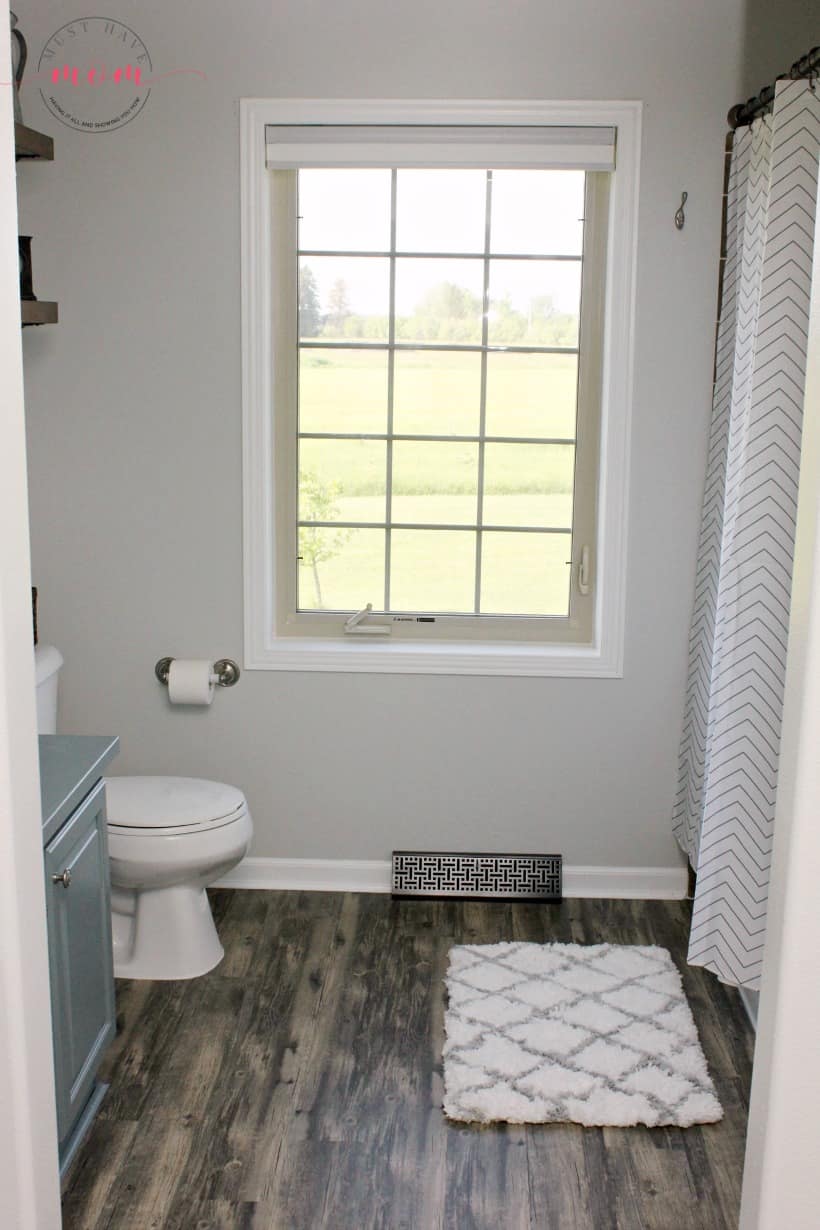
I began by taping the inside of the window casing. I wanted to make sure none of my paint would bleed through onto the vinyl window casing. I taped the entire inside of the window and then I was ready to paint. There was no need to tape around the outside of the window because I’d be painting the walls next.
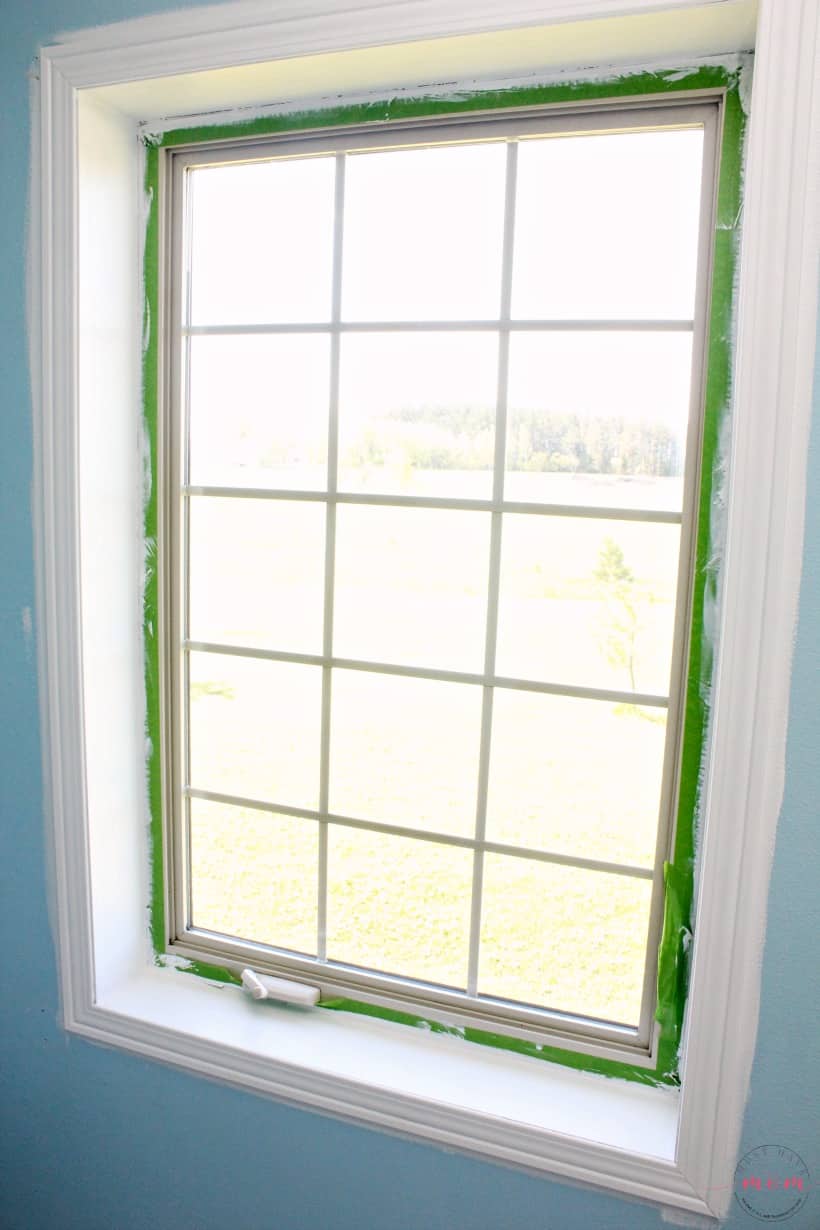
Look at how much nicer the trim looks with white paint! I did one coat of bonding primer followed by two coats of bright white paint. The final result was a big transformation. Bye-Bye outdated oak trim!
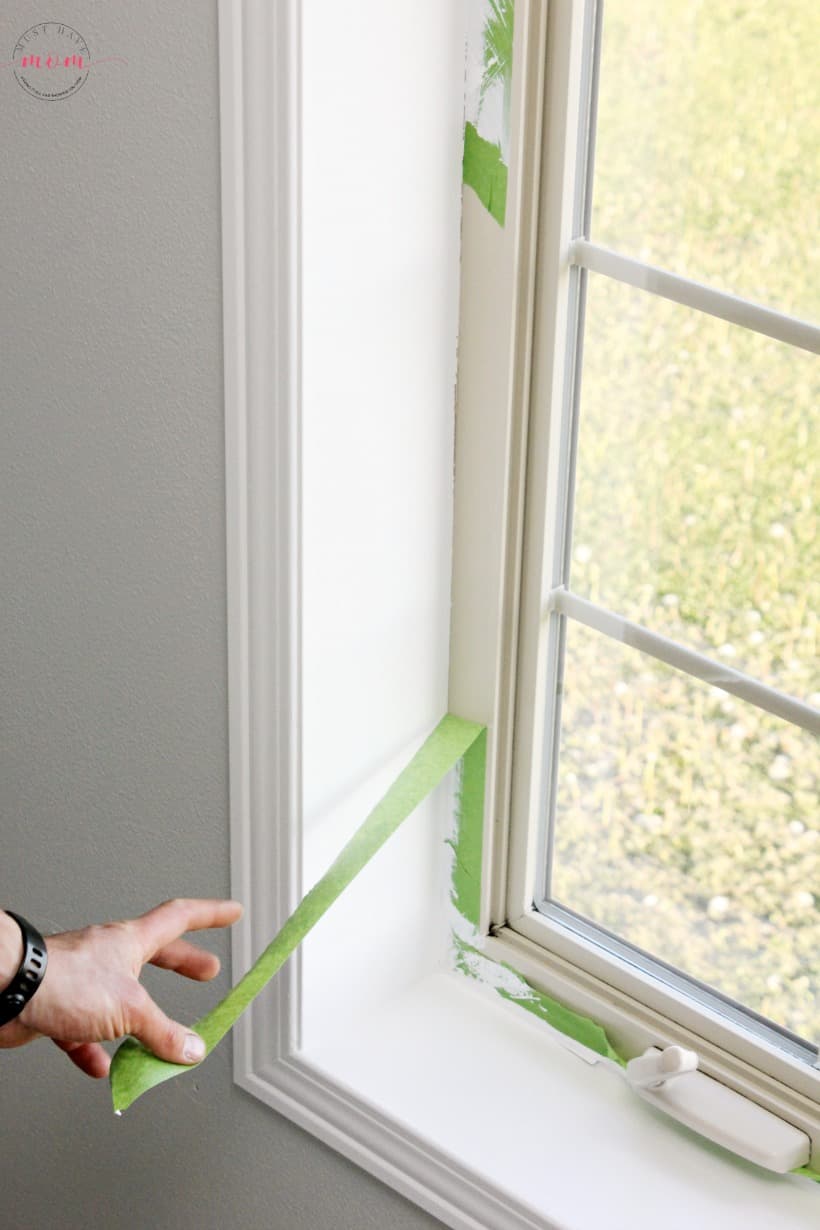
Once I finished all of my white coats, it was time to remove the FrogTape®. We started pulling it off to reveal a clean, crisp line! It looked beautiful.

You can also see the beautiful, clean line we were able to achieve along the tub tile (tape is already removed). What a crisp line it made along the tile!! If you have newly painted trim and need to paint the walls, you can wait 24 hours and then use FrogTape® Delicate Surface on the newly painted trim to protect it while you paint the walls.
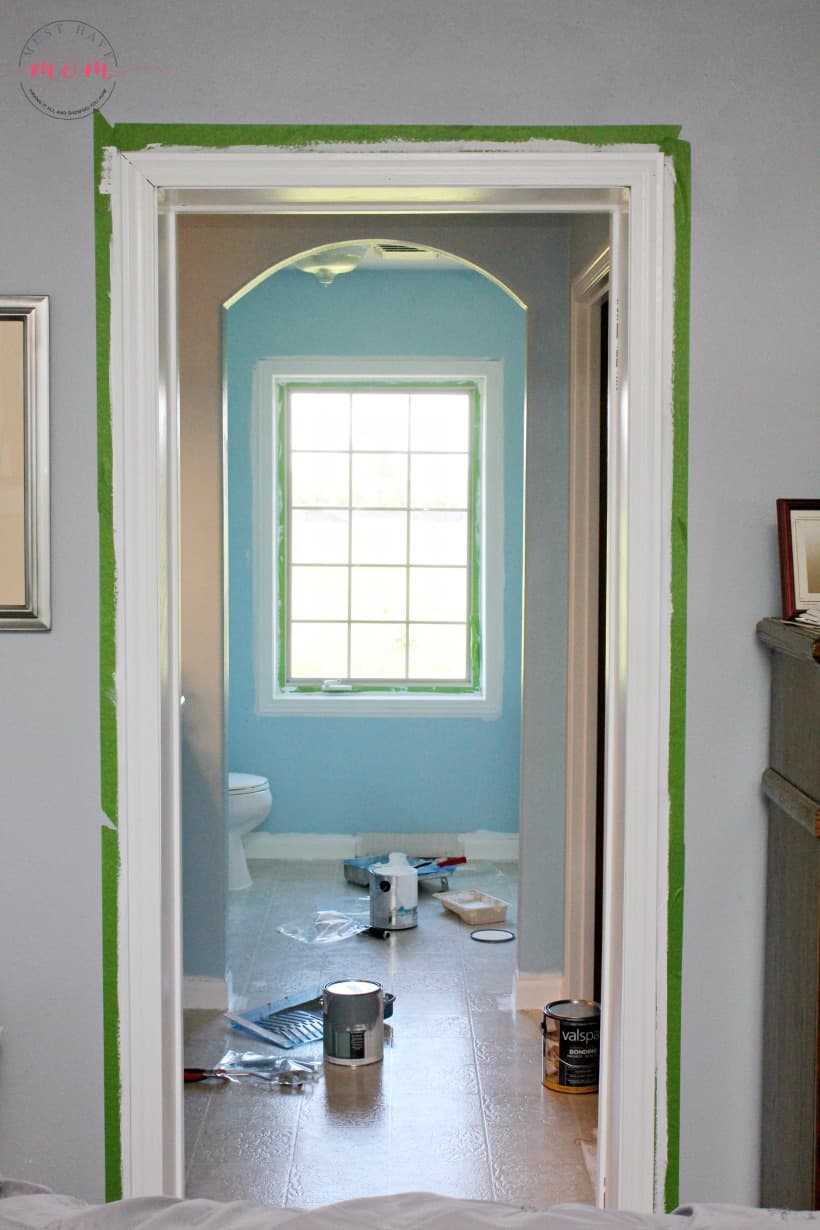
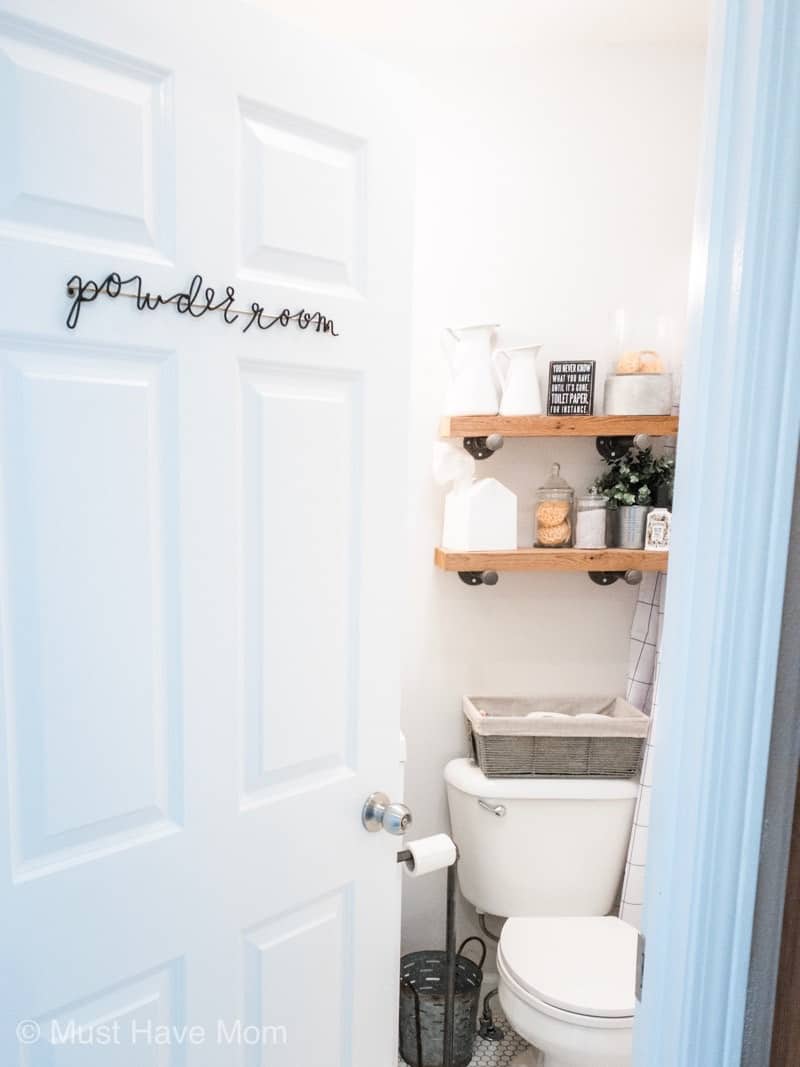
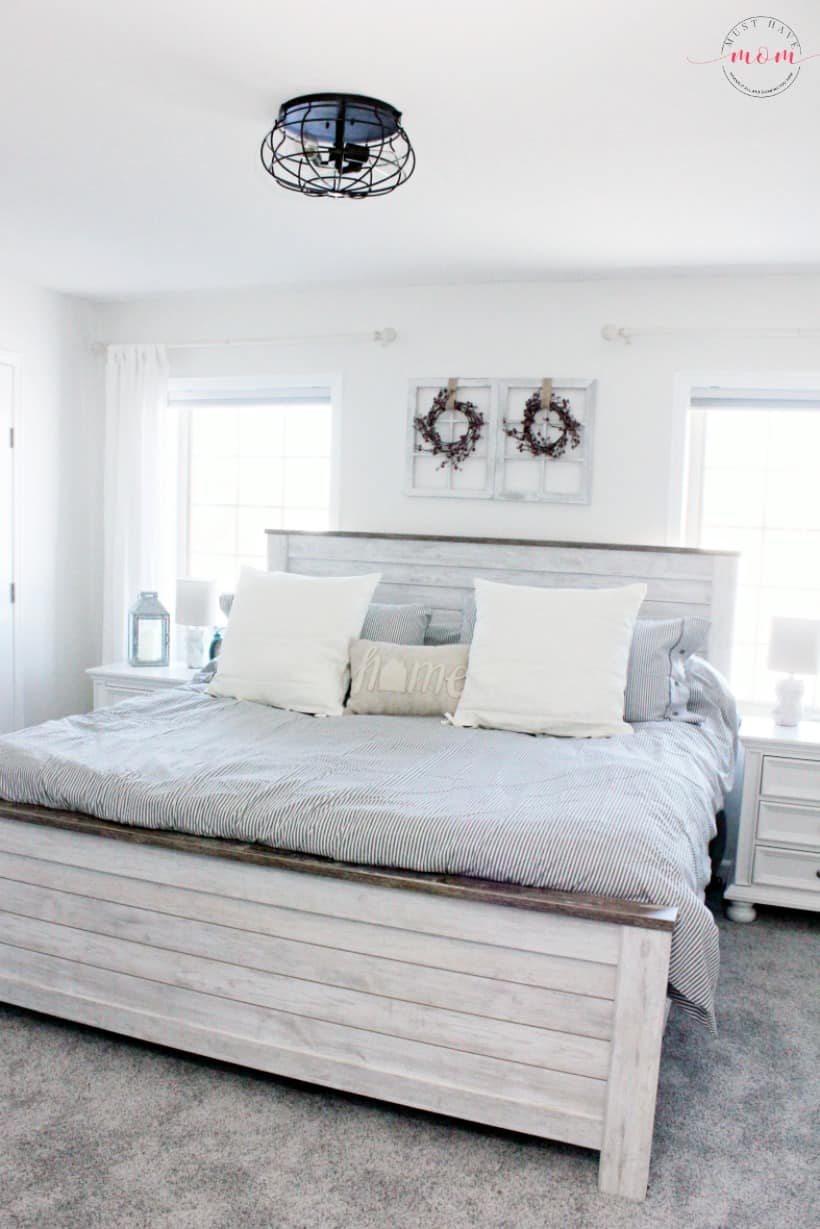
We also taped along the door trim entering into the bathroom. We decided to keep the wall color in our bedroom so we wanted to make sure we used FrogTape® to prevent any paint from getting onto the wall color.
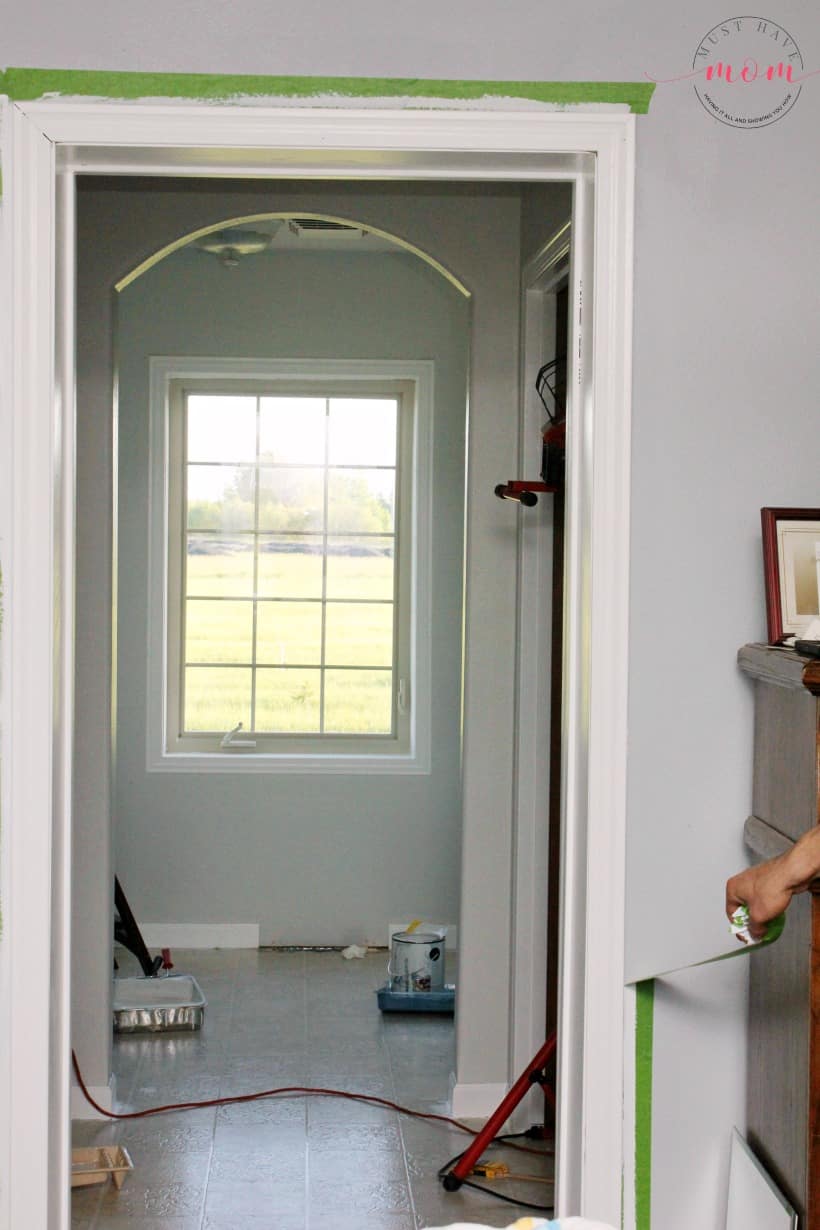
The result was a perfect line all the way around the doorway trim. It made a HUGE difference for the bedroom as well. We decided we didn’t even need to change the wall color in our bedroom because just adding white trim made a huge difference in the overall look.
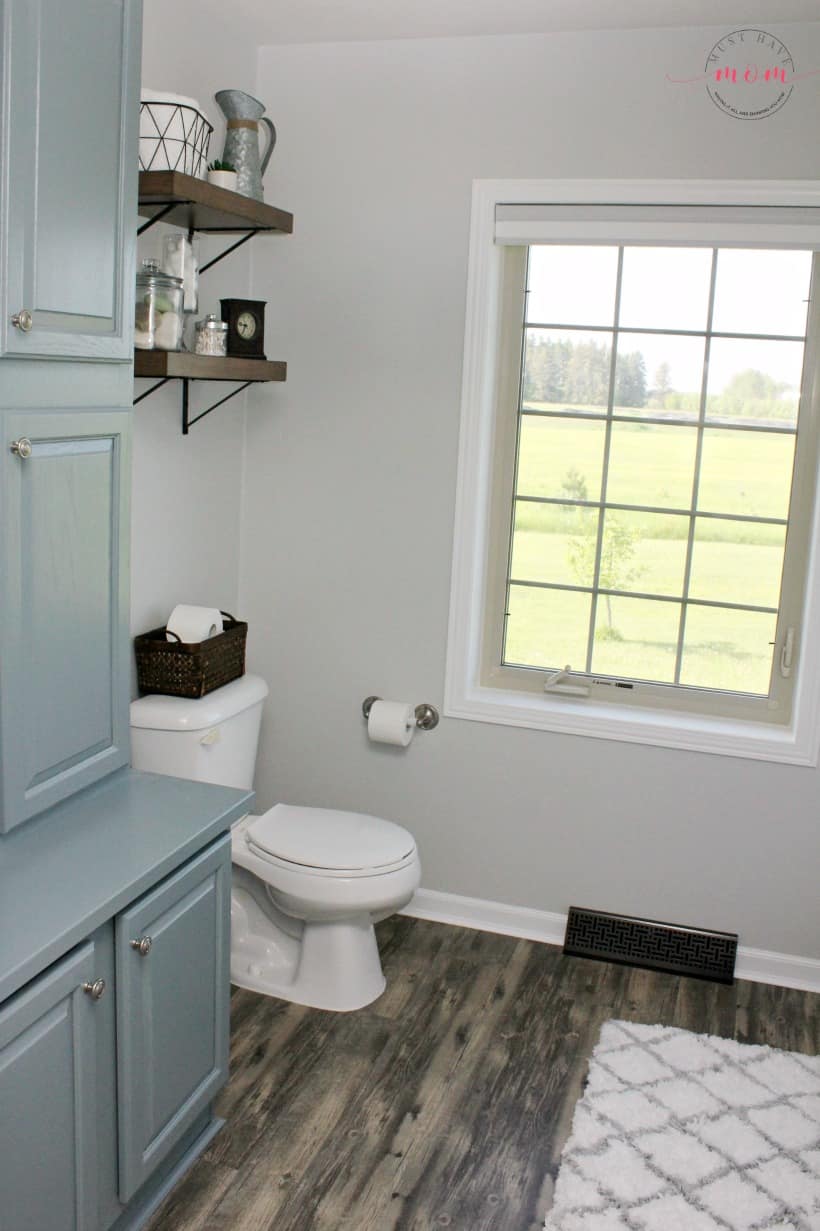
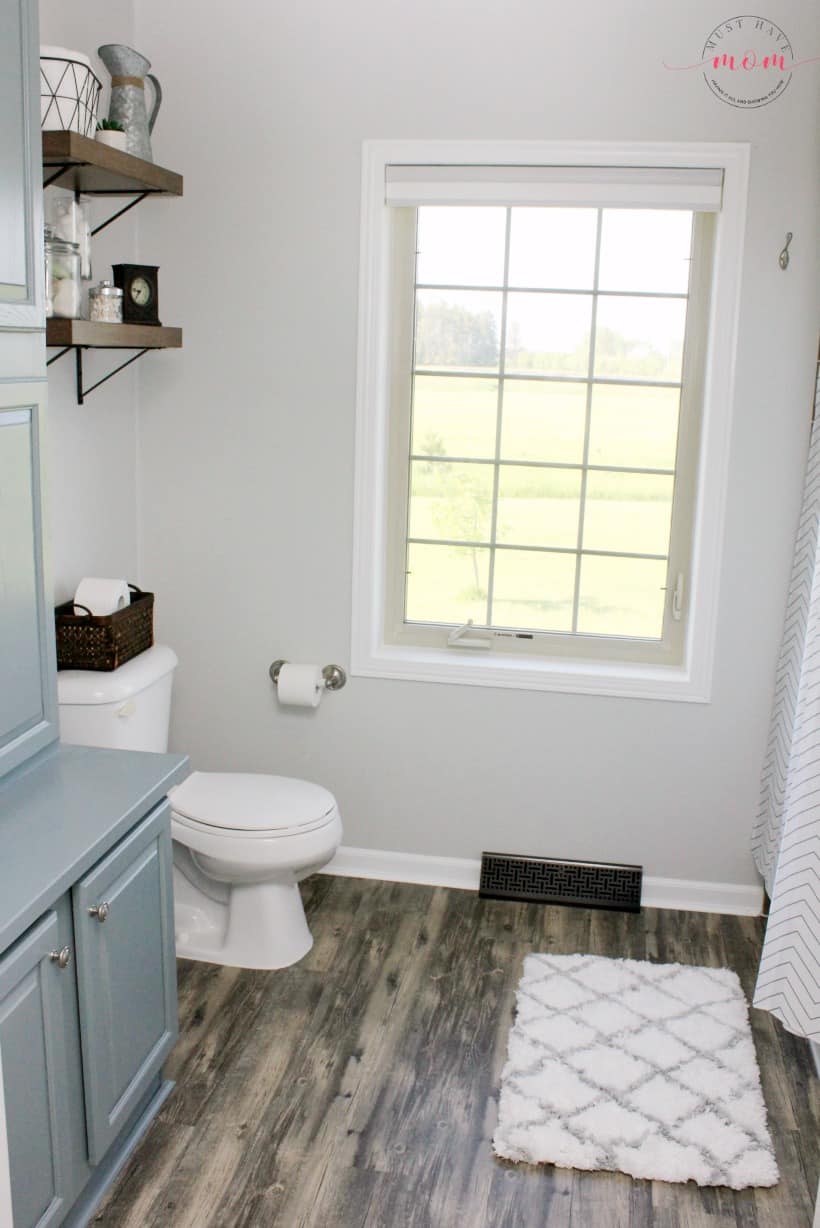
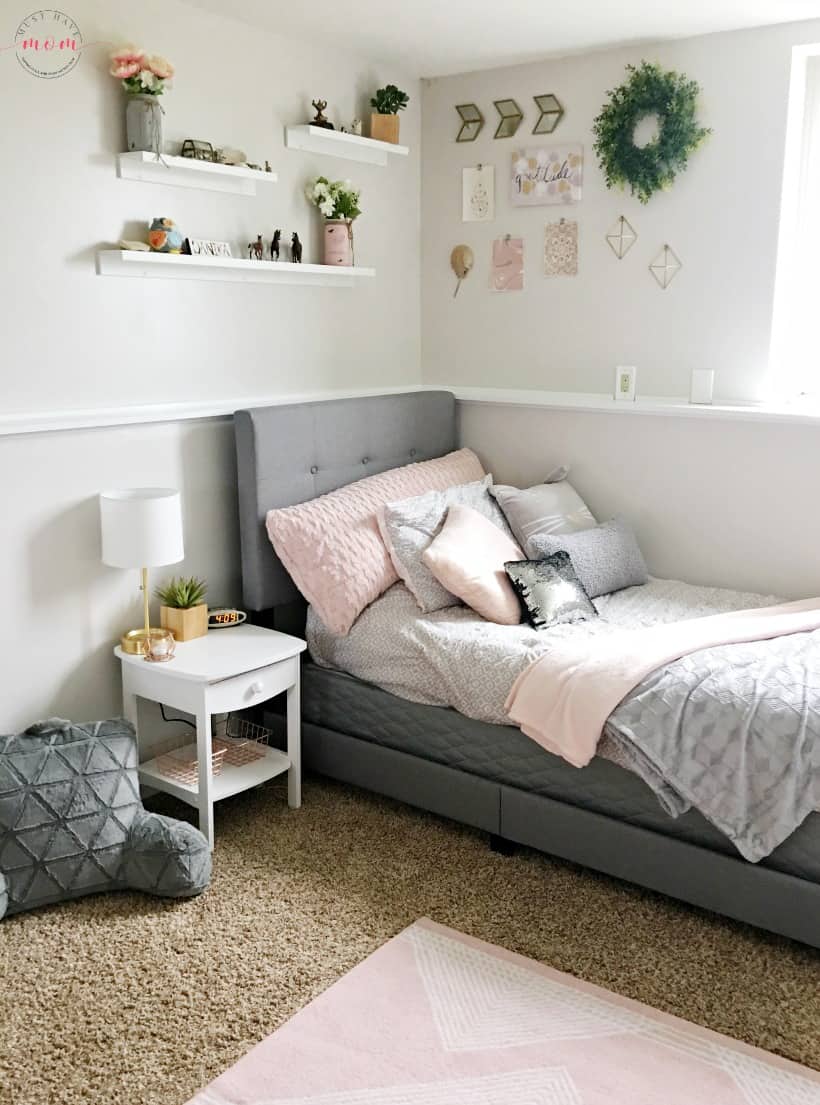
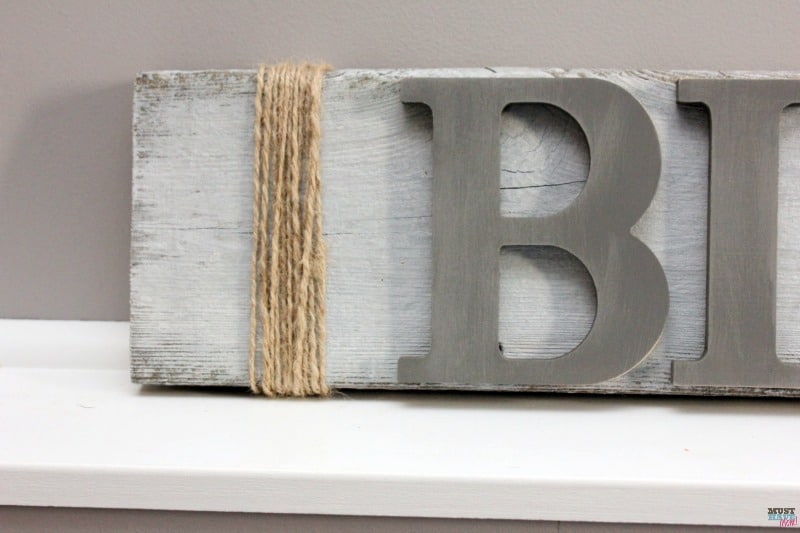
The white trim made a big difference in the overall feel of the bathroom, but the real trick here is luscious layers! After we finished painting, achieved crisp paint lines and loved the overall look, it was time to add layers. We added a plush rug on the floor, rustic wood shelves on the walls filled with a mix of glass, galvanized metal, bronze and cotton, and a basket over the porcelain toilet.
The final transformation was stunning! You can use these techniques in any room of your house! Begin with crisp paint lines and add layers. The final look is gorgeous and budget friendly!
Pin the Farmhouse Style Bathroom:
That is such a great before and after! I love what you did. The floor is gorgeous!
You did wonderful job! I have the one to paint parts of my house and the tape I’ve been using in the past has not worked well. I will definitely try this one out because I think I will be painting project over the summer.
The difference blew my mind. I absolutely LOVE the changes and the white! FrogTape clearly rocked it!
I am a bit obsessed with the farmhouse look. When we get our new house, I would love to try this technique.
I love the new look for your bathroom. The white trim really makes a difference.
Your bathroom looks so amazing! I really love the color combos and totally plan on coloring mine in this style.
Your re-design looks awesome! I love Frog Tape and have used it many times. It is so easy to work with.
Wow what transformation! Turned out great! Love the floor, definitely reminds me of a farmhouse style!
I love the results of your bathroom makeover. The wall color makes the room look bigger. Frog Tape worked really well for me when I did a design on a focus wall.
Wow! I’m speechless. This is an Incredible before and after.
What a beautiful look! I never thought to layer before!
My parents just finished a remodel, and it looks just gorgeous. I am having a little bit of envy. But I totally think I could manage a mini makeover inspired by your farmhouse style.
We love Frogtape – can’t do even a little project without it! The results are always amazing and yes – this project is excellent example of that!
I love how it turned out! I need to try that Frogtape! It really makes painting corner much easier!
I would love to have this bathroom – so bright and clean! Loving this DIY. Looks awesome.
Are you for hire? 🙂 I love the style too if I can get my family to keep it cleaned up to enjoy it. Great job!
The makeover is fantastic however, I’d like to know how you did the floors as well.
????
NetBet bietet mehr als 300 Slots in seinem Angebot, was
den Spielern eine große Auswahl und Abwechslung bietet.
Sicherheit und Lizenzierung sind dabei essenziell,
denn nur lizensierte Casinos bieten die notwendige
Sicherheit für Spieler. Diese Casinos sind ebenfalls einen Blick wert und bieten spannende Möglichkeiten für alle, die
auf der Suche nach neuen Spielerlebnissen sind.
Diese großzügigen Angebote machen den Einstieg besonders lohnenswert und bieten den Spielern viele zusätzliche Gewinnchancen.
Neue Spieler werden bei Casinorex mit einem hohen Willkommensbonus begrüßt, der
attraktive Vorteile bietet.
DundeeSlots bietet eine Vielzahl an Slots und attraktive Freispielaktionen, während QueenSpins exklusive Spiele von renommierten Anbietern bereitstellt.
Nur legale Glücksspielanbieter mit deutscher Lizenz schaffen es
in unsere Auswahl. Dank ihrer jahrelangen Erfahrung bietet der Softwareanbieter nicht nur eine
große Auswahl an Live-Spielen, sondern überzeugt auch mit einer reibungslosen mobilen Umsetzung.
Hier sind die Auszahlungsquoten der beliebtesten Live-Casinospiele, damit du das Beste
aus deinem Spiel herausholen kannst. Daher sehen wir die Live Online
Casinos im Vorteil, obwohl wir gelegentlich auch
lokale Spielcasinos als Abwechslung besuchen.
References:
https://online-spielhallen.de/umfassende-legzo-casino-bewertung-ein-spielerbericht/
Making deposits at online casinos is an easy, straightforward
process. At most online casinos in Ireland, minimum deposits are either €10 or €20, so €20 is the highest minimum deposit you’re likely to come across.
The most common offer found in the world of online casinos is free spins.
There’s so much competition out there, and players rightly deserve the
best possible online casino experience. The best sites pack in slots, table
games, live casino and more from top software providers like NetEnt, Playtech and Evolution.
A full list of Financial Conduct Authority (FCA) regulated casino
payment methods for the UK market can be found in our overview of online casino payment methods.
Whether you favour bank transfers, e-wallets, or pay-by-phone services,
you’ll find the information you need to choose the right online casino for
your banking preferences. Each link will take you to a page of top-rated casinos that support that
specific option for deposits, withdrawals, or both.
Consider which payment methods you’re most comfortable using and ensure your chosen real-money casino
site supports them. You’ll find details on welcome bonuses, ongoing promotions, and
loyalty programs, helping you identify the best bonuses for your
gaming preferences. For those primarily interested
in maximising bonus value, we’ve created a dedicated page that focuses solely on comparing
casino bonuses.
References:
https://blackcoin.co/popular-variations-of-casino-slots-game-rules-and-descriptions/
A cash-enhanced portfolio sets aside 30% of your funds
in cash, and that balance earns 3.60% in annual interest.
Based on your risk tolerance, you can choose
a cash-enhanced portfolio or a market-focused portfolio.
And though Ally offers a tax-optimized portfolio, it lacks
a tax-loss harvesting feature. You can choose from core, income, tax-optimized, socially
responsible, cash-enhanced and market-focused portfolios.
We like that Ally Invest Robo Portfolios offers different kinds of portfolios that align with different kinds of investors.
Betterment is a reputable investment company founded in 2008 by Jon Stein. Goals can be
anything from saving for college expenses or a home down payment,
to investing for retirement. A new user answers questions related to their age, income, investment
goals and risk tolerance.
References:
https://blackcoin.co/rocketplay-casino-registration-login-guide/
paypal casinos for usa players
References:
didiaupdates.com
online casino paypal einzahlung
References:
http://www.findinall.com