Dollar Store Farmhouse Signs DIY
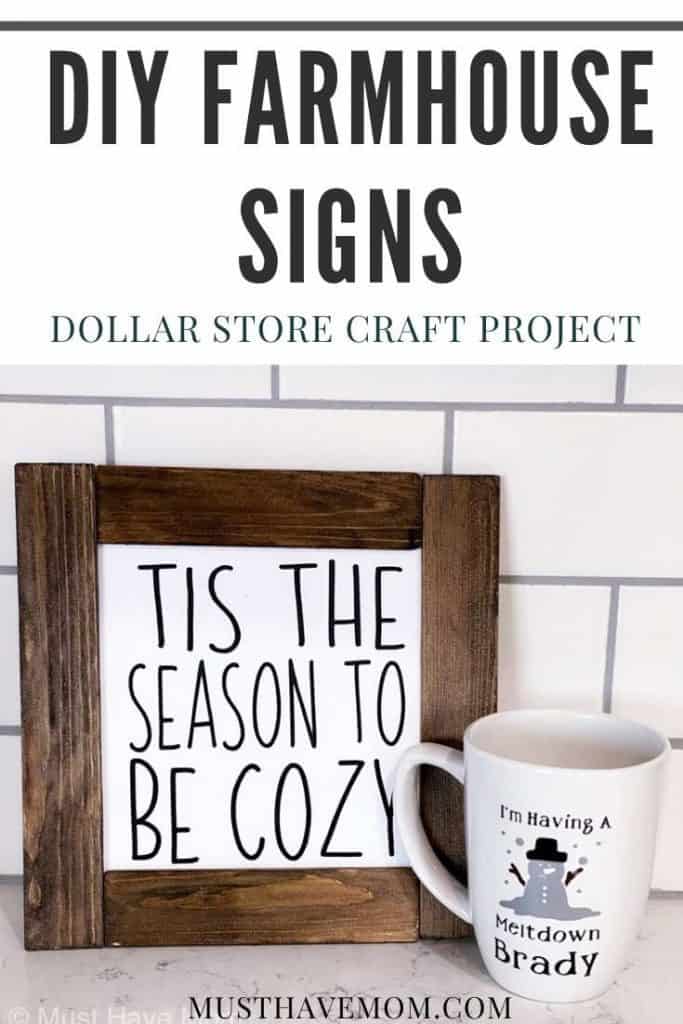
We made this farmhouse signs DIY using supplies from Dollar Tree and they look so gorgeous! The possibilities are endless with this dollar store craft idea!
Farmhouse Signs DIY
The farmhouse decor craze has really caught on thanks to shows like Fixer Upper and the latest Magnolia collection at Target. You don’t have to break the bank to decorate your home in farmhouse style decor though! These farmhouse signs are a DIY that costs pennies compared to buying a ready-made farmhouse sign at the store. It’s easy too! I’ll show you how to make your own rustic farmhouse signs on a dime.
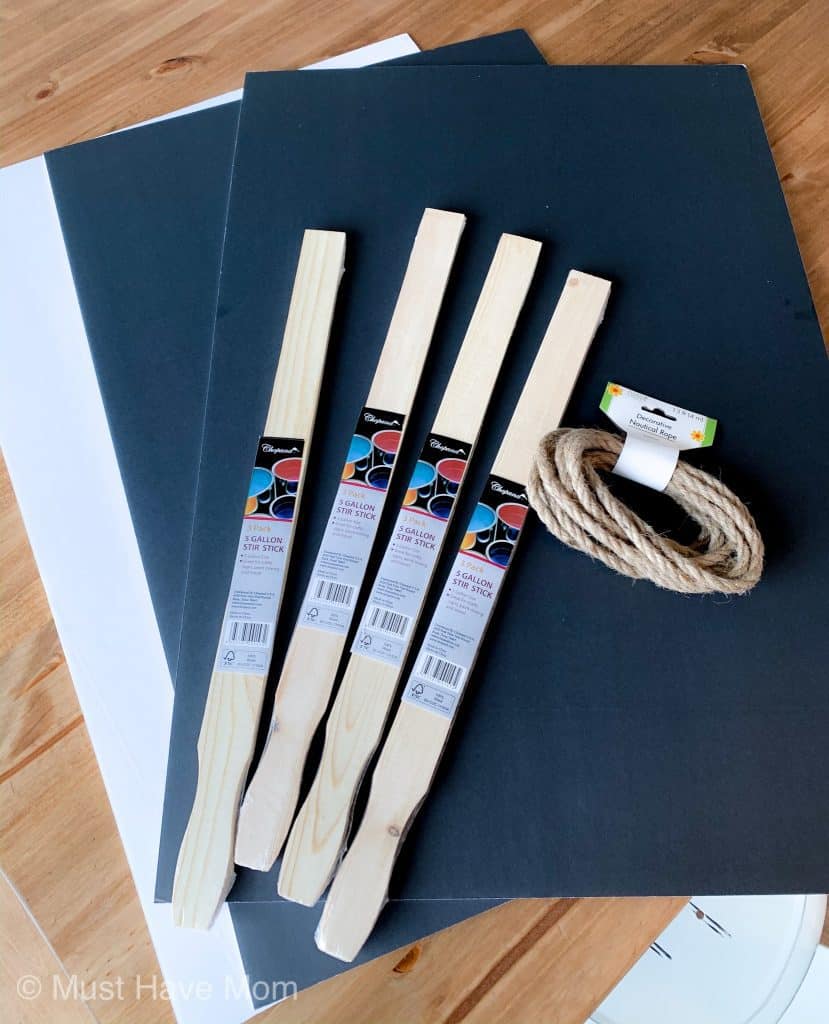
Supplies Needed:
You’ll need the following supplies for this dollar store craft project, most of which you can find at Dollar Tree or Walmart!
- 5 gallon paint sticks (found in the paint section at Walmart, Home Depot, Lowes, etc)
- white or black foam board (Dollar Tree)
- wood stain (I used leftover stain from other projects in colors “Jacobean” and “Early American”
- tacky glue
- Cricut permanent vinyl
- transfer tape or painters tape
- hand saw
- sandpaper
I had a lot of this stuff left over from other projects so be sure to check your stash!
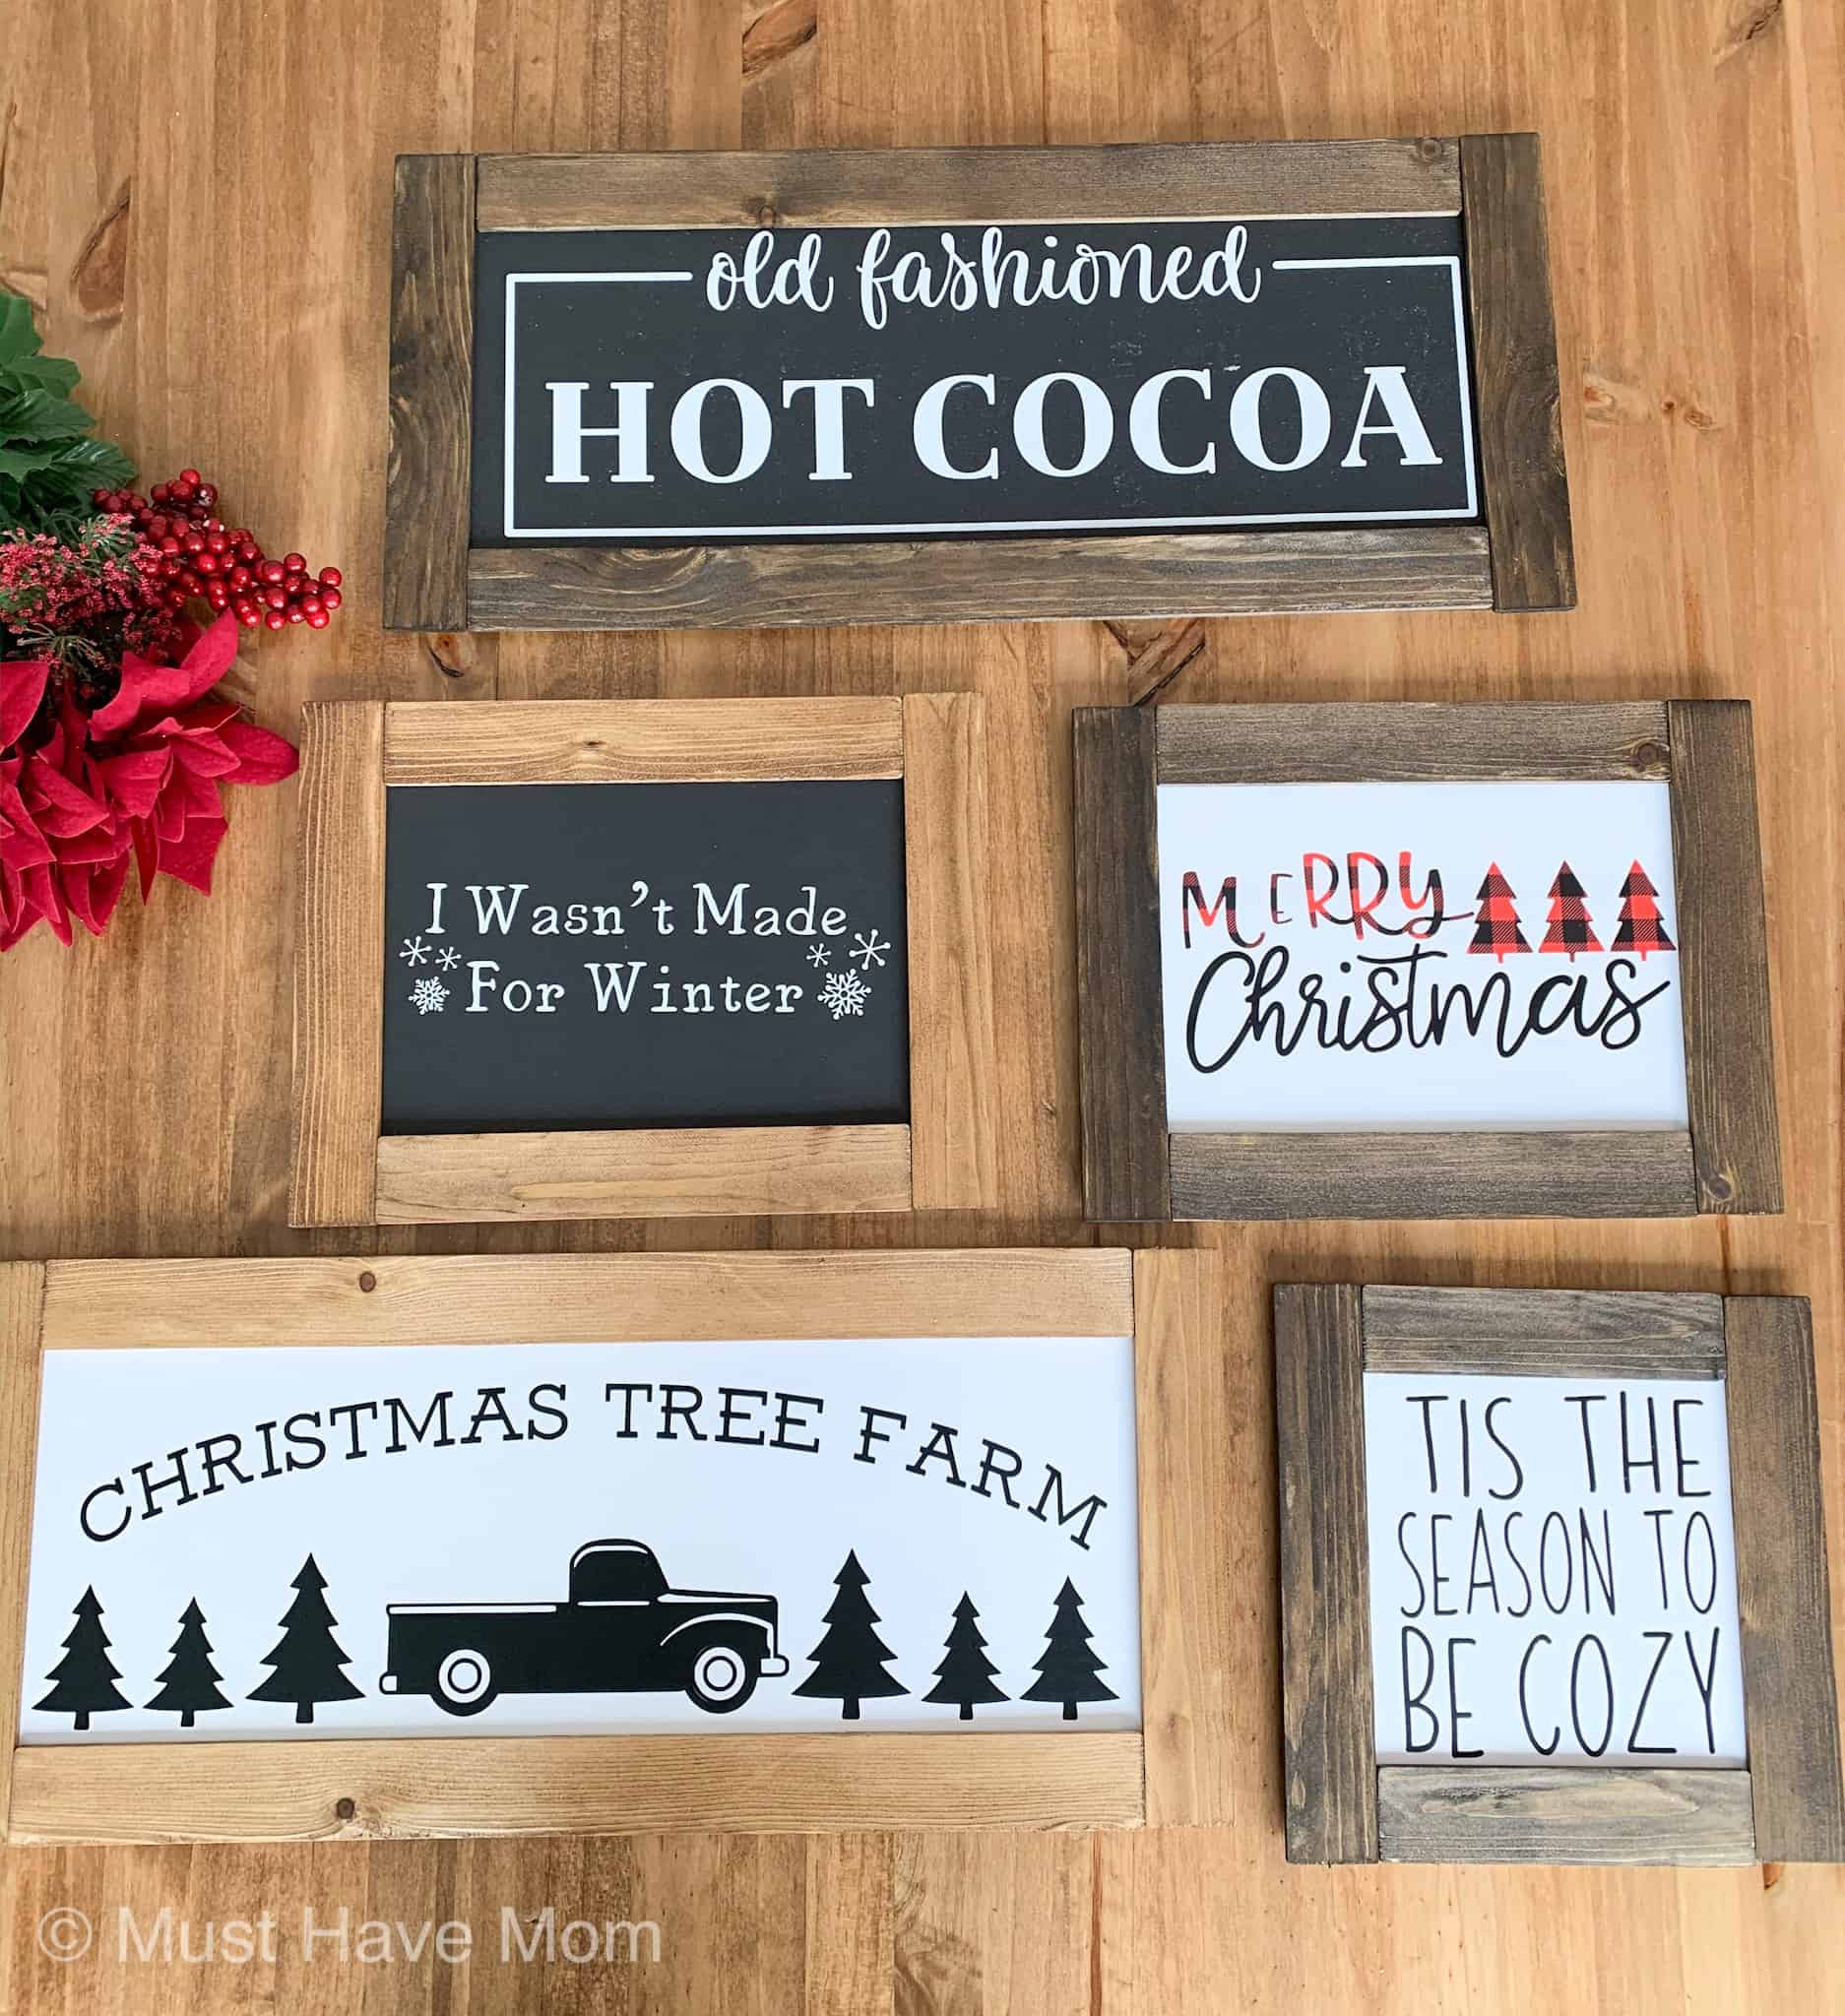
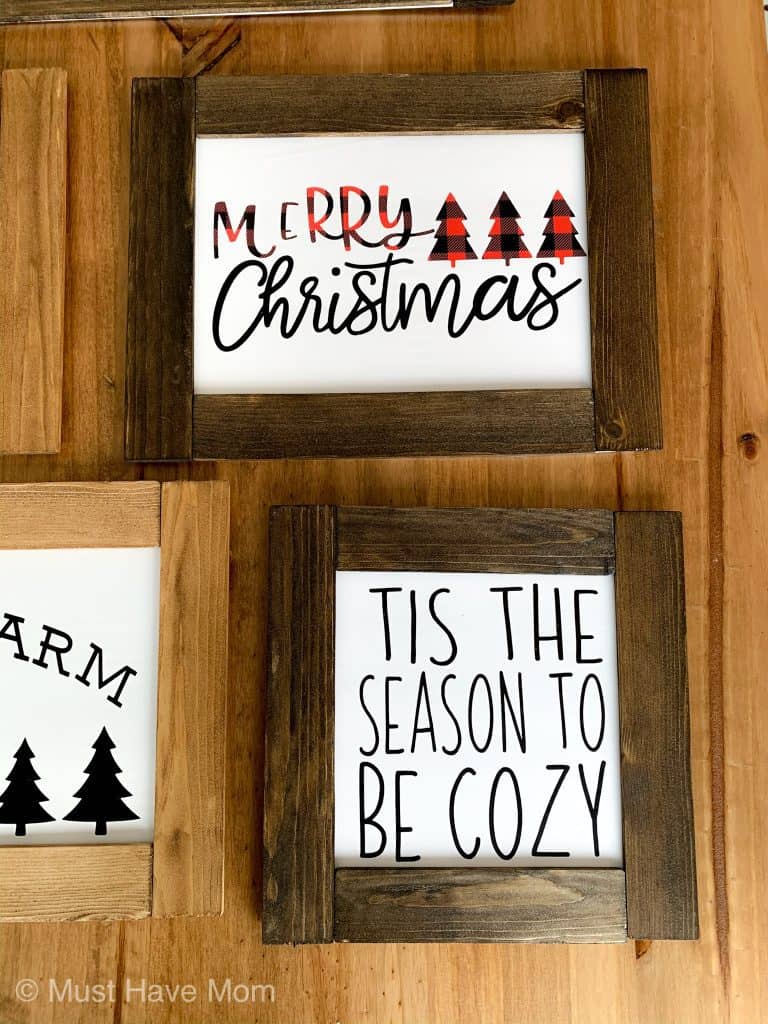
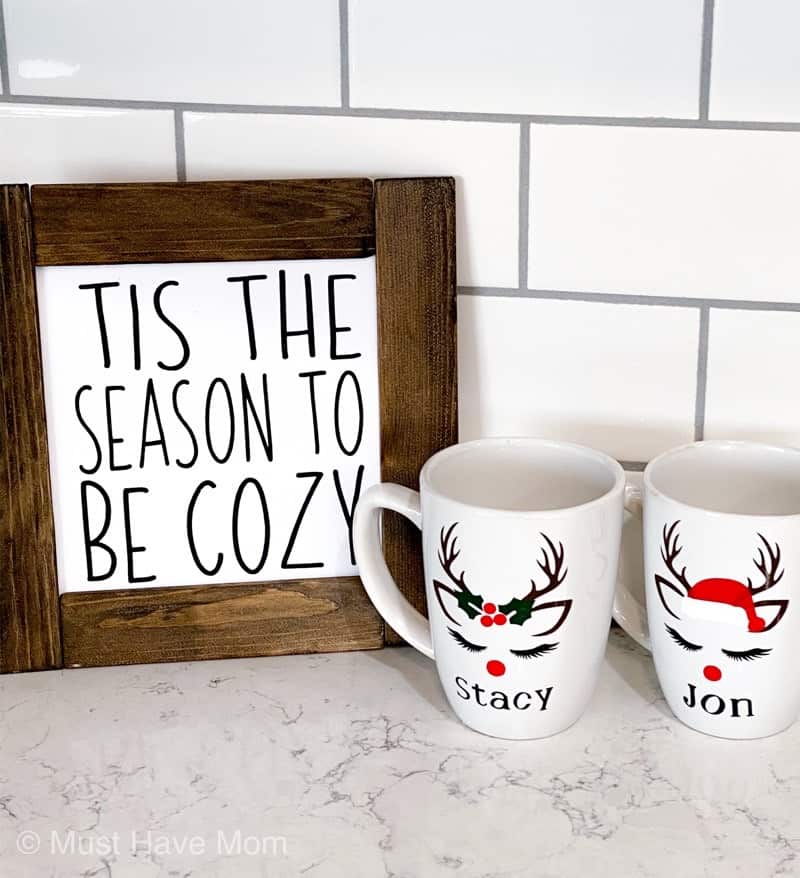
For our rustic farmhouse signs, we created three sizes. One small square, small rectangle and large rectangle. We switched up the stain color and black and white foam board to create tons of different combinations! You can create many different looks with this one basic design!
DIY Farmhouse Sign Directions
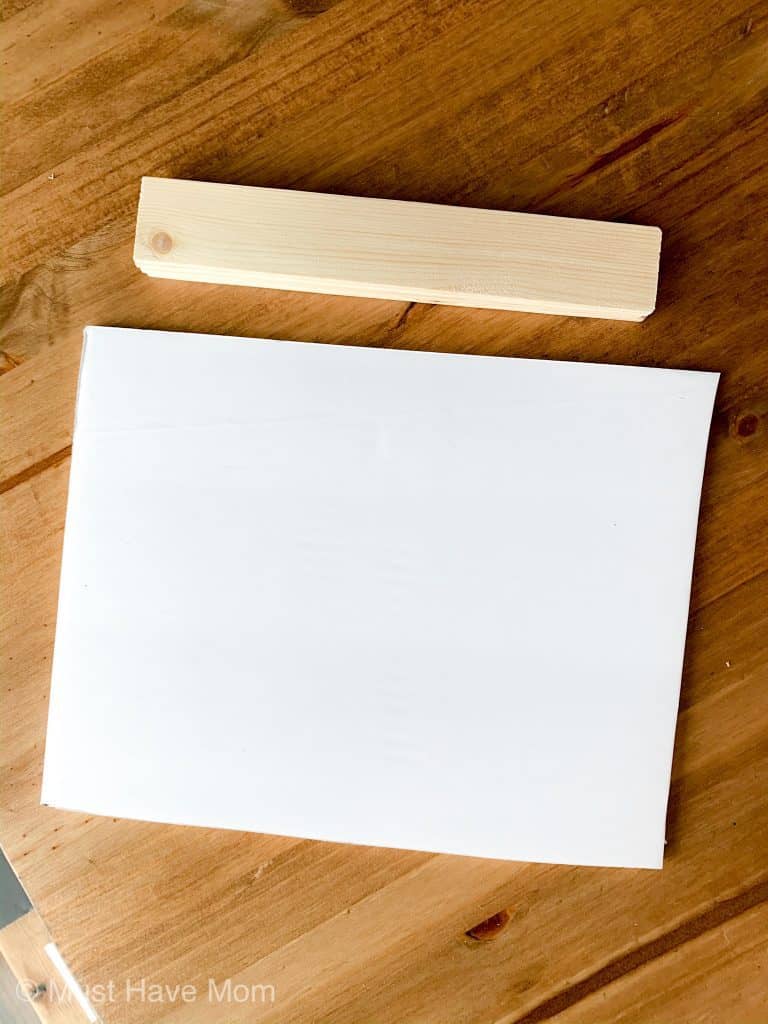
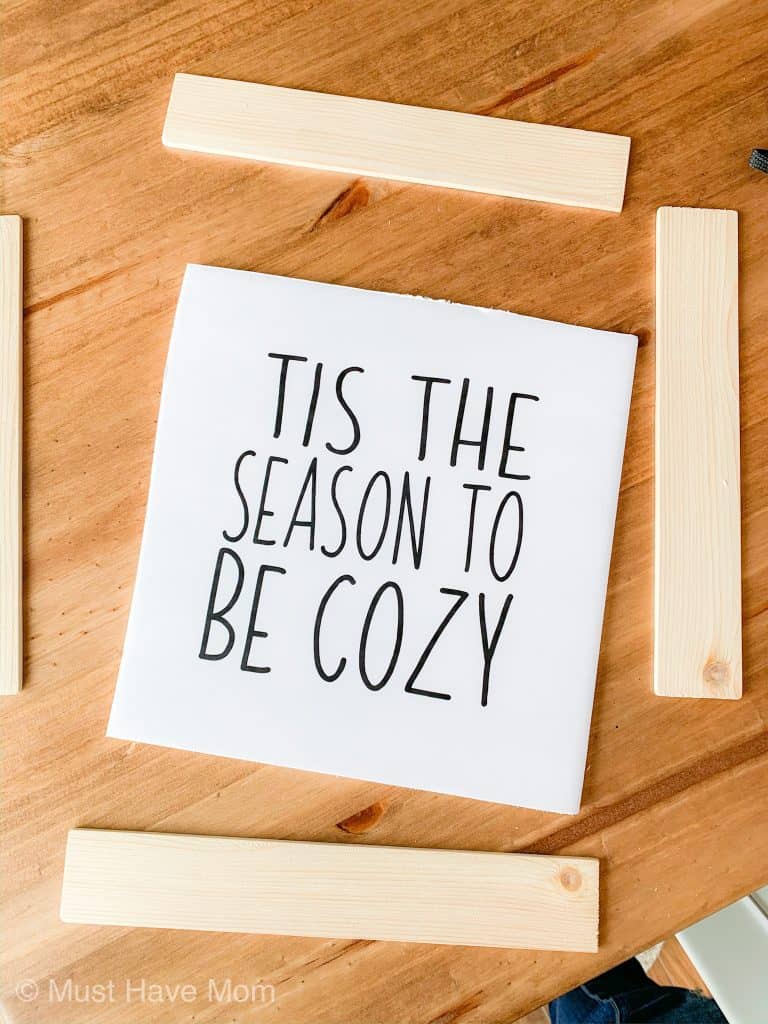
Begin by cutting and sanding the paint sticks. Then apply your desired color of stain and allow to dry. Here are the measurements for the paint stick cuts for each size farmhouse sign:
Small square sign: (2) – 5.75″ sticks + (2) 8.5″ sticks
Small rectangle sign: (4) – 8.5″ sticks
Large rectangle sign: (2) – 17″ sticks + (2) 8.5″ sticks
Then use a utility knife to cut the white or black foam board down to size. Here are measurements for the foam board for each size sign:
Small square sign: 8″ x 8.25″ foam board
Small rectangle sign: 8″ x 10.5″ foam board
Large rectangle sign: 19.5″ x 8.25″ foam board
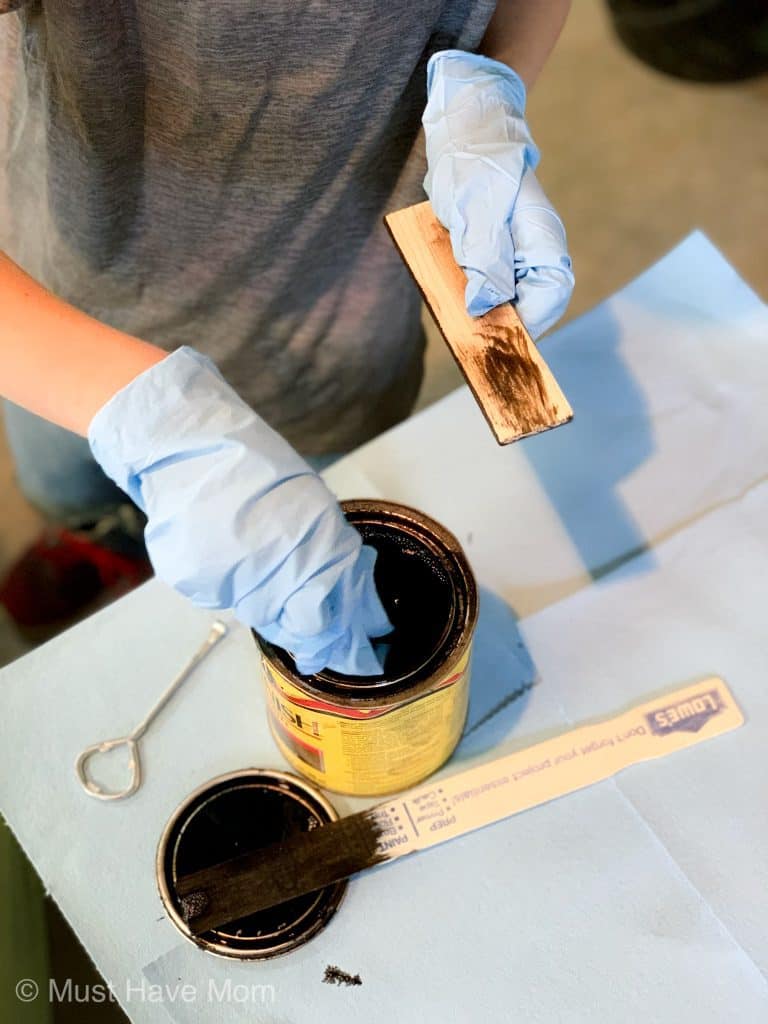
Once you have your paint sticks cut, use a cloth to rub stain on them and wipe away the excess. Cover all sides of the paint stick and the edges. Allow to fully dry. Be sure to stain in a well-ventilated area.
There are TONS of different design files you can use to create just about any sign you want! Here are the sources for some of the designs I used in my signs:
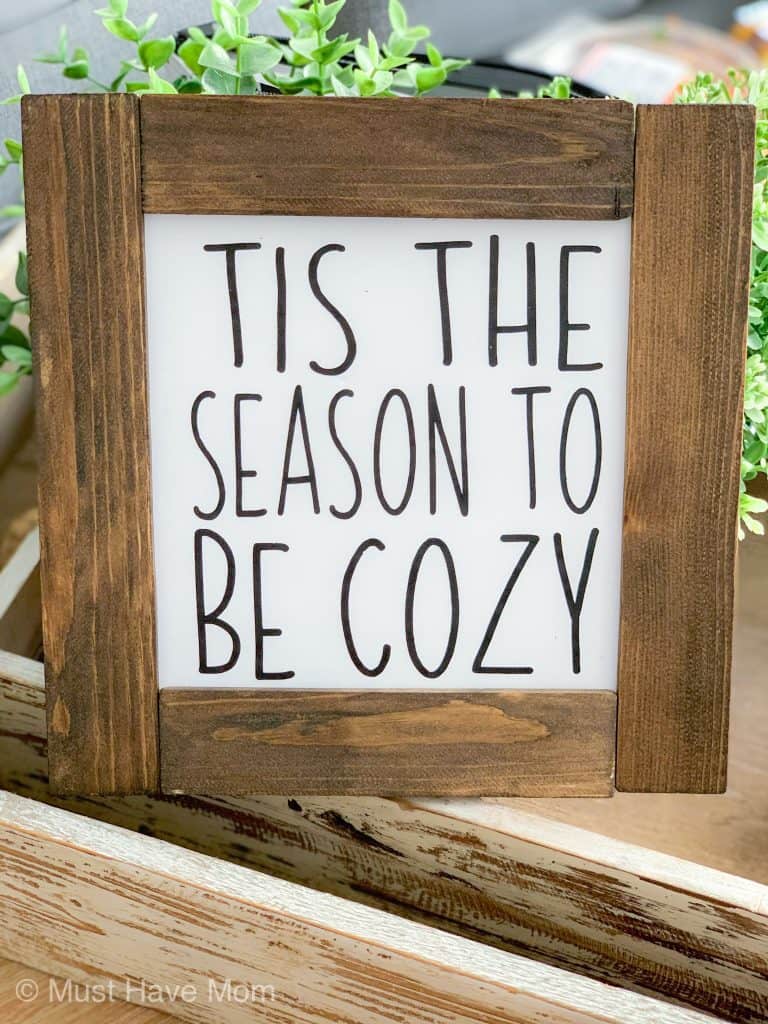
- ‘Tis the season to be cozy – FREE – Commercial use included for at home or small business crafters with less than 5 employees. Design copyright remains with Cutting for Business.
- Merry Christmas with trees – FREE – Commercial use included for at home or small business crafters with less than 5 employees. Design copyright remains with Cutting for Business.
- Old Fashioned Hot Cocoa – $3.00
- I Wasn’t Made For Winter – FREE- Commercial use included for at home or small business crafters with less than 5 employees. Design copyright remains with Cutting for Business.
- Christmas Tree Farm – FREE
Some other good places to find cute farmhouse sign designs are:
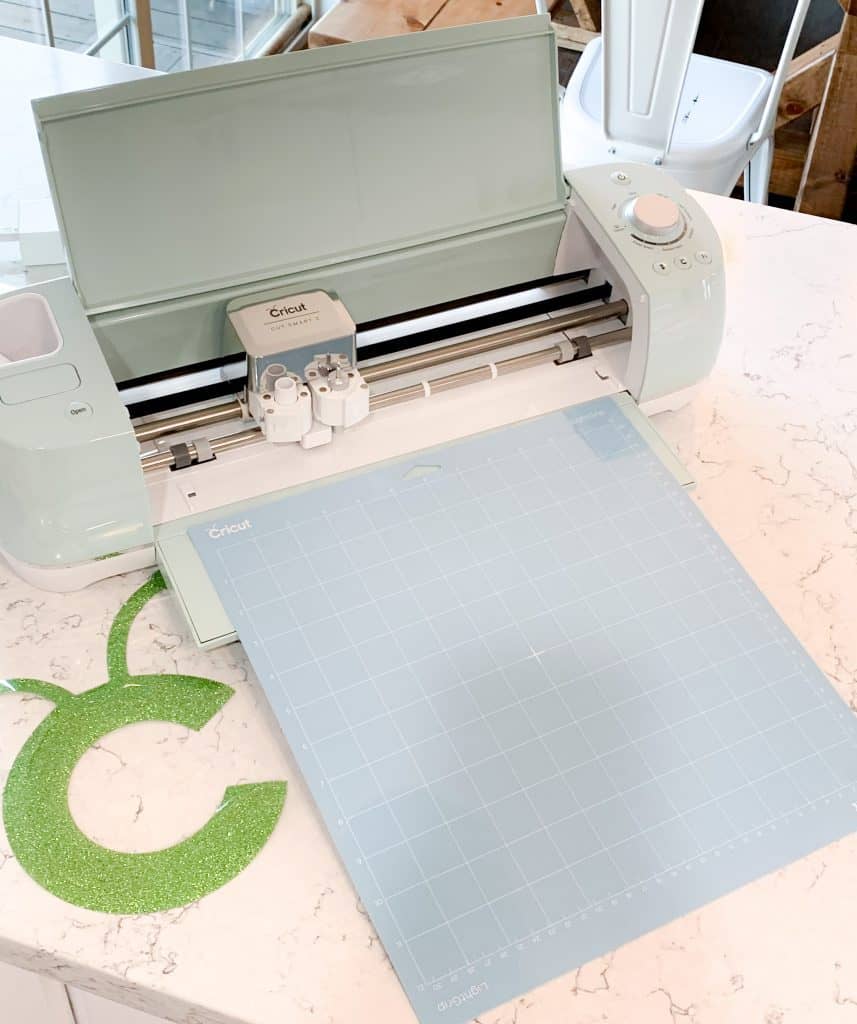
Once you have chosen a design for your sign, upload the svg file into Cricut Design Space. Cut your chosen design on Cricut permanent vinyl using a Cricut Explore Air 2. Use the following measurements to properly size your image in Design Space so it fits on your foam board with the frame around the edge:
Small square sign: 5.5″ x 5.5″ image dimensions
Small rectangle sign: 8″ x 5″ image dimensions
Large rectangle sign: 16.5″ x 5.5″ image dimensions
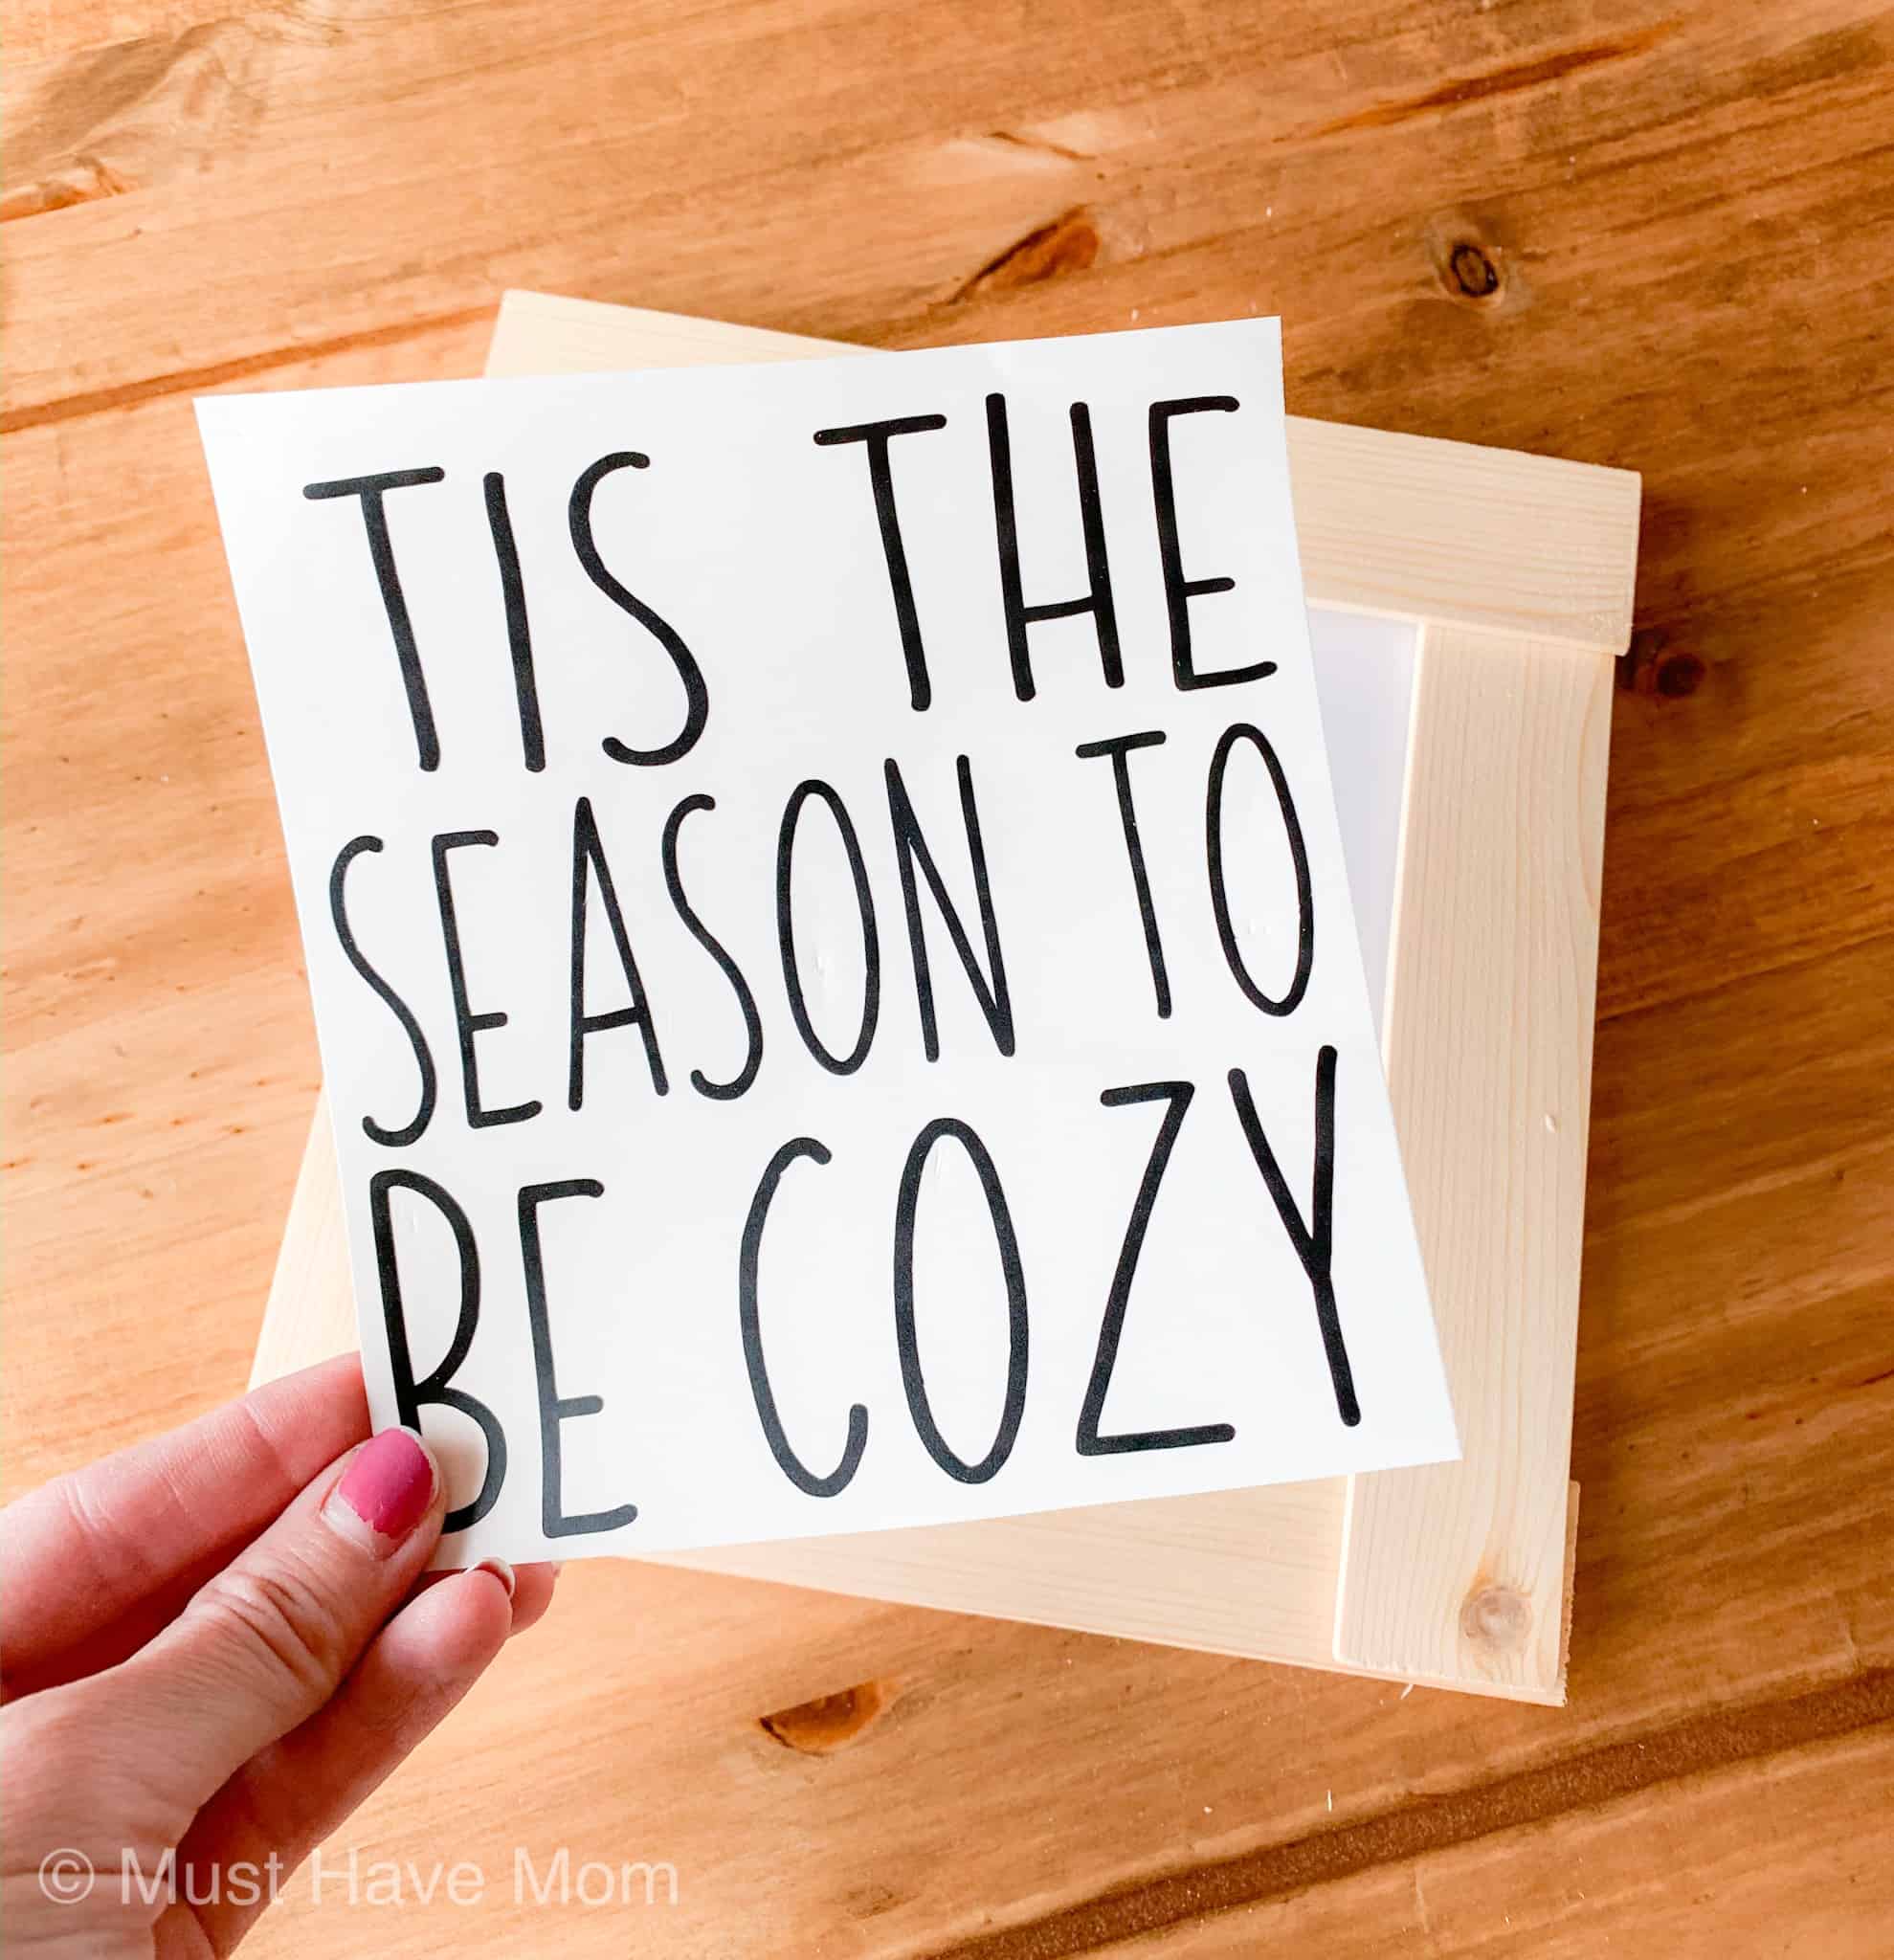
Cut the design on Cricut permanent vinyl using your Cricut. Then weed the design and apply transfer tape (or painter’s tape) over the top of it and transfer the design onto the transfer tape.
Center the design in the middle of the foam board piece and transfer it to the foam board. Remove the transfer tape.
Once you have transferred your chosen design to the foam board, you can use tacky glue (I used this one) to glue the wood pieces onto the foam board.
Be sure to line up your paint sticks correctly to form a farmhouse style frame around the image. You want the outside edges to all be lined up straight. Then allow the glue to fully dry before handling the signs.
You can use the signs on a table and lean them against something or you can hang them on the wall using Command picture hanging strips. The inexpensive poster hanging Command strips work great because these signs are super lightweight.
These rustic farmhouse signs are quick and easy to make and they make great gifts! They are an inexpensive way to decorate your home in a farmhouse theme without spending a ton of money on decor!
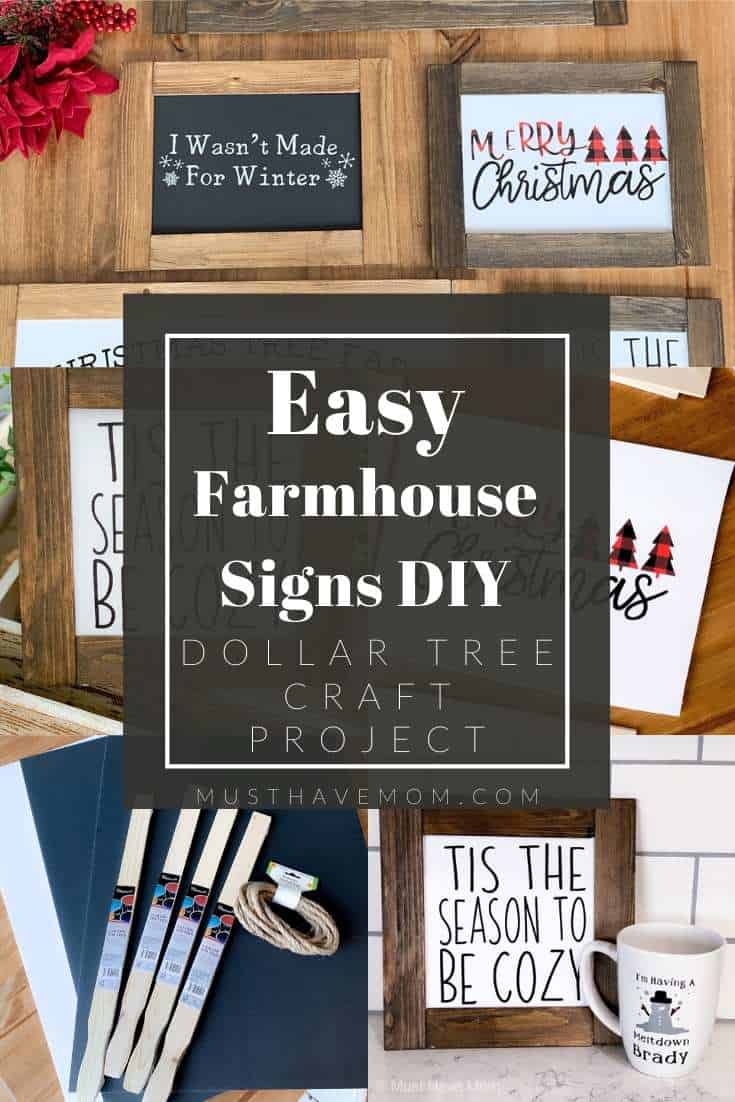
Pin DIY Farmhouse Signs
Please pin the image below for easy finding later!





Oh my goodness this is genius! Will have to use this next year…pinning!
Love your signs! Thanks for sharing with us at the Snickerdoodle link party!
Thank you so much!!
Great signs using Dollar Tree supplies ~ pinned! I’m visiting from Home and Garden ~ A Delightsome Life. I like discovering new (to me) blogs ~ now following you on social media. 🙂
Thank you so much! Great to “meet” you as well!
This is just genius! Never would have thought of using those large paint stirrers to create a frame, but it works beautifully! And if you don’t have a Cricut, you could use printable images or stencils to create a similar look.
Thanks so much for joining the Grace at Home party at Imparting Grace. I’m featuring you this week!
Thank you so much for the feature! Yes, you can totally make these in so many different ways! 🙂
What a great idea to use paint sticks. It really surprised me to find out that was how you created the frames!
Isn’t that such a fun hack? So inexpensive!
Congrats! Your tutorial will be featured on Happiness is Homemade with LifeasaLEOWife.com! So fun! I love making signs with Dollar Tree foam board! Our readers on Traffic Jam Weekend would love this DIY as well, so we’d love for you to share on there as well. It runs Thurs-Sun!
Thank you so much for the feature!
Well…those look easy enough to make!
Thanks for sharing this idea.
Laurie
Ridge Haven Homestead
Thanks Laurie!
Hello these are amazing. If you were to sell these, how much would you ask for them. I am new at this and just starting out. Thank you so much for sharing.
I wanted to send a quick shout-out to say how impressed I am by your recent achievements. Your dedication and enthusiasm are truly commendable, and it’s always encouraging to see someone who loves what they do. Keep up the excellent work!
“Dollar Store Farmhouse” decor offers a charming and affordable way to create a cozy, rustic aesthetic using budget-friendly finds. There’s a real chance you could transform everyday items from the dollar store into farmhouse-inspired pieces think distressed finishes, mason jars, neutral tones, and simple textures that echo countryside living. With a bit of creativity and a DIY spirit, your space might reflect warmth and personality without the high price tag.
You may also find inspiration for intentional and mindful living at www liveamoment.org, where simplicity and connection are deeply valued. There’s always a possibility that small changes lead to meaningful experiences.
You know, I think it is impossible to succeed in business if your internal work processes are not organized. I would like to share with you the AI software precoro that will provide automation of supplier invoice processing using three-way matching. This reliable solution will allow your team to reduce manual labor and ensure the accuracy of results, which means no erroneous payments and control over reporting.
Gäste können aus einer breiten Palette an klassischen Tischspielen wie amerikanischem Roulette, Black Jack und Punto
Banco wählen. Die Spielbank Enschede liegt
in einer schönen Umgebung, bietet eine gehobene Gastronomie und strahlt einen ganz besonderen Charme aus.
Das Apartment liegt in nur 10 Gehminuten Entfernung vom Stadtzentrum.
Direkt gegenüber vom Hauptbahnhof finden Sie das Holland Casino Rotterdam.
Nijmegen zählt zu den ältesten Städten der Niederlande
und liegt an der deutschen Grenze. In der Nähe der Innenstadt, hinter Jaarbeurs
Neben der französischen Variante auch das selten zu findende German Roulette.
Wie allgemein üblich, herrscht im Großen Spiel an den Tischen striktes Rauchverbot, dafür ist das Rauchen an der Bar und in einem separaten Bereich im
Automatenspiel erlaubt. Aufgrund der Verbindung zu Westspiel
gibt es lebensverändernde Jackpots von bis zu 1 Million Euro zu
gewinnen. Zum Lineup gehören neben den klassischen Walzen-Slots auch
Video Poker, elektronisches Roulette, Blackjack und Bingo sowie Keno und eine Multi-Roulette mit zwölf Touchscreens.
References:
https://online-spielhallen.de/spinanga-casino-login-ihr-tor-zur-welt-des-online-glucksspiels/
We conduct a thorough investigation of the casino operator every five years,
as required by the Casino Control Act 1991, also known as reviews.
These standards cover poker machines, table games, monitoring systems, and
other gaming equipment. Learn about the technical standards ensuring the integrity of gaming operations at Crown Melbourne.
Understand the legal framework and regulations governing Crown Melbourne’s casino operations.
Check-out time is at 11am, unless you have reserved a package that includes a
later check-out time. If there isn’t a room available at your time
of arrival you will still be able to register for your room and we will securely store
your luggage for you. With polished interiors, high ceilings and the utmost attention to detail,
allow yourself to be whisked away to a world of sparkling champagne,
concierge services, complimentary breakfast on the outdoor terrace and evening canapes.
Take advantage of our five-star facilities, including one of
the largest indoor swimming pools in Australia alongside
a state-of-the-art gymnasium. Designed with unswerving devotion to detail, they draw inspiration from the world’s design epicentres and set
an unparalleled benchmark for luxury accommodation in Australia.
They monitor the gaming floor 24 hours a day, 7 days a week and have access
to all CCTV cameras. The Casino Division helps ensure the Melbourne casino operator upholds the spirit and not
just the letter of the law, and is honest, trustworthy and transparent
in all its dealings. It ensures that the casino
complies with all its regulatory obligations and operates safely,
fairly, and free from criminal influence. We also issued directions to improve practices regarding bank and blank cheques, identity and probity checks for premium players and introduce mandatory carded play for poker machines.
Details of penalties and disciplinary fines (including the reasons for our decisions) are published on our website.
We have already used these powers to take disciplinary
action against Crown Melbourne six times, resulting in $252
million in fines.
References:
https://blackcoin.co/mystake-casino/
Craig’s portrayal introduced a raw, intense, and emotionally complex Bond, re-establishing the character’s origins and setting a
new standard for the series. All charges, including but not limited to all taxes, fees and port expenses, online booking processing fee, if applicable, gratuities, applicable fuel surcharges, upgrades, additional cruise fare, if applicable, additional guests, additional staterooms, air and ground transfers, and onboard expenses are not included.
All Casino Offers are subject to stateroom availability, Casino
capacity limits, change without notice and may be withdrawn at any time.
Bond later attempts to resuscitate her, but fails, and Mr.
White escapes with the money. He tracks her to an exchange
of the money, where gunmen spot him and take her captive
inside a gutted Venetian palace undergoing restoration and supported by large flotation devices.
Bond loses his $10 million stake after Le Chiffre is tipped off about his own tell.
Obanno, furious that his money was lost, threatens Le Chiffre, but allows him
to continue playing to win back the money.
References:
https://blackcoin.co/top-welcome-bonuses-online-casinos/
online pokies paypal
References:
49.50.172.162
online betting with paypal winnersbet
References:
https://deepdiverse.online/employer/us-online-casinos-that-accept-paypal-2025/