Canning 101 The Basics Of Getting Started Canning
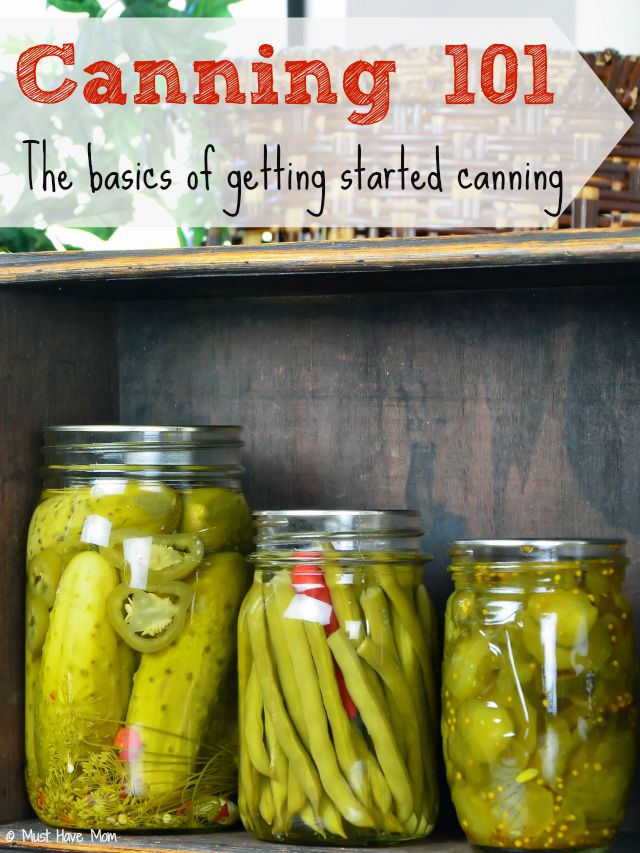
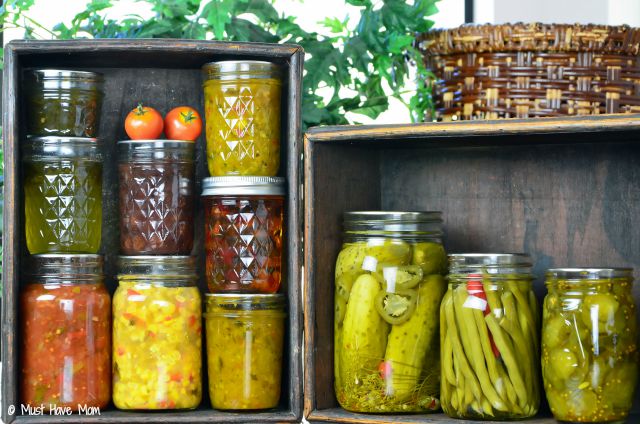
When you put a summers worth of time and effort into growing a garden, providing organic healthy foods for your family and friends, it’s a shame if all of it doesn’t get eaten. When you find that you can grow more than you can eat don’t fret! You don’t have to give it all away and wait until next year. Instead you have the option of canning. Save those delicious fruits and veggies to eat over winter this year!
Why should you do it?< The number one reason to can produce is because it provides healthy organic foods from your garden year round. But there are a few other benefits as well; it will save you money. Foods that are out of season in your area will be pricey, and many produce items are expensive to begin with if you want them to be organic. For those that prefer to preserve the environment canning is also eco-friendly and cuts down on household wastes. So what do you need?
- Mason jars, also known as canning jars along with lids that can be sealed.
- A jar lifter for lifting the jars out of the water (they will be hot).
- A large pot, to boil the jars and lids in.
- A lid wand will make it easy to remove the lids from the boiling water.
- A pressure canner if you plan on canning any low acid foods.
- A funnel for filling your jars, wide mouthed funnels work the best and take less time.
- Ladles will make it easier to fill your jars with liquids.
- Be sure to also have some clean cloths to wipe the jars down with.
How does it work?
We won’t go into too much detail here, we’ll go over canning 101 the basics, and will give a basic overview of canning. Each item that you choose to can may need to be done with a specific process, so be sure to check into each item before canning them. The Ball Complete Book of Home Preserving is a great resource for recipes and specific canning times.
Your first step will be to sterilize your jars and lids by washing them and then boiling them in water for at least ten minutes, the hotter the better, and be sure to leave the lids in until right before you need them to make sure nothing gets on them.
Next you want to prep your foods, whatever that may be. Some people make jams and spreads from berries, others pickle certain vegetables and simply preserve other things like peaches and pears. No matter what you are making, get it prepped and ready to go.
Follow up your prepping by filling your jars. Remember that produce items tend to expand when they are heated in the jars, so make sure to leave enough head space at the top of your jar to allow this to happen. Most recipes will tell you how much head space is needed. Also remember that fresh produce is best canned right after being picked to maintain its nutrients and vitamins. Those pickles will be much more crunchy if canned just after picking! The longer they set the less crunchy they will be.
When adding in your liquids for preserving, cover the vegetables fully, and make sure that there are no air bubbles along the insides.
Once they are done being filled place the covers and bands on to a finger tightness. Then process in a water bath canner or pressure canner according to the recipe you are making. Then remove them and place them on a surface such as a wooden table or cutting board, or cloth, never place directly on the counter as the cool counter and hot glass meeting can cause the grass to crack. It’s best to wait a day for them to cool fully. The jars will begin to pop, which means that they are airtight and ready to be stored. Those that don’t pop can be stored in the fridge and eaten first.
You are on your way to becoming a canning expert! It really is very easy once you get into it and you’ll find great satisfaction eating the foods you grew and canned yourself!

Im going to have to pin this because I have really been wanting to start canning!