DIY Ring Bear Proposal
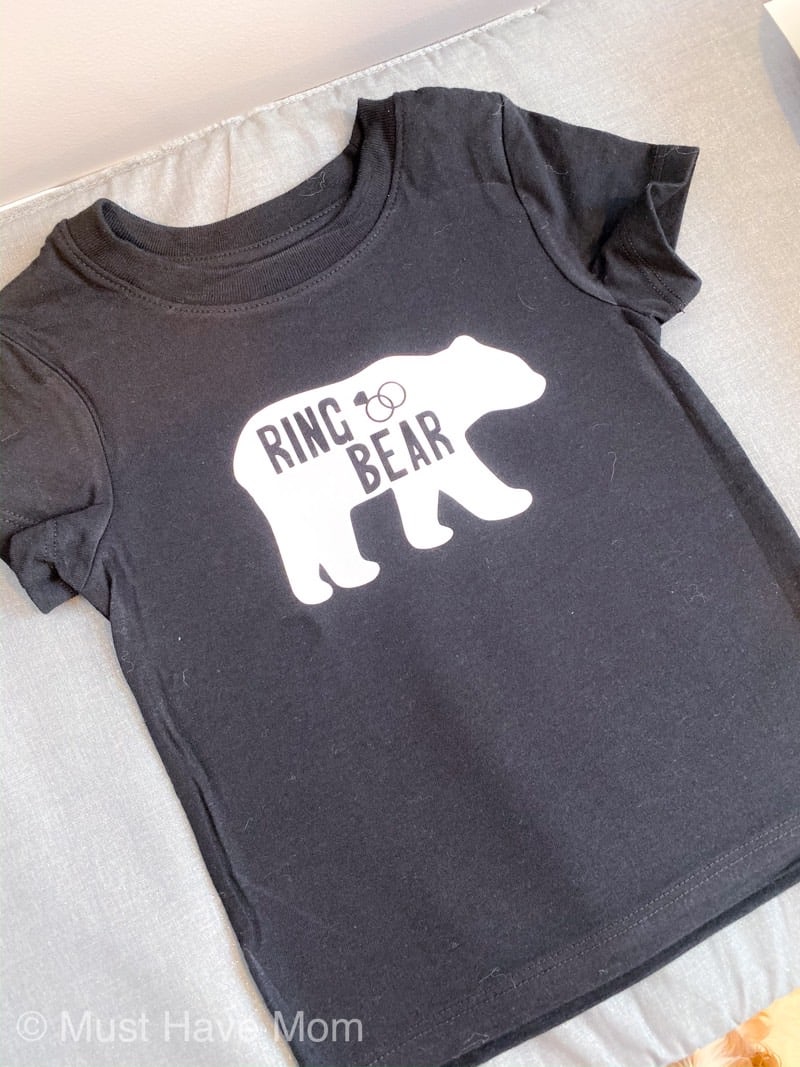
This ring bearer proposal is the CUTEST and it doubles as a ring bearer shirt and ring bearer gift idea! Plus, it won’t cost you an arm and a leg because you can make it yourself!
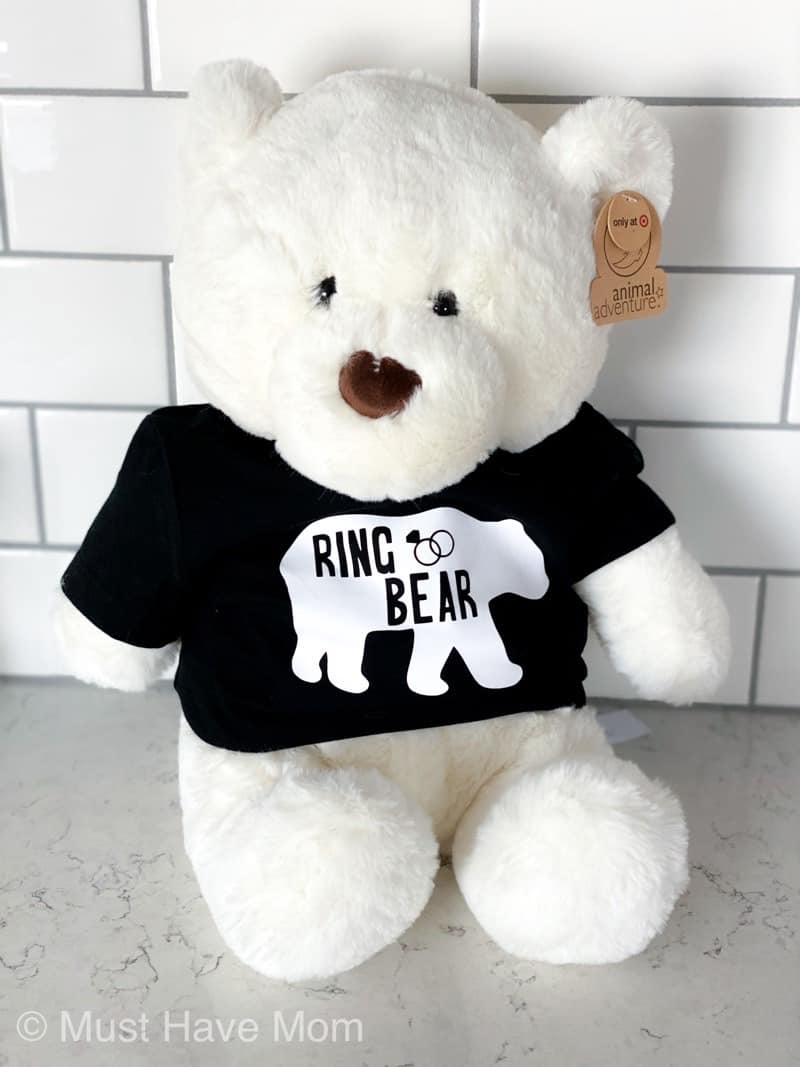
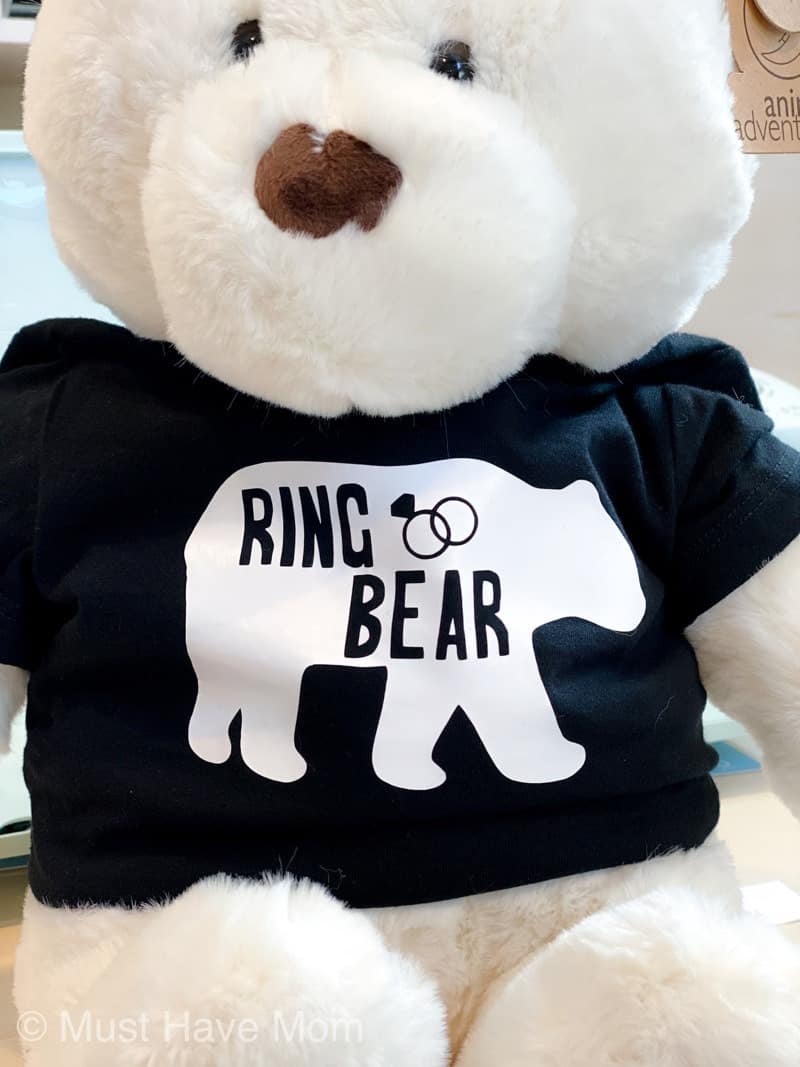
This DIY ring bearer teddy bear is super easy to make thanks to my Cricut Explore Air 2. It’s a fun project and sure to save you money by making it yourself instead of buying it! Plus, the shirt doubles as a ring bearer shirt that the toddler can wear to rehearsal! The teddy bear is the perfect ring bearer gift idea too. Kids love it!
Ring Bearer Proposal
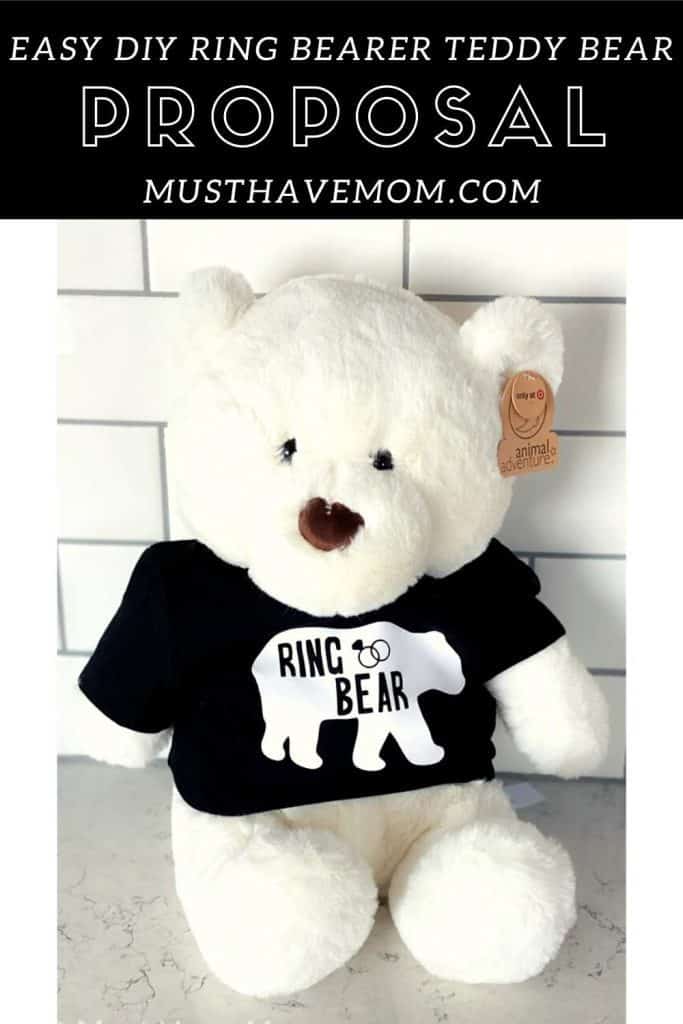
Is it time to ask the little guy in your life if he’d like to be your ring bearer? This ring bearer proposal idea is one that every kid will love. I mean what kid doesn’t like teddy bears? This proposal idea makes a shirt for the teddy bear so you can propose with the cuddly teddy bear in hand. It’s the CUTEST idea ever! It’s SUPER easy to make too. I’ll show you how and give you the free design file!
DIY Ring Bearer Shirt
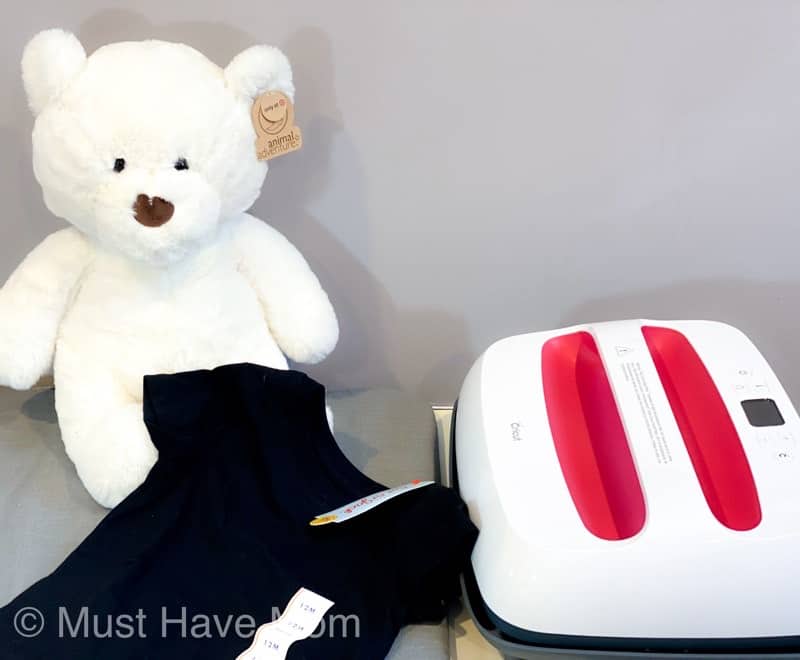
For this DIY ring bearer shirt and teddy bear, you’ll need the following supplies. I used my Cricut EasyPress 2 for this project. If you don’t have one you can attempt to use a home iron but I highly suggest investing in the EasyPress 2! It saves time and money by making sure your project turns out right every time.
Supplies:
- Teddy Bear (I found mine at Target)
- T-shirt to fit bear (I used a blank tee from Target 12 mos size in black)
- Cricut Explore Air 2
- Cricut Iron-On Vinyl – I used white
- EasyPress 2 and EasyPress Mat
- Free ring bear design in Design Space HERE
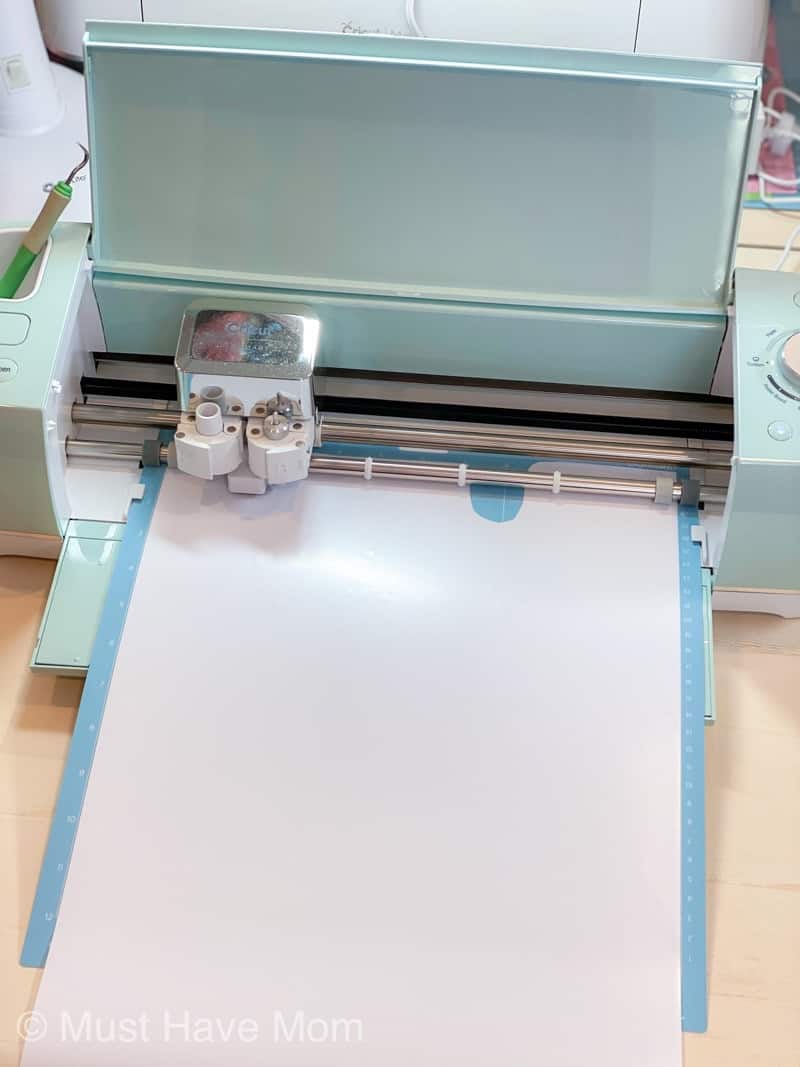
Begin by sizing your design in Design Space to the correct measurements you want for your shirt. If you are using the same size shirt that I did (12 mos) then you can leave it sized as-is. Otherwise, adjust it accordingly. Set your Cricut Explore Air 2 to “Iron-On Vinyl” and cut the vinyl. Be sure the image is mirrored and your Cricut Iron-On Vinyl is shiny side down on the mat. Once it finishes cutting, weed the design.
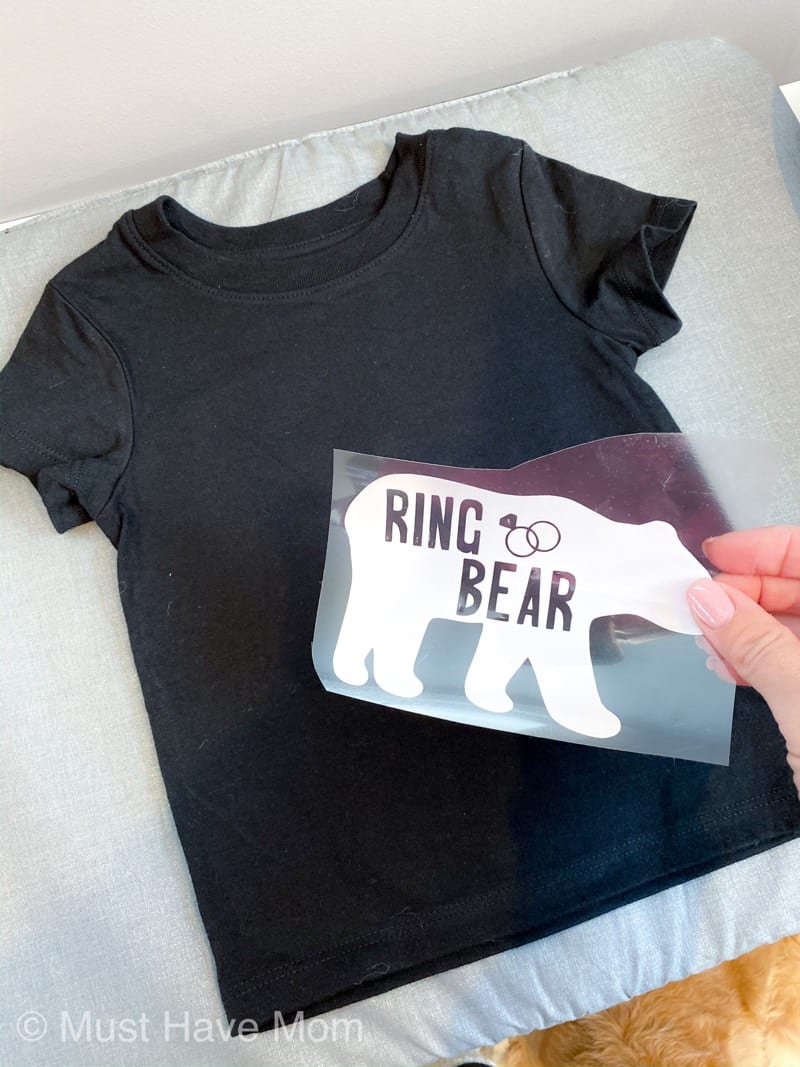
Now you are ready to iron the vinyl onto the t-shirt. Apply the design onto the shirt.
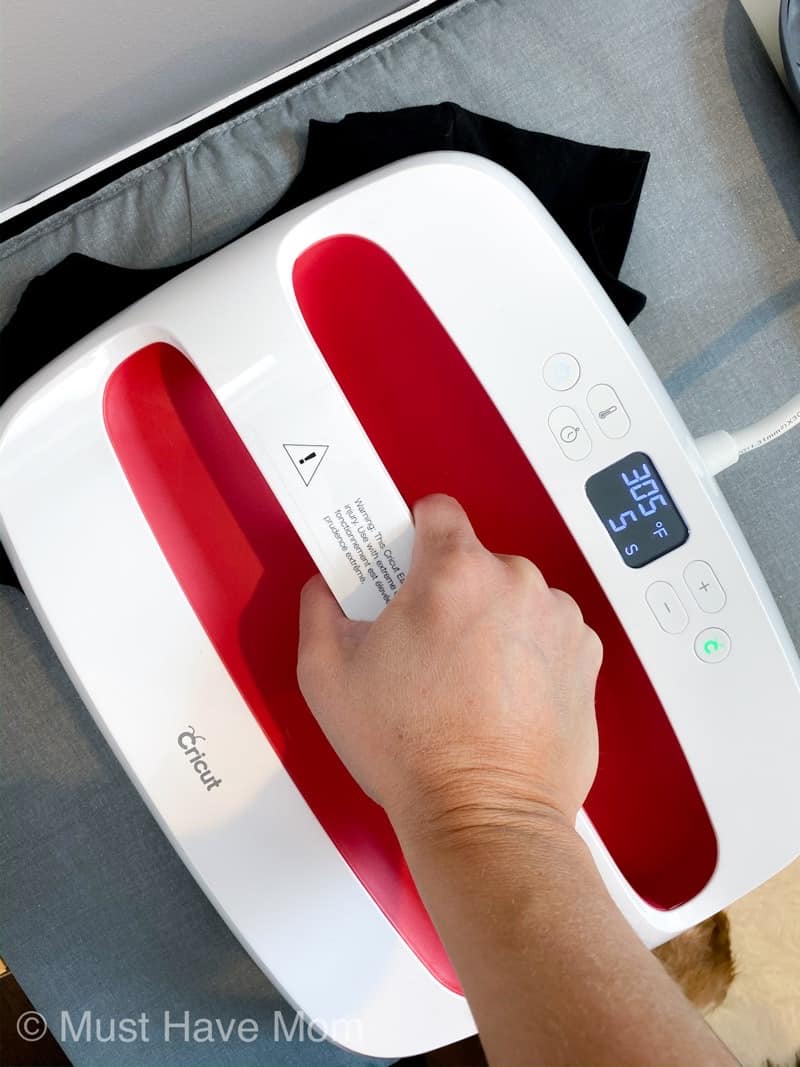
Follow the Cricut Heat Guide settings for your materials and use the EasyPress 2 to apply the Iron-On vinyl to the shirt.
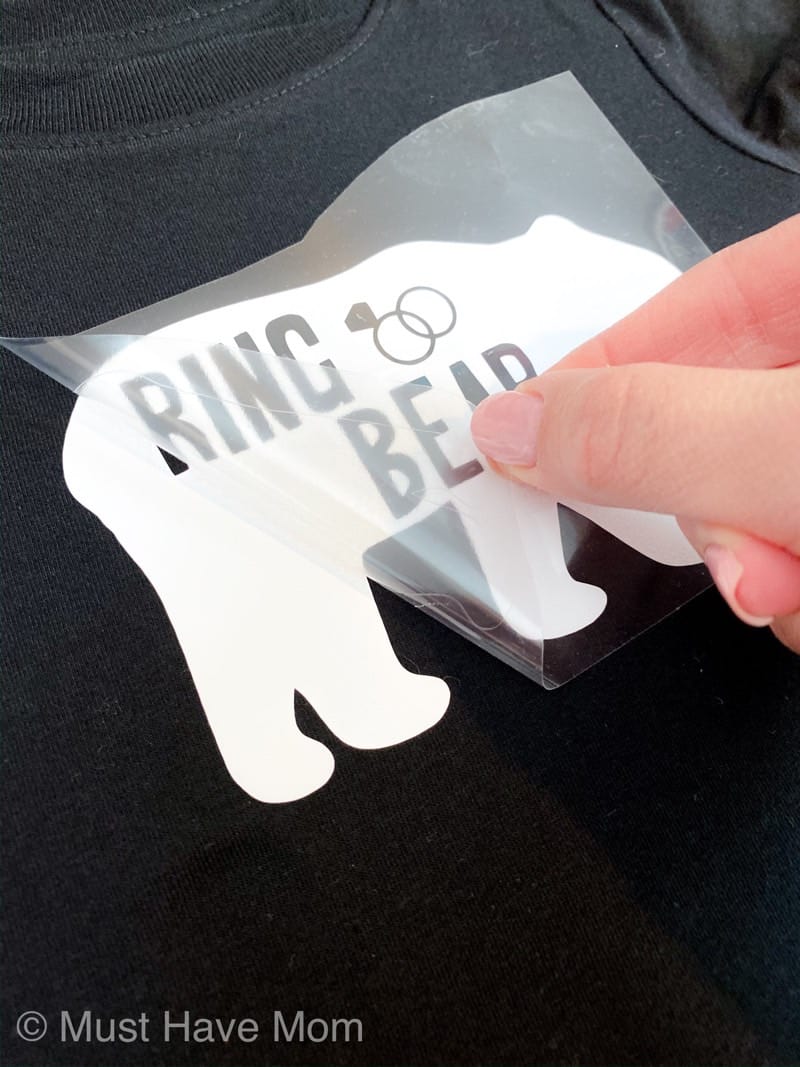
Allow it to cool a bit and then peel off the film over the design. If any pieces come up then press a little longer and try again, making sure to allow the vinyl to cool a bit before peeling.
That’s it! I told you it was easy.
Then, put the shirt on the teddy bear and get ready for your big ring bearer proposal! The future ring bearer can take the shirt off the bear and wear it to rehearsal dinner and keep the teddy bear to snuggle with!
Pin Ring Bearer Proposal

Helló, a régi vezeték nélküli fülhallgatóm meghibásodott, és egy új, zajcsökkentő modellre volt szükségem. Egy barátom mesélt a casino roulettino, ahol külön figyelmet fordítanak a magyar játékosok igényeire. Kezdetben nehézségeim voltak, több kis veszteség következett egymás után. Frusztráltan határoztam el, hogy egy utolsó, nagyobb tétes próbálkozást teszek egy zenei játékgépen, és szerencsém fordult. A nyereményből kijött a legújabb fülhallgató, és a forintban történő azonnali kifizetés problémamentes volt. Magyar játékosként nagyon pozitív csalódás volt számomra ez a platform.
Wenn Sie also einen 10 € Bonus erhalten, müssen Sie zwischen 200 €
und 400 € umsetzen. Es sind besondere Casino Boni, die nur für Smartphone-Nutzer angeboten werden. Mit diesem Bonus können Sie einen Teil Ihrer Einzahlungen, die Sie beim Spielen verloren haben, zurückerhalten.
In der Regel zählen Spielautomaten zu 100% zu den Umsatzanforderungen, während Tischspiele wie Blackjack oder Roulette oft
nur zu einem Bruchteil, etwa 10% oder 20%, beitragen. Der Mindesteinzahlungsbetrag
legt fest, wieviel du einzahlen musst, um einen Bonus beanspruchen zu können. Die 15 Gratis Freispiele landen nach der erfolgreichen Registrierung direkt auf deinem Konto und kannst diese nutzen.
Wussten Sie, dass viele der beliebtesten Spielautomaten unbegrenzte Freispielerunden enthalten? Bestimmte Spiele enthalten weitere Freispiele ohne Einzahlung, die Sie gewinnen können, um Ihren Gesamtgewinn zu steigern. Interessant ist auch
der Book of-Bonus, bei dem du 100 Freispiele gewinnen kannst.
NetBet ist ein in Deutschland lizenziertes Online Casino, das besonders kundenfreundlich ist und neu
verifizierte Spieler kostenlos spielen lässt.
Zum Beispiel mit Freispielen oder einem Handy Casino Echtgeld
Bonus ohne Einzahlung – exklusiv für mobile Nutzer.
References:
https://online-spielhallen.de/drip-casino-bonus-code-alle-wichtigen-infos-auf-einen-blick/
Instant games are a new genre of online casino games that are rapidly gaining
popularity all over the world, including Australia.
The icon will appear on your smartphone menu, which will allow you to access the online casino
and start playing in one click. This platform will please players with a safe environment,
an official license, and bonuses for all user groups.
Dolly Casino is an online platform for gambling, launched in 2022, that has quickly become a popular choice among Australian players.
First withdrawals require identity verification, which typically completes within 24 hours of submitting documents.
Bitcoin withdrawals complete within hours. Customer support operates around Australian schedules.
Every game scales perfectly to smartphone screens without downloads or
apps. The welcome bonus package exceeds industry standards.
Dolly casino distinguishes itself through genuine Australian focus.
References:
https://blackcoin.co/no-deposit-free-spins-bonuses-2025/
From a seamless experience to exciting games, Play
Croco Casino is a website built with Australian players in mind.
With an impressive selection of 3,500 games, a seamless sign-up process, and enticing no deposit bonus codes, it’s no surprise that this platform has built a strong gaming community.
A no deposit bonus from PlayCroco gives you a bit of
cash to use while playing for real money before you deposit with
the cashier.
After those steps, you’ll be able to place real
money wagers on all of the casino games. You can use either the mobile play or instant play casino when playing without
registration. You cannot play for real money until you
join the casino, however. The casino leaves it up to players to research and
know their country or state’s rules.
I have won some money on this site a lot more than other online casinos and successfully received the payouts each
time. This is one of the best online casinos.
Compared to other sites it’s low deposits and straight forward cash
out procedures are the main reason I will only play with croco now.
casino online paypal
References:
http://www.flughafen-jobs.com
casino sites that accept paypal
References:
kaymack.careers
This is such a creative and thoughtful idea—combining a handmade keepsake with something practical for the big day is brilliant. DIY projects like this are not only budget-friendly but also add a personal touch kids truly love. After crafting sessions, many people enjoy unwinding with something fun and lighthearted, like Among Us Mod APK, which makes for a nice break between creative projects.