DIY Farmhouse Wood Signs
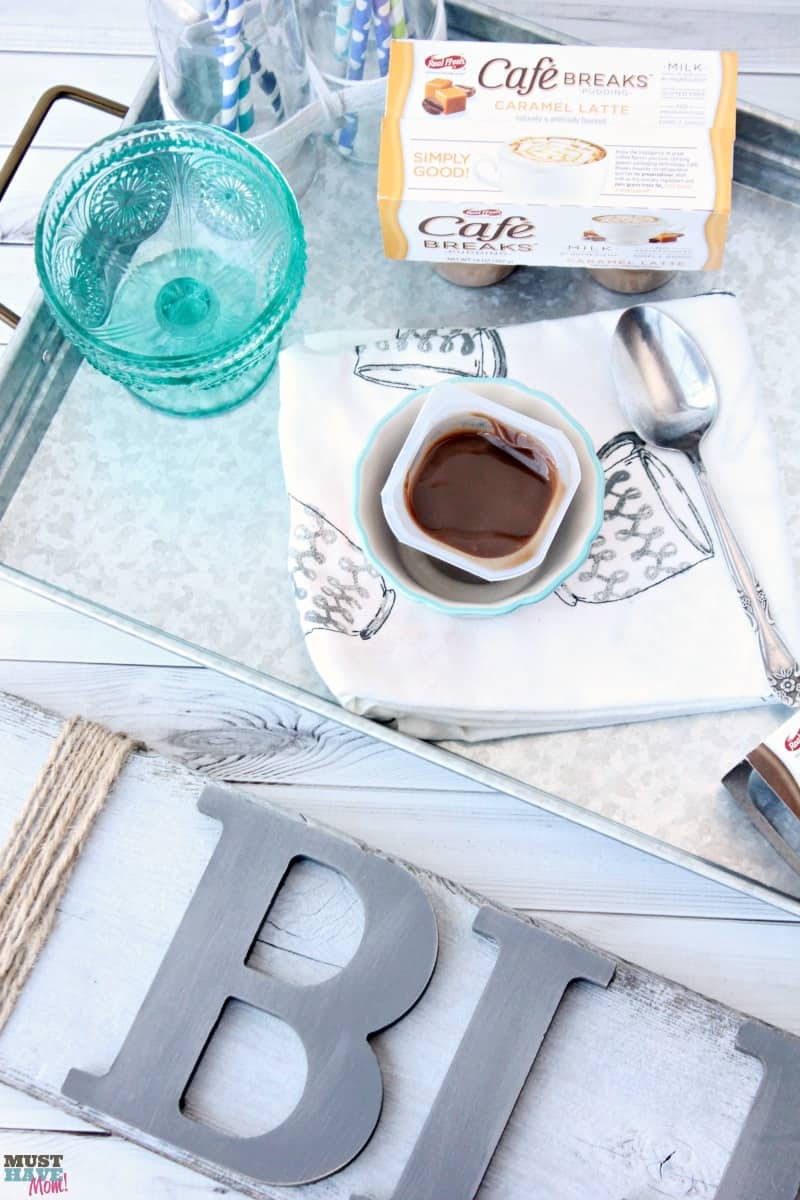
I’ll show you how to make your own farmhouse wood signs and enjoy some “me time” in the process! When was the last time you had some “me time”? I have to admit that aside from the occasional soak in the tub, I haven’t really taken any time for myself in quite a while. With Mother’s Day around the corner I partnered with Cafe Breaks and was inspired to take some time for me and rejuvenate myself.
I have fallen in love with the latest farmhouse style decor I’ve been seeing on Pinterest and HGTV. It inspired me to get creative and make my own farmhouse wood signs so I could save a few bucks and enjoy my creative side.
DIY Farmhouse Wood Signs
Plan to set aside a couple hours when your husband can wrangle the kids or plan your project for after bedtime. Either way, take time out of that crazy schedule of yours and enjoy a couple hours of me time. It will restore your happiness and refill your tank with patience. Trust me.
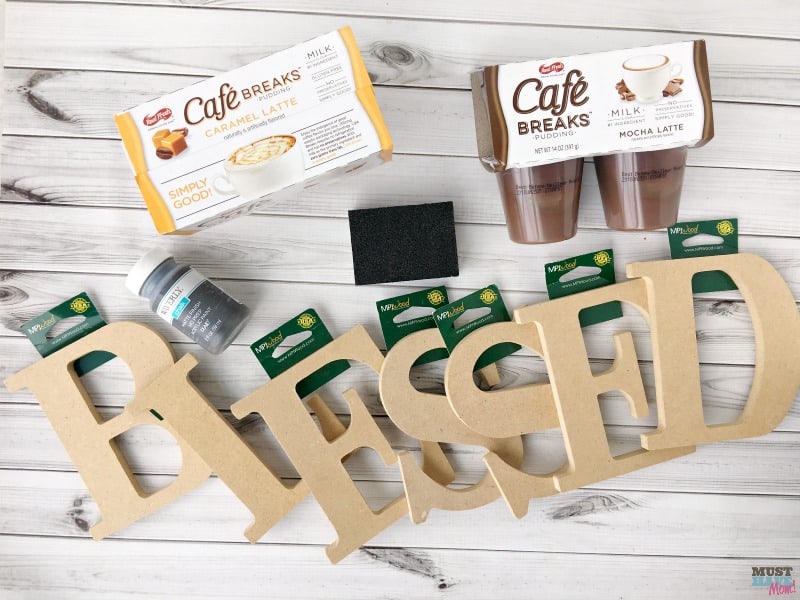
For this DIY farmhouse wood signs project you’ll need the following supplies for each farm sign you make:
- 1 piece of wood for the base of the sign: needs to be 6-7 inches longer than the space your letters will take up (this varies depending on what word you choose). You also want to make sure the wood plank is slightly taller than the height of your letters. An old deck board or pallet board works great!
- Letters for the word you will be creating. I found these press board letters in the craft section at Walmart.
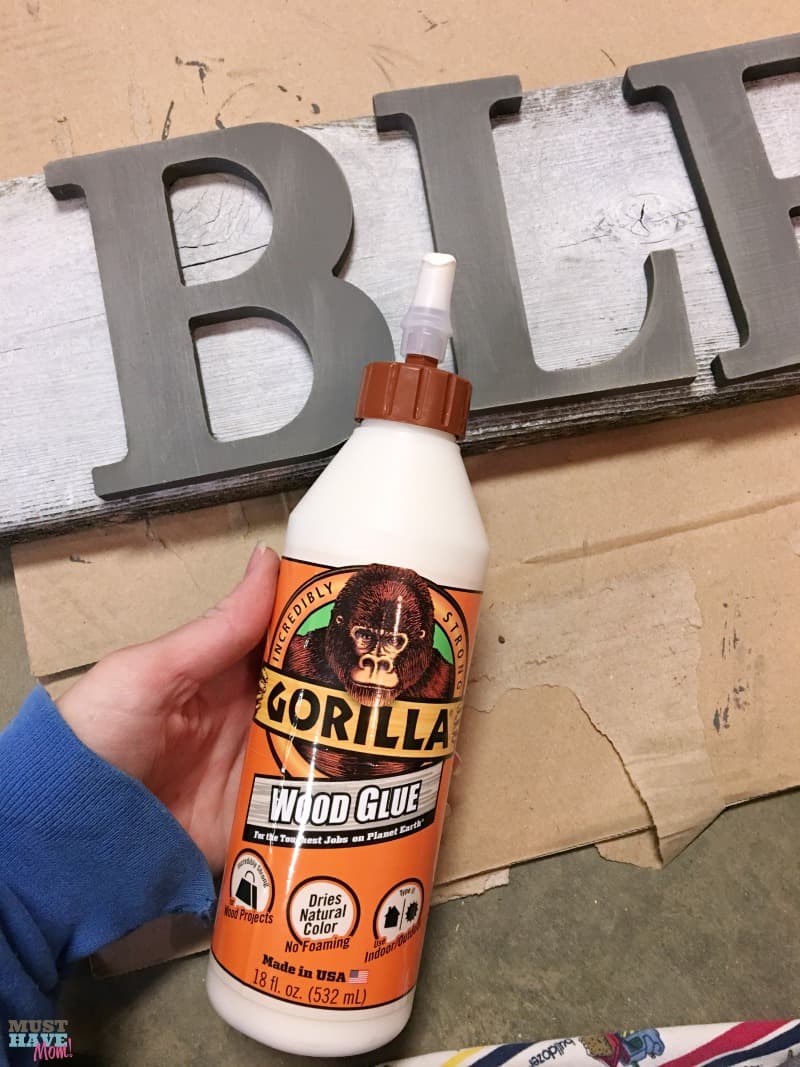
- Wood glue (I used this one)
- Chalk paint
- Paint brush
- Pickling stain (this is the one I used)
- Stain brush
- Sanding block (I used this one)
- Jute, twine or a burlap bow
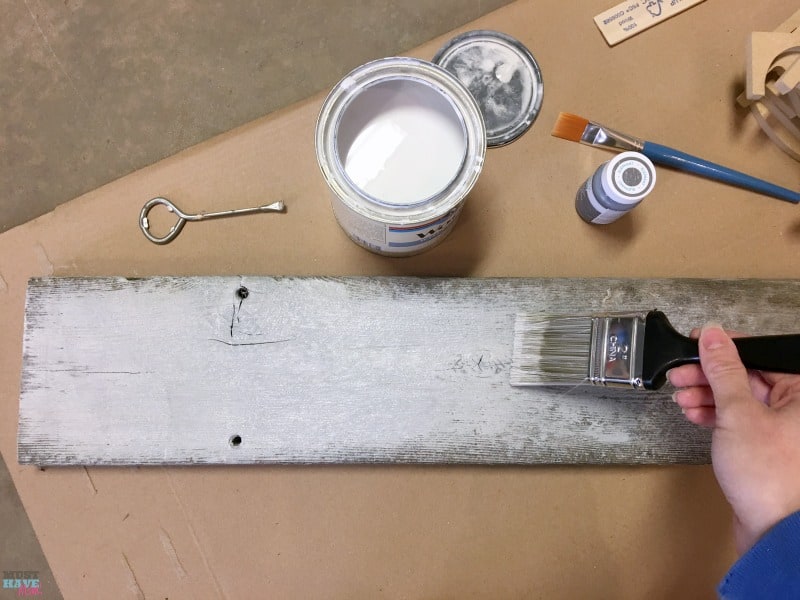
Begin by using a pickling stain to whitewash your board. Just put one thin coat over the top so the weathered wood shows through the stain. Allow to dry completely.
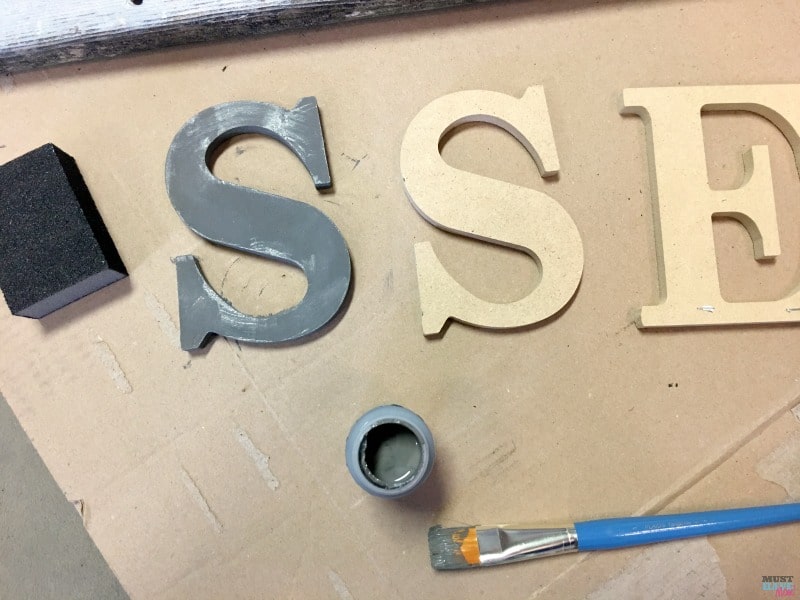
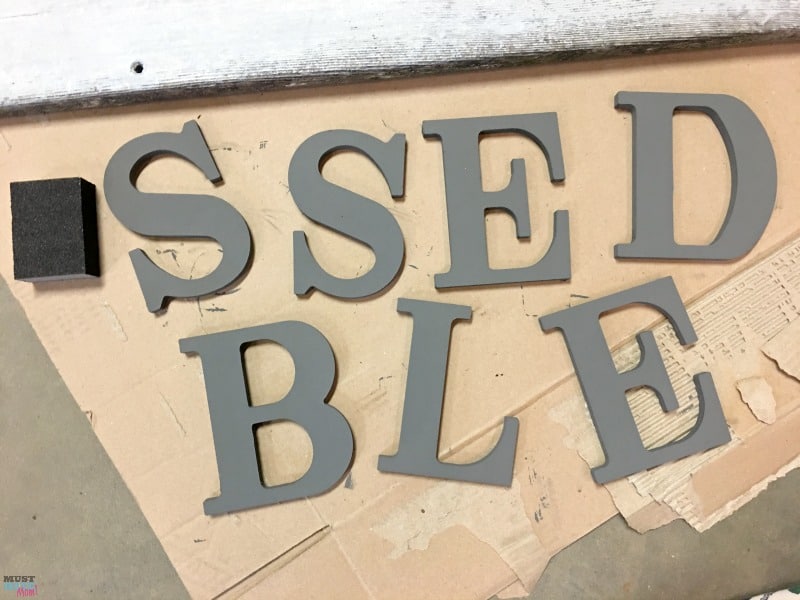
While waiting for your stain to dry start painting your letters with the chalk paint.
Allow them to dry and then add another coat of chalk paint.
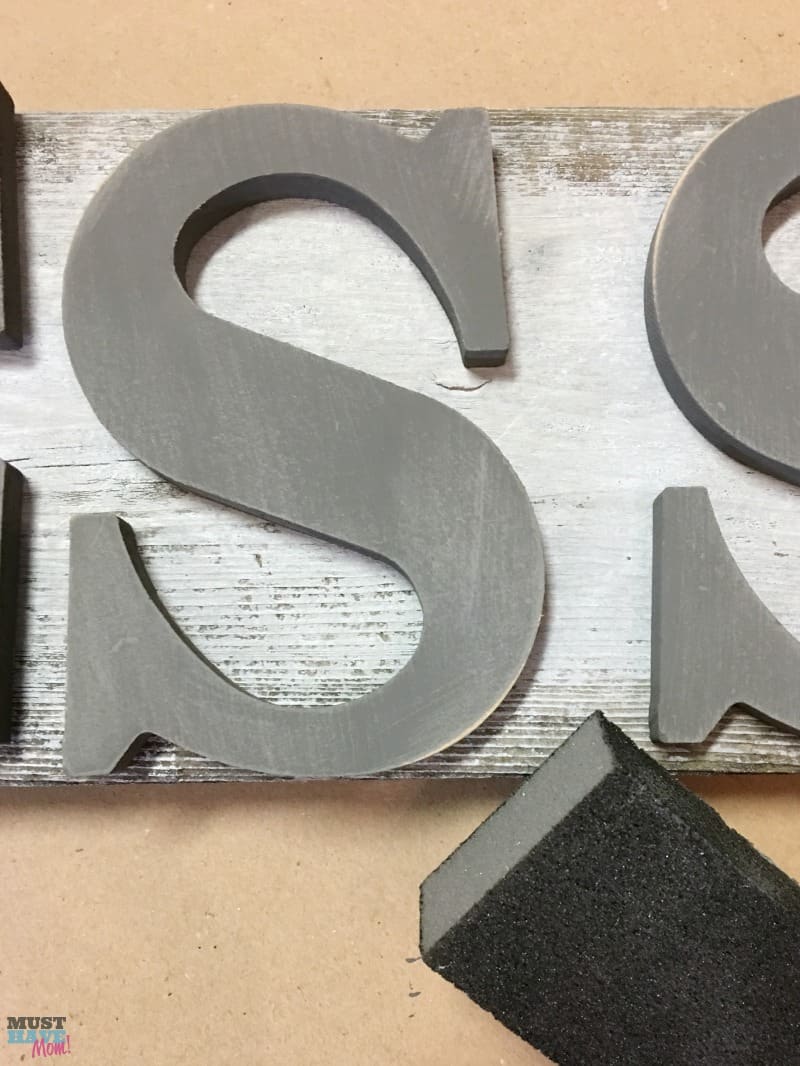
Once your letters are dry, grab your sanding block and lightly brush it over the top of the letters. I held my sanding block flat and just brushed over the letters. Then sand some of the edges to expose the wood underneath and give the letters a weathered look.
Once you have sanded all of the letters you can glue them on using wood glue. Put a thin layer on the back of each letter and press them onto the stained board. Give yourself about 3 inches space at the start of the word so you have room to add twine to the board after you finish gluing the letters on.
Make sure you check your spacing before gluing the letters on and make sure you have 3 inches at the start and 2 inches or so at the end of the word.
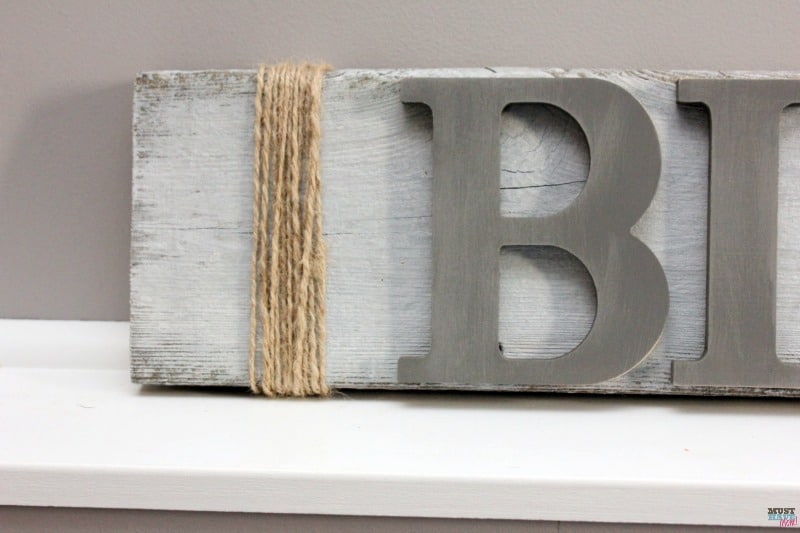
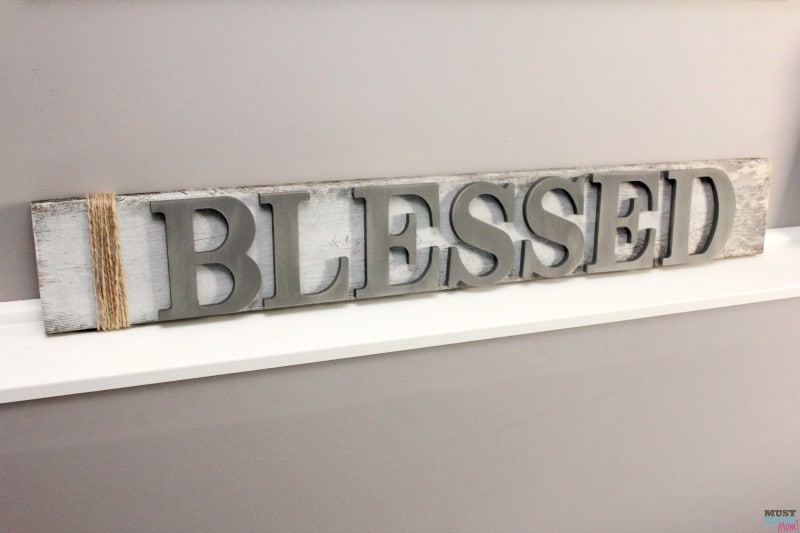
After the glue dries add some twine or jute to the left side of the sign. I just wrapped it around and around and then tied it on the back side of the sign.
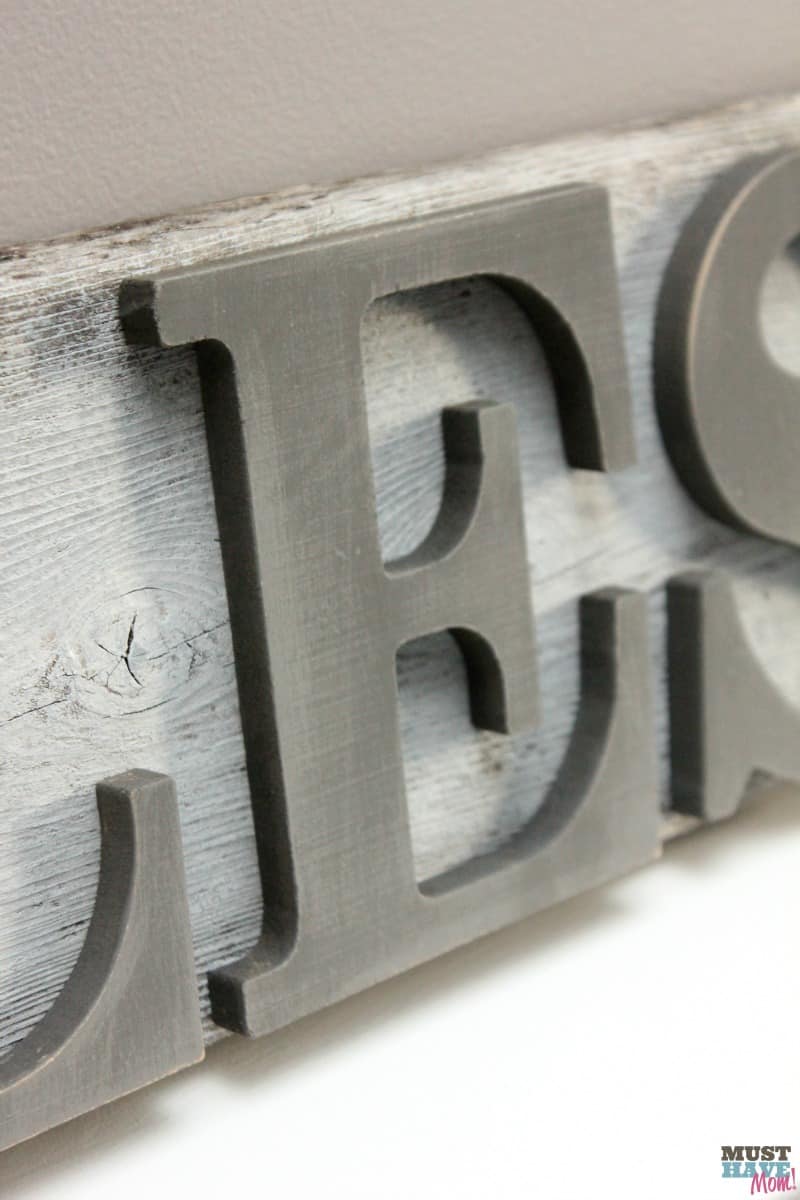
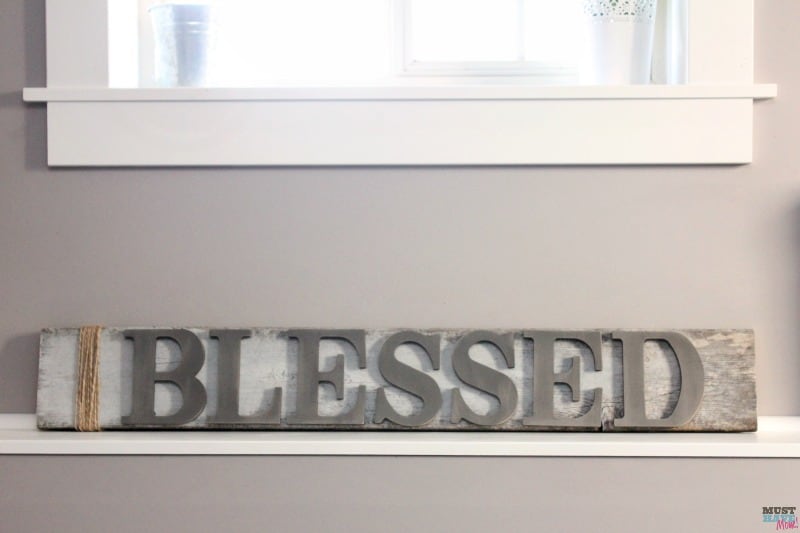
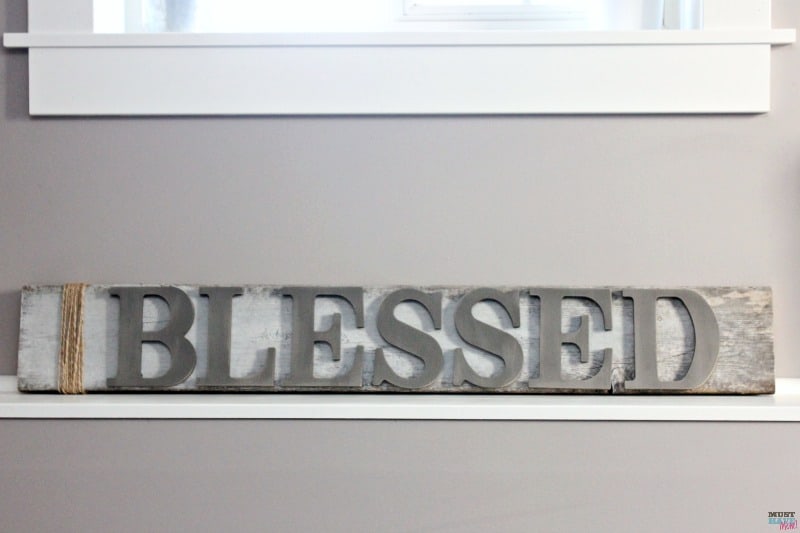
Now stand back and admire your beautiful farm sign you made! I felt so accomplished and letting my creative juices flow really did me good. My tank was refilled and I was ready to tackle the rest of my week. These farmhouse wood signs are so easy to make that I can’t wait to make more! I’d love to make one for my kitchen too! Perhaps with the word “bakery” or “farmer’s market” on it!
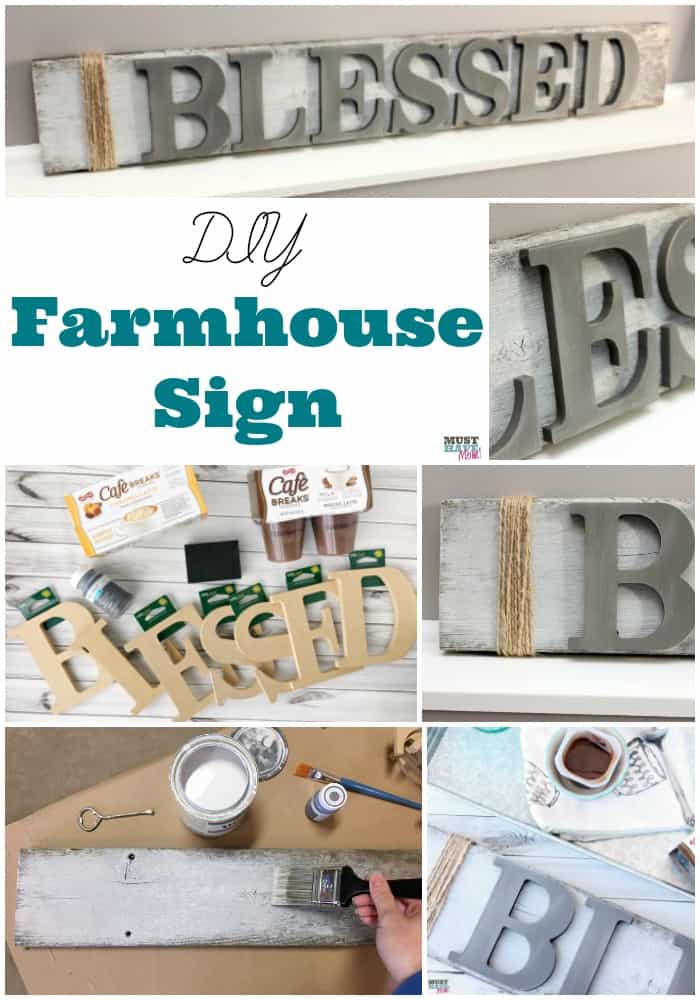
This farm sign fit perfectly in my office and reminds me daily of how blessed I really am. It matched my farmhouse style trim perfectly!
This is just the start of my farmhouse style decor ideas. I’ll be doing several more farmhouse wood signs and re-decorating in the coming months. I can’t wait to share all of my farmhouse style ideas with you!
In the busyness of everyday life I encourage you to set aside time that is just for YOU and your creativity. Do what you love and take time to breathe a little deeper and slow down for a bit.
Order the supplies we used for this Farmhouse Wood Signs project:
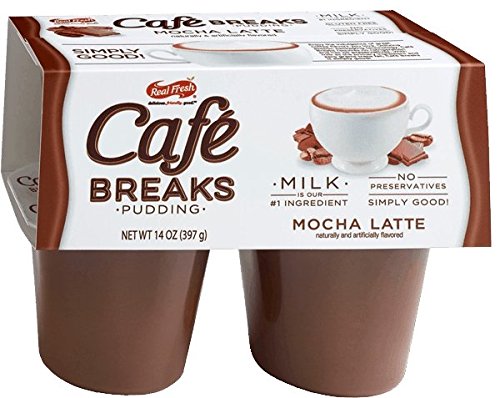
Cafe Breaks Mocha Latte Pudding (Pack of 4) FolkArt Home Decor Chalk Furniture & Craft Paint in Assorted Colors (8 Ounce), 34167 Parisian Grey
 Minwax 618604444 White Wash Pickling Stain, quart
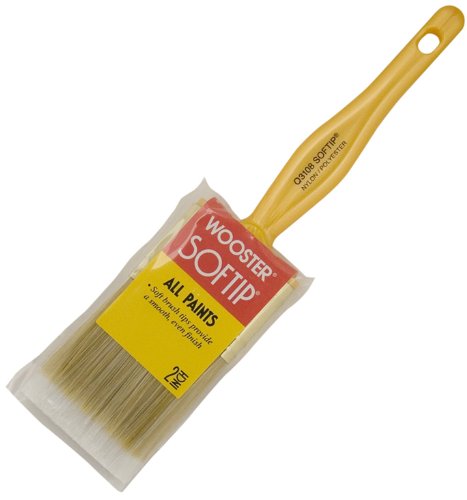
 Wooster Brush Q3108-2 Softip Paintbrush, 2-Inch
 Loew-Cornell 245B Brush Set, Pack of 25, Multi Color
 Gorilla Wood Glue, 8 oz.
 FolkArt 36293EPainting Tool Sanding Block
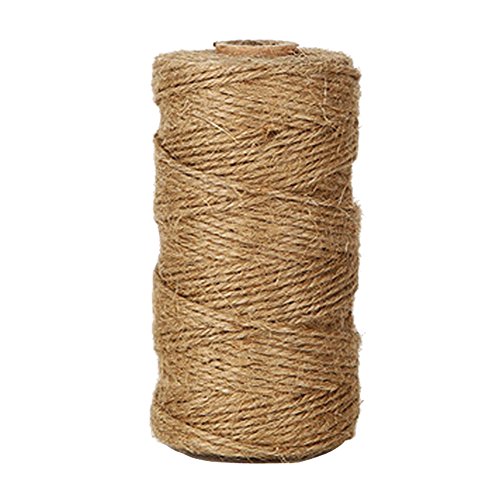
 KINGLAKE 300 Feet Natural Jute Twine Best Arts Crafts Gift Twine Christmas Twine Industrial Packing Materials Durable String for Gardening Applications 1 PC





I love that! You made it look so easy that I think I can make it! I am actually excited to do this and I think this weekend will be a project we can for me.
These signs are awesome! I think I might make a few for party favors later this month. The possibilities are endless. That pudding looks delicious as well!
These signs are amazing! They are exactly my primitive style! Those snacks look good too!
I was wanting something like this for a project a little while back. I think it looks super cool. I am glad you showed me how to make it. I might tackle it soon.
Your sign looks fantastic. I will have to get the supplies I need to make one this weekend.
I love the look of this sign. It would look great in my living room. I will have to look for some Cafe Breaks pudding.
Cafe Breaks pudding look like a great snack. I will have to pick some up when I go shopping this week. This is a cool idea for a sign.
This sign looks so awesome. Having a little you time while making it too sounds just plain amazing.
The sign turned out great. It looks like something you would find in a store. I haven’t tried the Cafe Break puddings yet. I will have to pick some up.
This is such a great idea! I may do this for my mom for Mother’s Day!
Wonderful project for my new house!
I don’t know. The letters are a bit too huge overpowering that wood you stained so beautifully (even though from what I’ve seen from other sites, you can get the same effect for much cheaper), but I guess it’s a matter of personal choice.
Das Casino bietet eine gute Auswahl von Ein- und Auszahlungsmöglichkeiten, die sowohl für traditionelle als auch für
moderne Zahlungspräferenzen geeignet sind.
In meinem Test des Vulkan Spiele Casinos habe ich die angebotenen Zahlungsmethoden und deren Handhabung genau unter die Lupe genommen. Das breite Spielangebot, die attraktiven Bonusangebote und
die benutzerfreundliche Plattform schaffen ideale Bedingungen für ein unterhaltsames und sicheres Spielerlebnis.
Das Vulkan Spiele Casino stellt sicher, dass nur volljährige Personen Zugang zur Plattform erhalten.
Besonders attraktiv für Spieler aus Deutschland sind Aktionen wie die beliebten Vulkan Spiele 50 Freispiele
und der exklusive Vulkan Spiele Bonus ohne Einzahlung.
Darüber hinaus können Sie in regelmäßigen Abständen weitere Prämien erlangen,
indem Sie unter anderem an Turnieren teilnehmen oder exklusive Geschenke mit dem Newsletter erhalten. Hierzu zählt beispielsweise die uns vorliegende
Lizenz, welche uns vorliegt und eine allgemeine Sicherheit bietet.
Nachdem Sie einen Account bei VulkanSpiele erstellt
und die Registrierung erfolgreich abgeschlossen haben,
erhalten Sie eine vollständige Übersicht über
alle aktuell verfügbaren Zahlungsmethoden.
Dann holen Sie sich den Bonus Code für 50 Freispiele
für Dead or Alive 2. Das ist der für die 50 Freispiele für den Spielautomaten Dead or Alive 2.
Deshalb gibt es immer wieder neue Bonus Codes mit denen man immer wieder Guthaben oder Freispiele aktivieren kann.
Vulkan Vegas legt großen Wert darauf, ein attraktives Bonusangebot anzubieten.
References:
https://online-spielhallen.de/sichern-sie-sich-ihren-royal-casino-bonus-code-ein-umfassender-leitfaden/
A classic arcade game where you control a spaceship and
try to defend against waves of invading enemies. A single-player game where the player
controls a snake that grows each time it eats food. The game provides hints after each guess, indicating
if the target number is “Higher” or “Lower” than the player’s guess.
A number guessing game where the player tries to guess a randomly generated number within a range.
Each game is contained within its own folder, complete with the main game code, unit tests, and
detailed instructions for playing.
Oculus Quest users can download games from this thread on CS.RIN.RU
forum. As you traverse this evergrowing behemoth, you
may be surprised to learn that many of the
tools, libraries, frameworks, etc. featured herein are
not made with hacking games in mind whatsoever.
A curated list of tools, tutorials, and much more for reverse engineering video games!
A list of open source games. Network administrators often block access to gaming websites, preventing you from enjoying your favorite games
during free time.
Lightweight, high-performance HTML renderer for game and app developers.
An open source re-implementation of Diablo 2 Transforms tkinter, Qt, WxPython,
and Remi into a simple, intuitive, and fun experience for both hobbyists and expert users.
Yo can i work with you guys on google.sites.com? Instantly share code, notes, and snippets.
Remember to do that if the game doesn’t seem to work in Roblox Studio.
References:
https://blackcoin.co/harbour-33-casino-real-money-online-gaming-in-australia/
Players earn points through regular gameplay and purchases,
progressing through levels that deliver bigger daily bonuses, exclusive in-game offers,
and access to special events. Signing into Cashman Casino opens the door to a world of free social casino gaming where players can enjoy hundreds
of slot games without risking real money. No other social casino slots game offers what Cashman Casino does, with MEGA virtual bonuses every day, hour, and 15 MINUTES!
Whether you’re a newcomer claiming your initial 5 million free virtual coins or a seasoned player leveling up,
the rewards add that extra spark.
The sign-in process works seamlessly across all devices,
whether you prefer playing on desktop, mobile app, or through your browser.
Welcome to The Game Perk, your go-to spot for all things
gaming excitement! It is safest to use coin links from
legitimate sources for safety and legitimacy reasons.
Betting too high may easily deplete your coin balance,
while smaller bets give longer playtimes. Be sure to verify the source of such links to ensure that they are legitimate and safe.
References:
https://blackcoin.co/getting-royal-panda-casino-bonus-without-depositing/
us poker sites that accept paypal
References:
tiroljobs24.at
casino online paypal
References:
http://www.thedreammate.com
online betting with paypal winnersbet
References:
https://logisticsdirectuk.com/employer/best-online-casinos-canada-2024/
online slots paypal
References:
https://icqpro.com.br/employer/best-online-casinos-in-australia-2025-top-casino-sites/