Easy DIY Dog Treat Jar That Is Modern & Worthy Of Counter Space
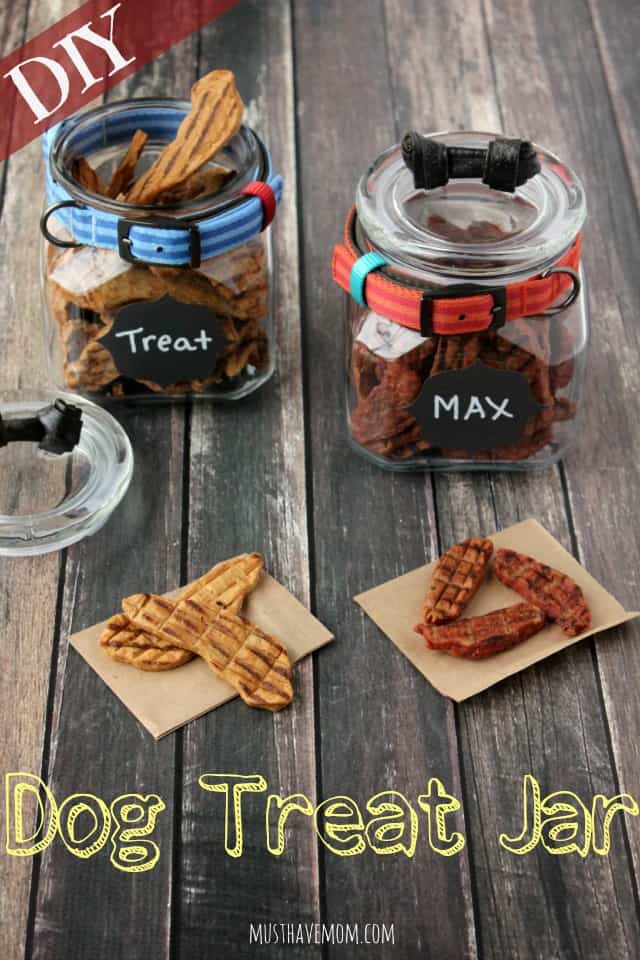
Our dog Max is a big part of our family. He is my daughter’s best buddy and he puts up with my kids laying on him, tugging on him, stealing his spot and that deserves a treat! We had his treats in a bin by the back door and they quickly got hard and were constantly getting spilled because the kids would leave them open. I knew we needed a better spot for the treats and a better container to store them in. I whipped together this adorable DIY dog treat jar and decided to make two because they were so quick and easy. Now Max has a jar for each of his favorite flavor of treats!
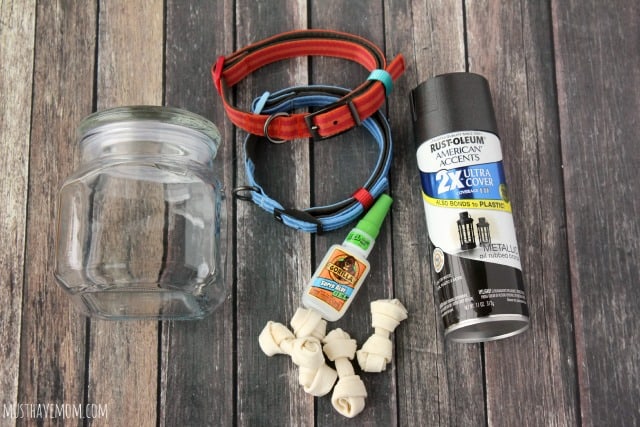
This DIY dog treat holder is incredibly easy to create and takes very little time or skill! You’ll need a glass jar (I found a nice selection of them at Walmart near the kitchen essentials), a dog collar which will fit around the neck of your glass jar (the dog collars are in the pet section), small rawhide dog bones (1 per jar), a gel based super bond glue, spray paint to match the metal on the collar (or whatever color you love). I grabbed some dog collars that I liked and brought them with me over to the glass jar section and tried them on a few different jars to get a feel for what looked best.
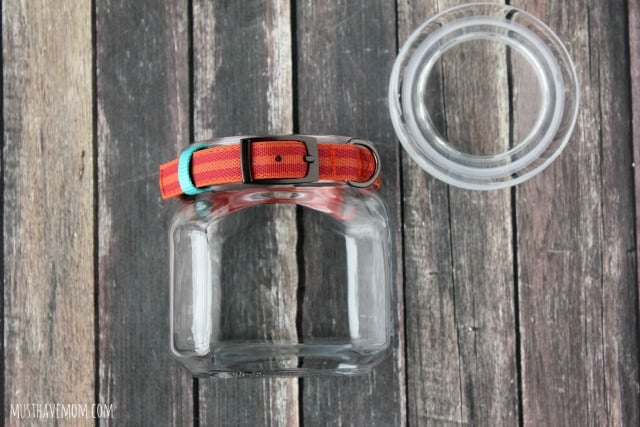
Begin by putting the dog collar around the neck of the jar and adjusting it to fit snug on the jar. Make sure when you pick your jar and collar that the lid is still able to close with the collar on.
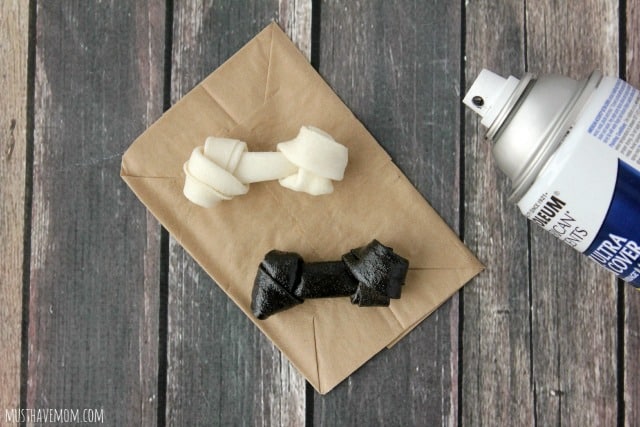
Then spray paint one dog bone for the top of each jar. (obviously the dog is not eating this, it is decoration only)
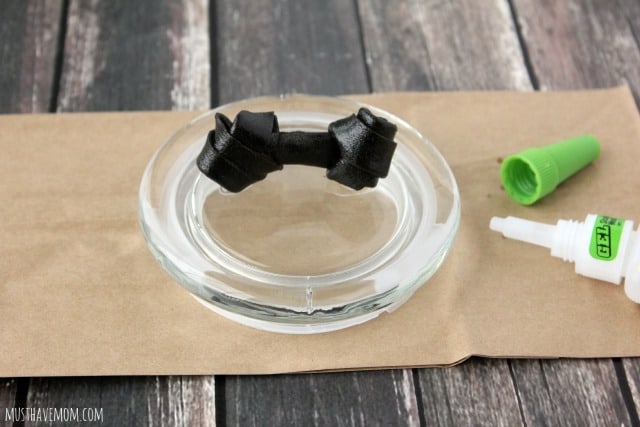
Once your paint has dried you can use your gel based super bond glue to glue it to the top of your jar. Hold in place for 30 seconds and then allow the glue to set according to package instructions.
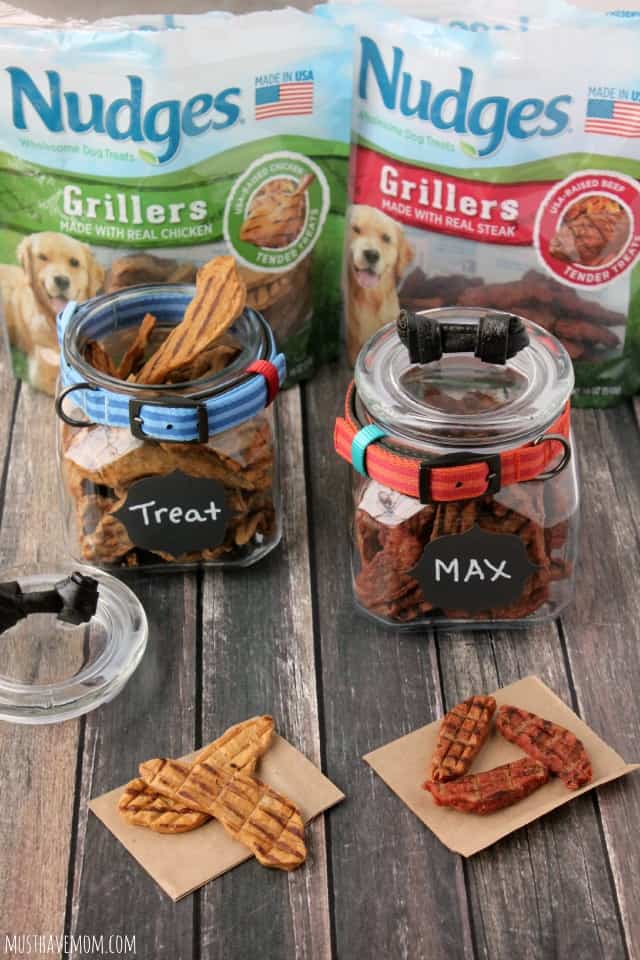
Once the glue has dried you are almost done! Now place a chalkboard label on the front of the jar and use a chalk pen
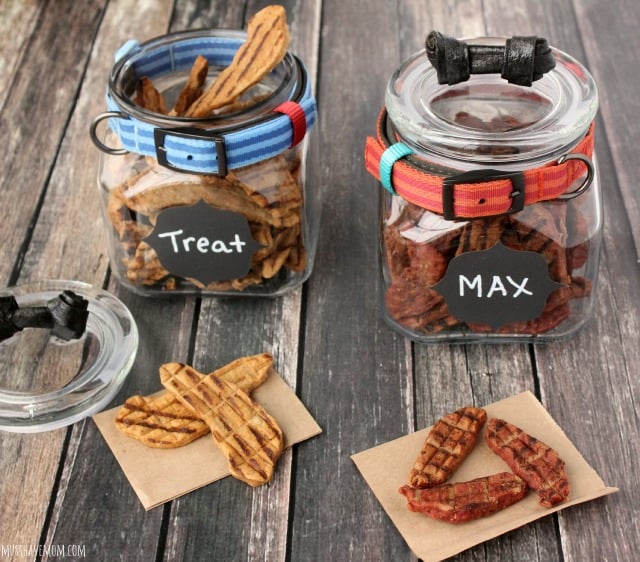
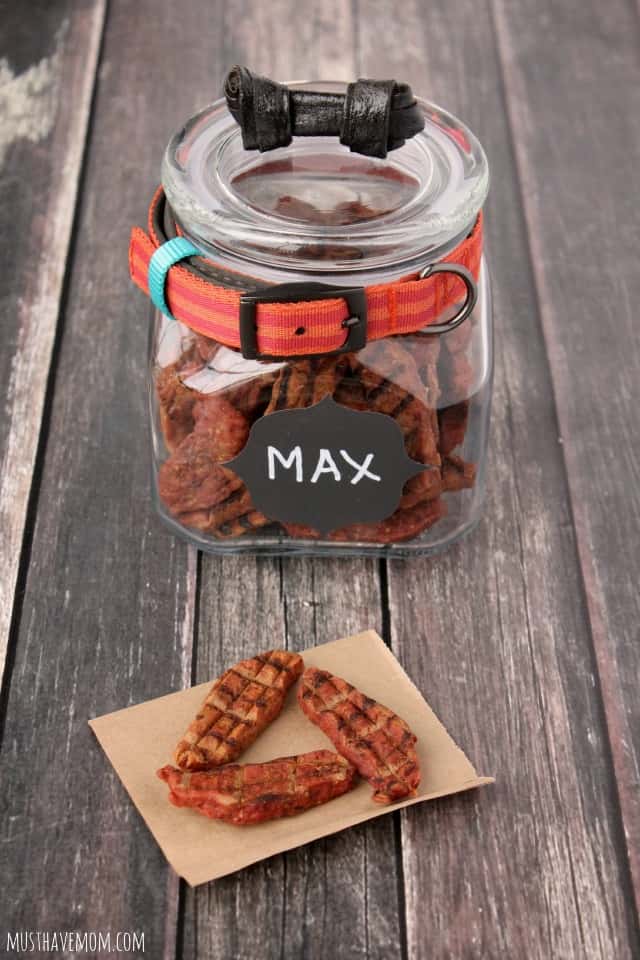
to write whatever you’d like on it! The beauty of these labels is that you can wipe it off and change it up whenever you want! Now you are done and you can fill them up with your dog’s favorite treats! Max LOVES the new Nudges® Grillers Chicken and Steak flavors. I filled each jar with one flavor.
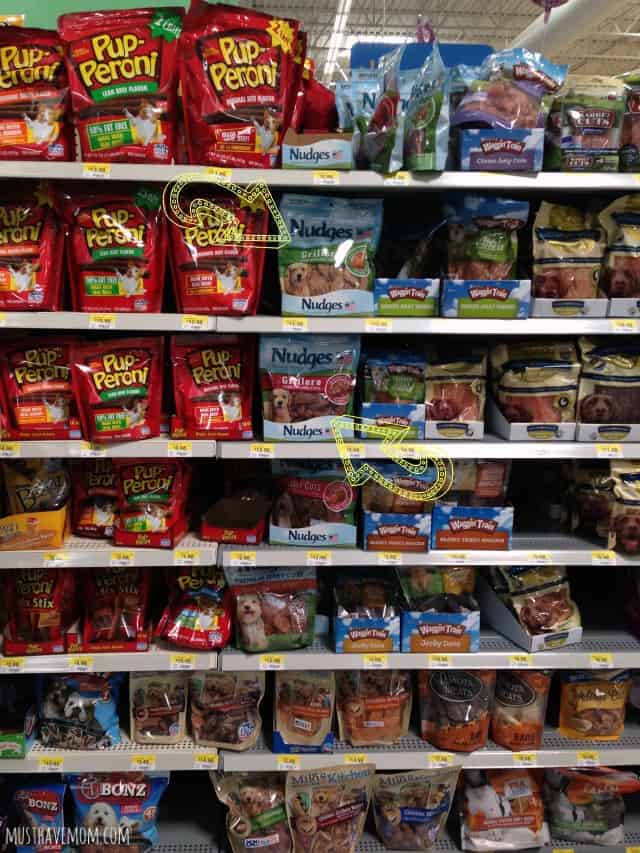
I found the Nudges® Grillers at Walmart by the dog treats in the pet section. They have steak or chicken Nudges® Grillers and the Jerky Cuts looked amazing too! Those are sure to find their way into our treat jar at some point too! Check them out on Facebook where you can also grab a coupon right now!
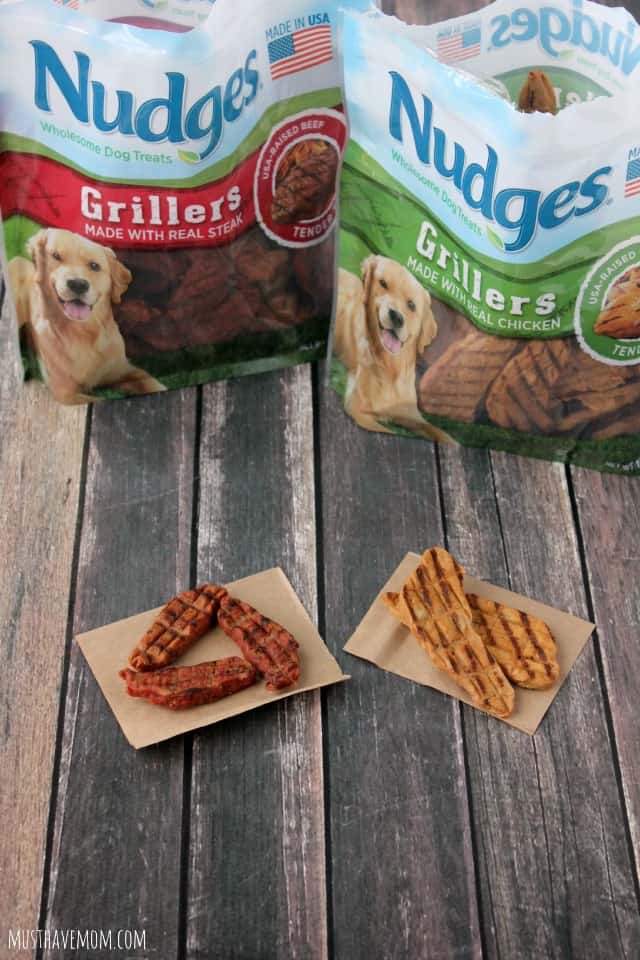
The new Nudges® Grillers are made in the USA with only USA-sourced protein and they use real meat as the #1 ingredient. They use only natural ingredients and these treats look and smell like real food! As soon as I opened the bag Max was drooling! Max is the best family dog and deserves a quality treat!
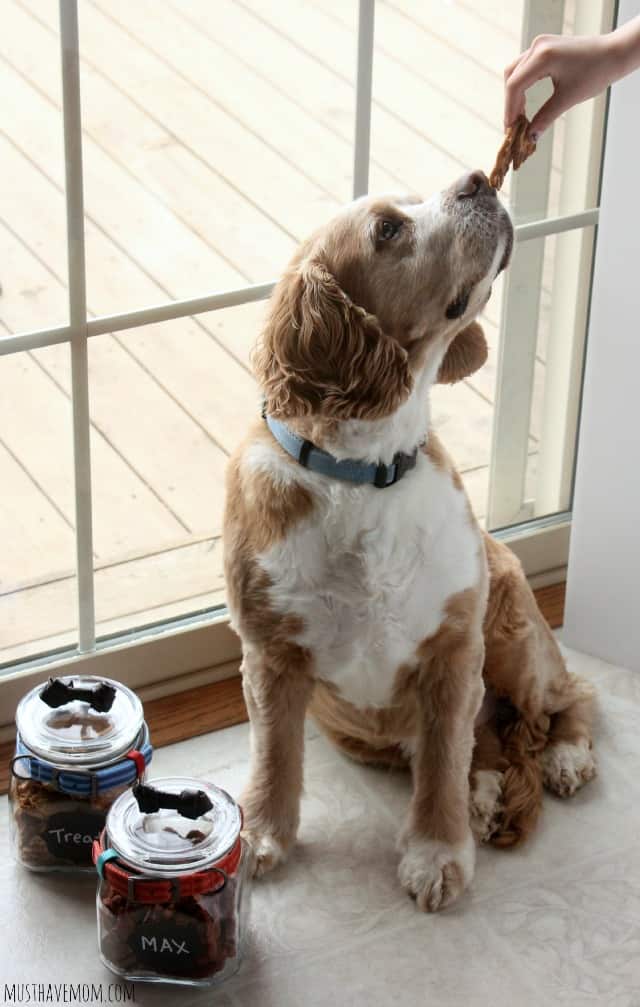
Max is such a good boy! He will sit and wait until you tell him “okay” and then he will gently take the treat from your hand. He’s been the BEST family pet we could ever ask for. He is getting older now but I believe with all the exercise and quality nutrition he receives, combined with all the love from the kids, that he will live a lot longer!
Print off the instructions below or pin it for later!
Easy DIY Dog Treat Jar
Ingredients
- 1 glass jar with a lid
- 1 dog collar to fit around the neck of the jar ensure the lid will still close
- small rawhide dog bone to use as decoration on top of the jar
- gel based super glue
- spray paint to paint dog bone to match metal on dog collar
- chalkboard label
- chalk pen
- Nudges Grillers Dog Treats
Instructions
- Place dog collar around the neck of the jar and tighten it to fit snugly.
- Spray paint the rawhide bone and allow to dry according to directions on the spray paint.
- Once dry use your gel based super glue to adhere it to the lid of the glass jar. Follow instructions and let cure.
- Place chalkboard label on the front of your jar and write a saying of your choosing! I wrote "treat" and our dog's name "Max" on mine.
- Then fill it with treats!
Check out all the flavors at nudgesdogtreats.com! Which one you think your dog would love the most?



That is so cute. I love how it came out.
I love the treat jar! It is so cute! I would like to do this for our doggie treats. Right now we have been using plain tupperware to store his treats. This is so much cuter and nicer to have in the kitchen.
Yes, I love that it’s easy to grab from on the counter and still looks pretty!
That is so cute! I’ve got to do this for my three guys. Thanks!
This is just adorable and exactly what I am looking for. My grand-puppies need a Grand-mama gift and I appreciate you sharing your jars. I will also look for these treats I have not seen them yet in our store but love they are so good for our furry friends.
What an adorable craft, and yes, totally counter ready. The chew bone on top of the jar is just precious.
This is such a cute idea! I want to make this for my pup and my dog mama friends! Adorable!
Oh my goodness, those are the cutest things ever. I am totally going to do these for my dogs’ treats. So awesome. Thanks for sharing.
Let me know how they turn out Shauna!
Oh how simple yet absolutely adorable. Now I want to make one for our pup.
I love the dog bone handle! That’s a great dog treat jar. The treats look perfect for the pups too!
This is perfect! I like the labels on the front!
How crafty! The bones on the tops look super cute!
Awe thanks Jenny!
What cute jars. I love the little bone on top and the collars around them.
Thanks Aubrey!
What a super cute idea! I would love to make one for my little pooch too.
This is such a great idea for a treat jar. My sister would love this for her dogs. This would make a great gift.
Yes, it would be a great gift idea!
These are adorable! I love how you customized them with a collar and bone on the lid 🙂 Thanks for linking up with Merry Monday this week!
So cute!! I wish I had a pup so I can make one!!
Thanks for sharing at #HomeMattersParty!
jeeto92.co collaborates with other lottery providers and these lotteries are popular among Pakistani players
Exploring online resources about finance and gaming can be overwhelming, but this platform offers clear guidance and well-structured content that helps users stay informed. Articles cover everything from personal finance tips to exciting gaming features. The information feels updated and easy to navigate, especially for newcomers. In the middle of reading, I found helpful references and user-friendly explanations on https://www.paryayvachishabd.co.in/
that made the learning process smooth and enjoyable. It’s a great place to expand knowledge and discover new opportunities in both fields.