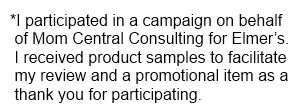
Windsock DIY Project
Our snow finally meted and it warmed up a little, and then it started raining! Since we’ve been stuck inside the last few rainy days I decided it was time to break out some fun art projects. My kids LOVE doing art projects. Say the word “project” and they will all come running. We decided that since Summer is coming soon we would make windsocks to hang and watch blow in the breeze (once the rain quits of course!).
Supplies you need:
- Construction paper or cardstock
- Crepe Paper
- Scissors
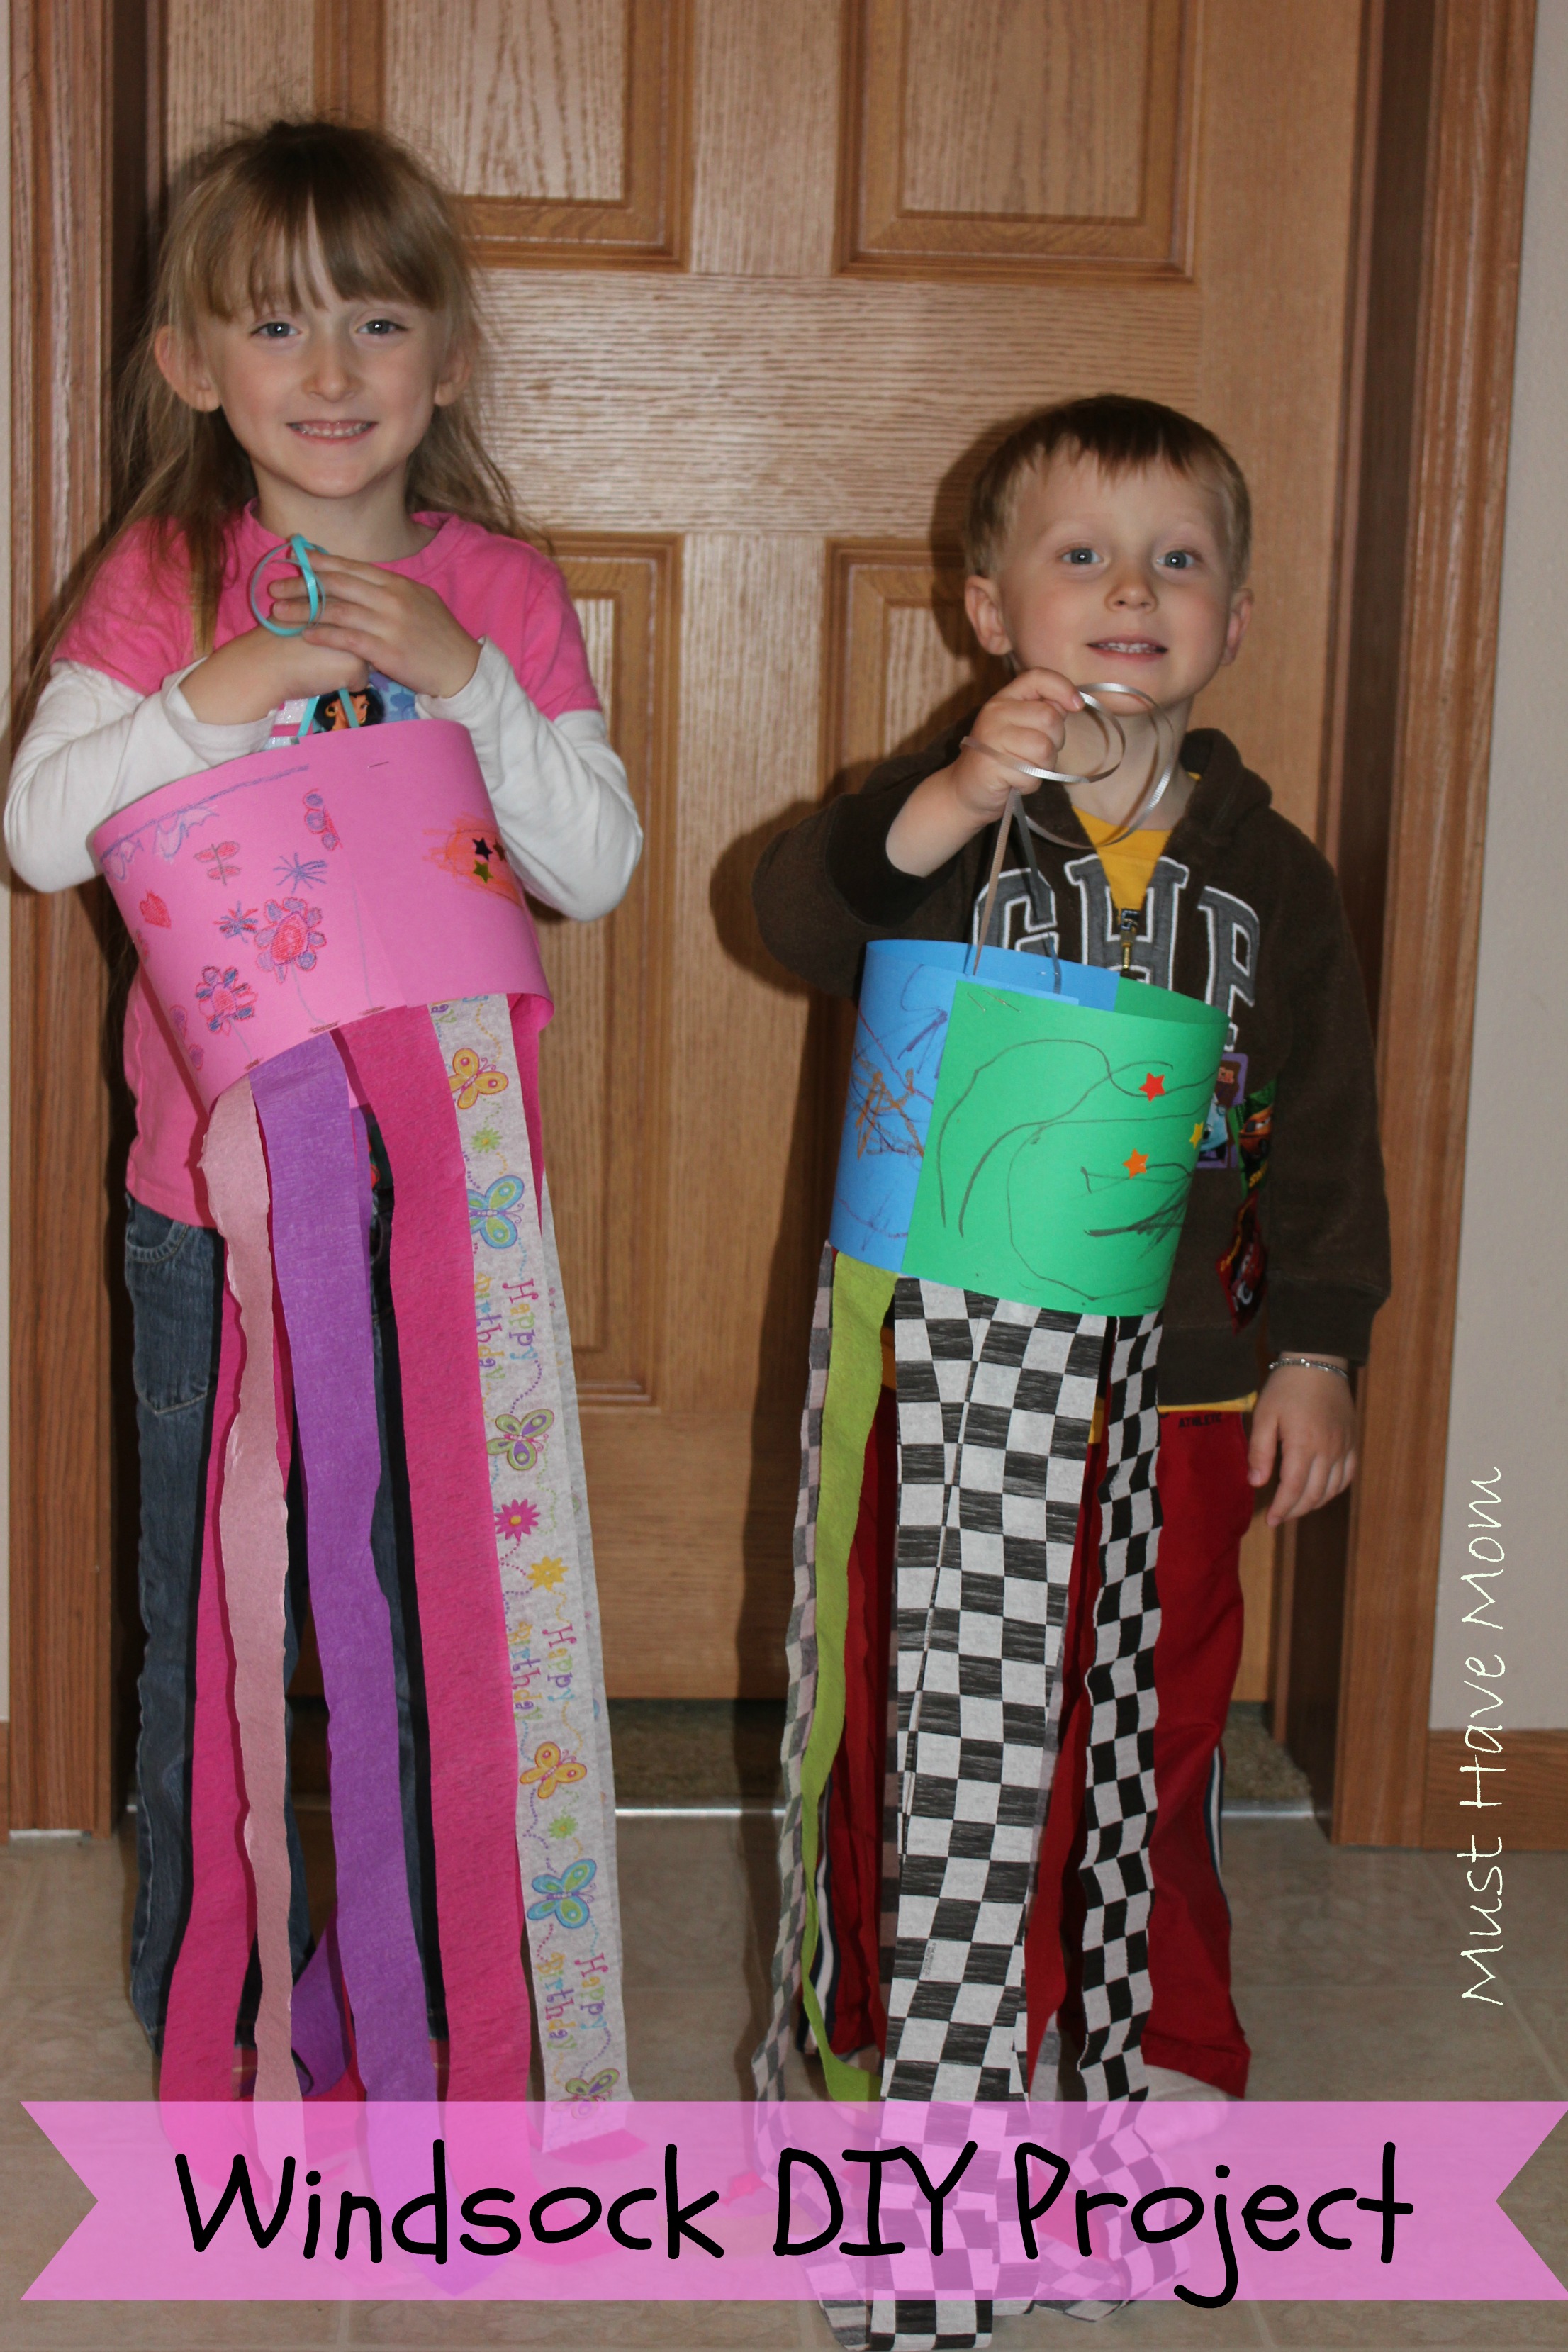
- Elmer’s Naturals Glue Sticks or School Glue
- Stapler or hole punch
- String
- Markers
- Stickers or sequins
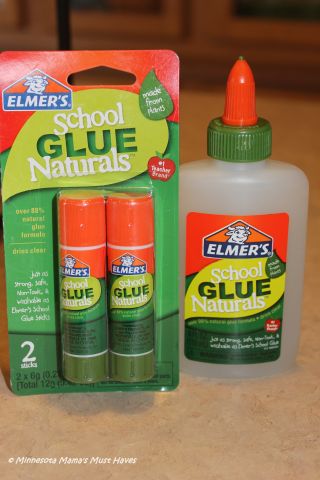
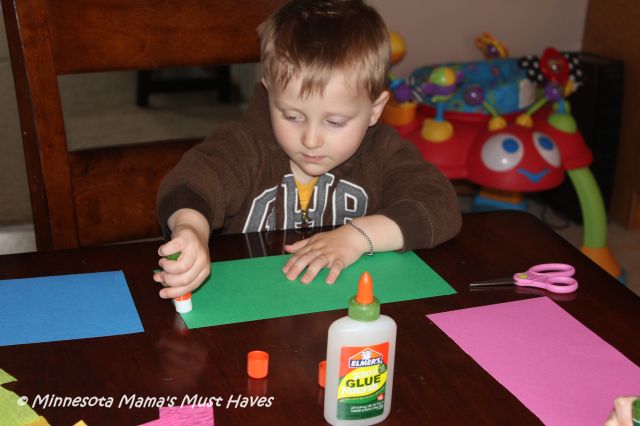
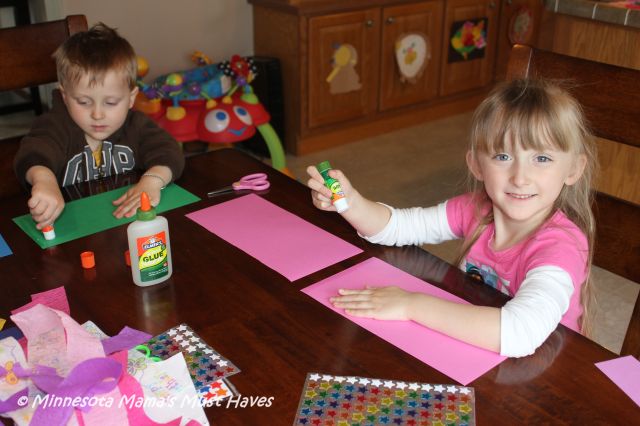
We used cardstock for our windsocks since it’s a bit stiffer than construction paper and holds up better. First I let the kids color and decorate their pieces of paper. I cut the paper to 6” tall by 12” wide. They each got 2 pieces of 6”x 12” paper.
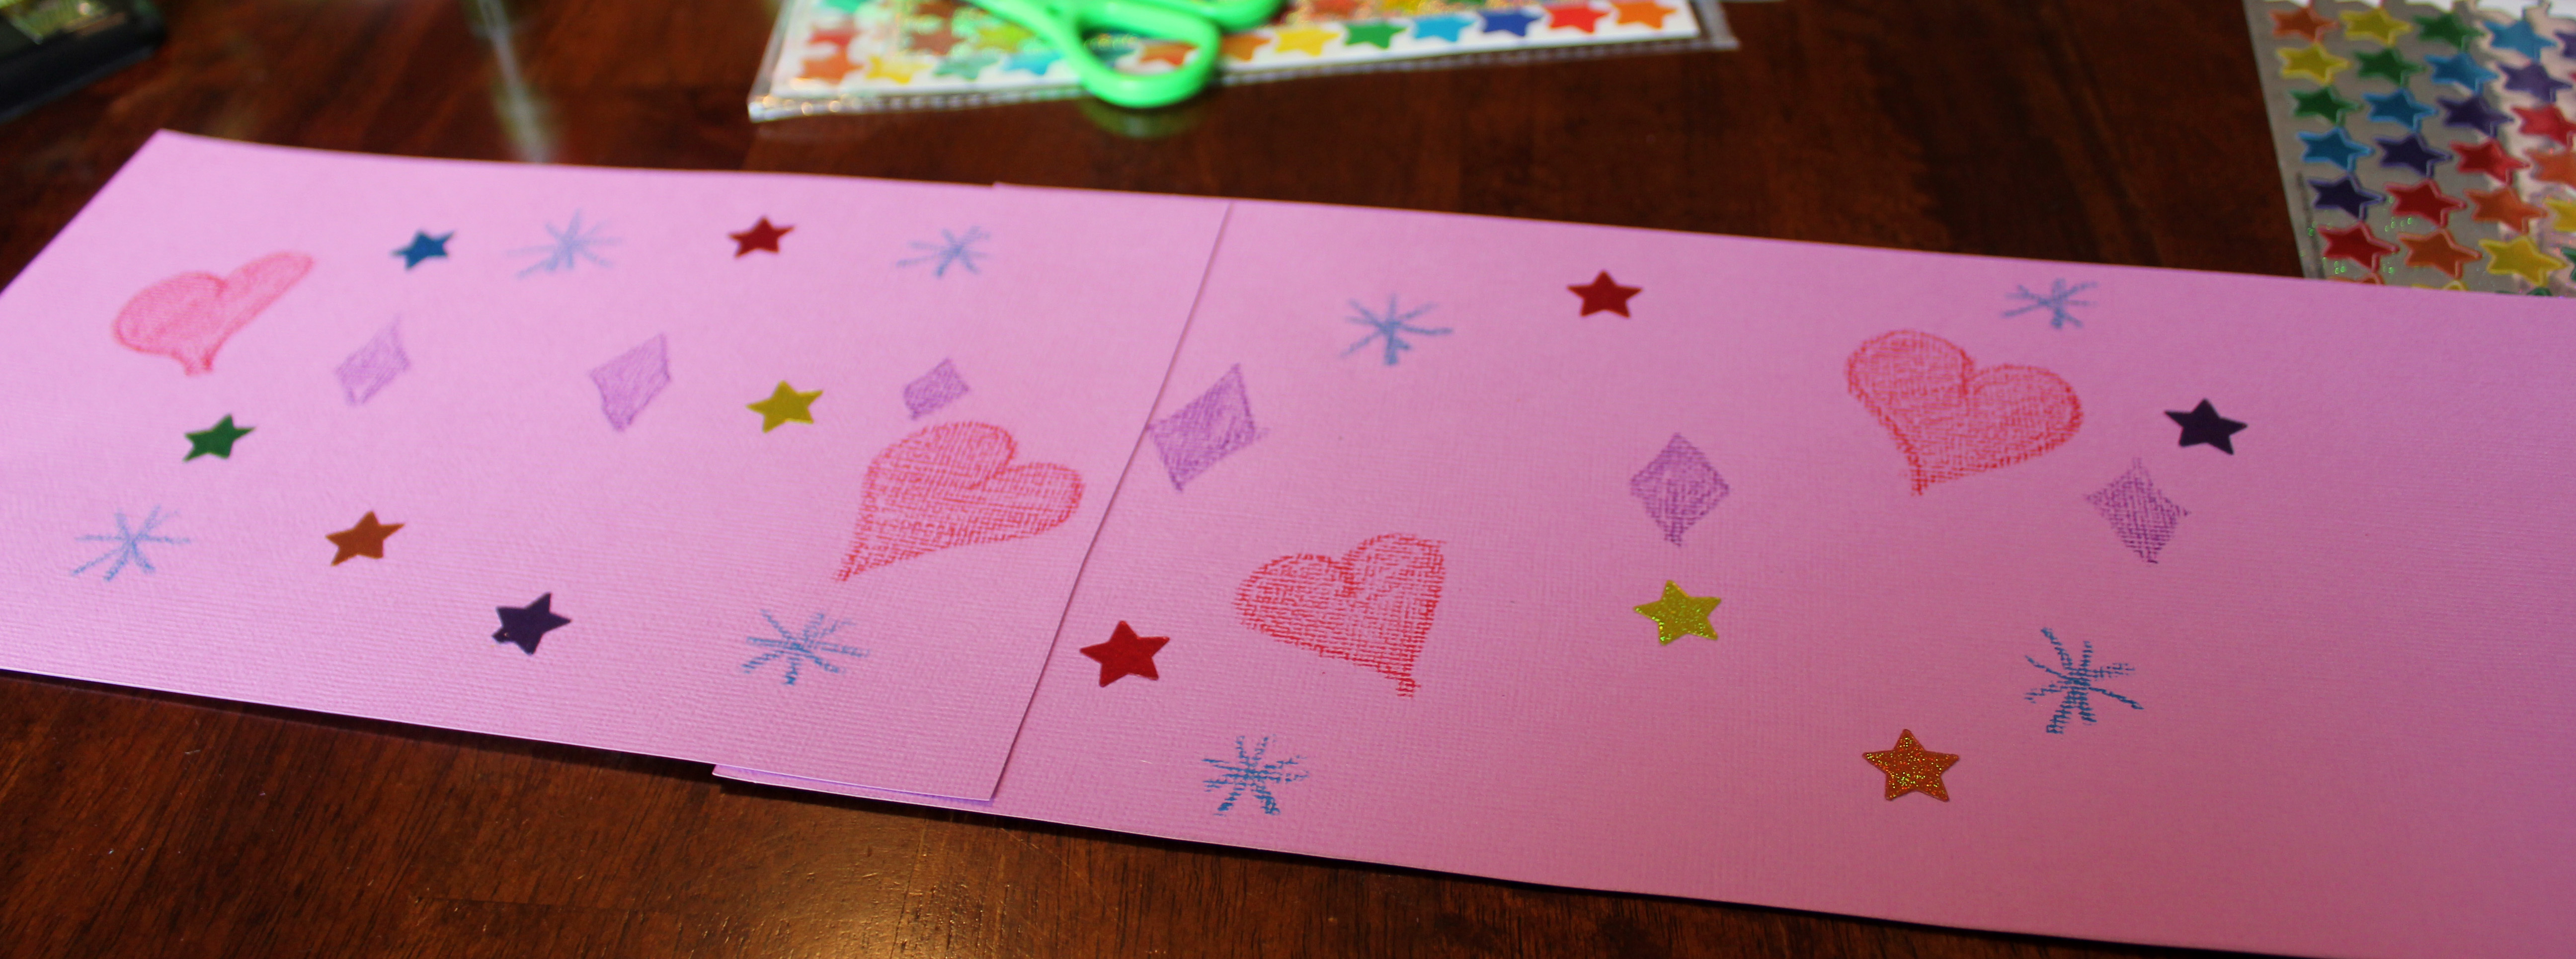
Once they were done decorating their papers we flipped them over and glued the two pieces together end to end using the Elmer’s Naturals Glue Sticks.
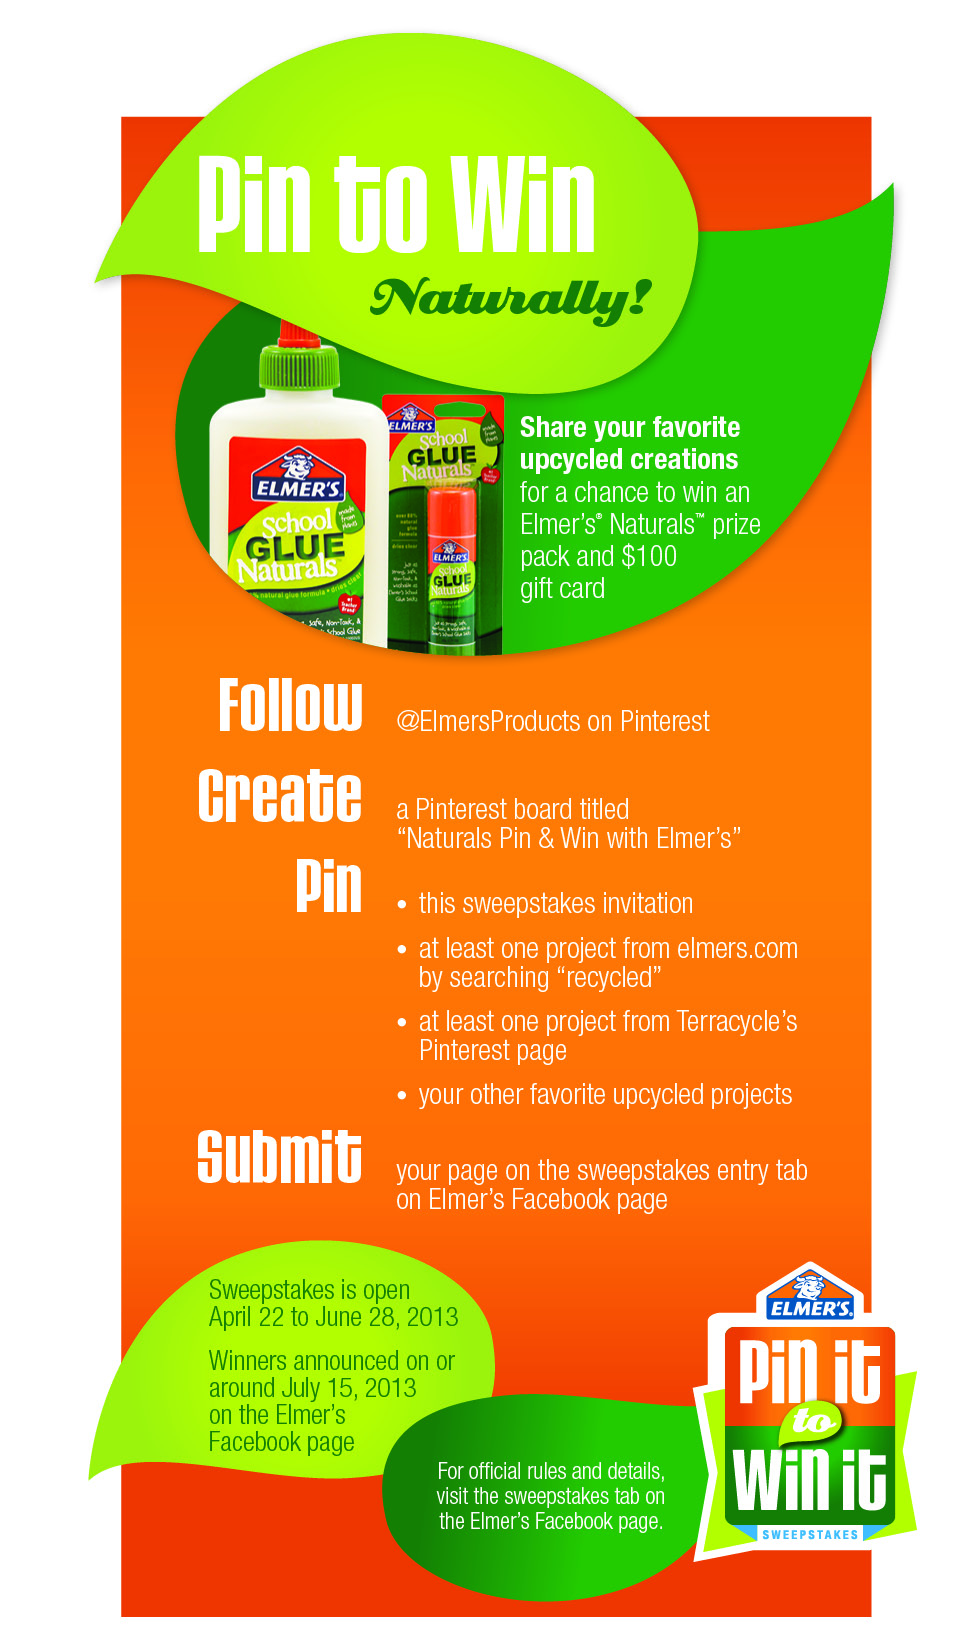
I love glue sticks because they give my kids the ability to glue by themselves without the mess. If you are an eco-conscious mom then you will want to check out the new Naturals line from Elmer’s. Elmer’s Naturals is the FIRST and ONLY school glue made with naturally occurring ingredients and available in recycled packaging. Elmer’s School Glue Naturals is just as strong, safe, non-toxic and washable as Elmer’s
traditional School Glue, but it’s made from corn and soybeans. Elmer’s School Glue Naturals can be used on any project for which one would normally use Elmer’s traditional School Glue and is just as easily applied so it was perfect for our windsock project.
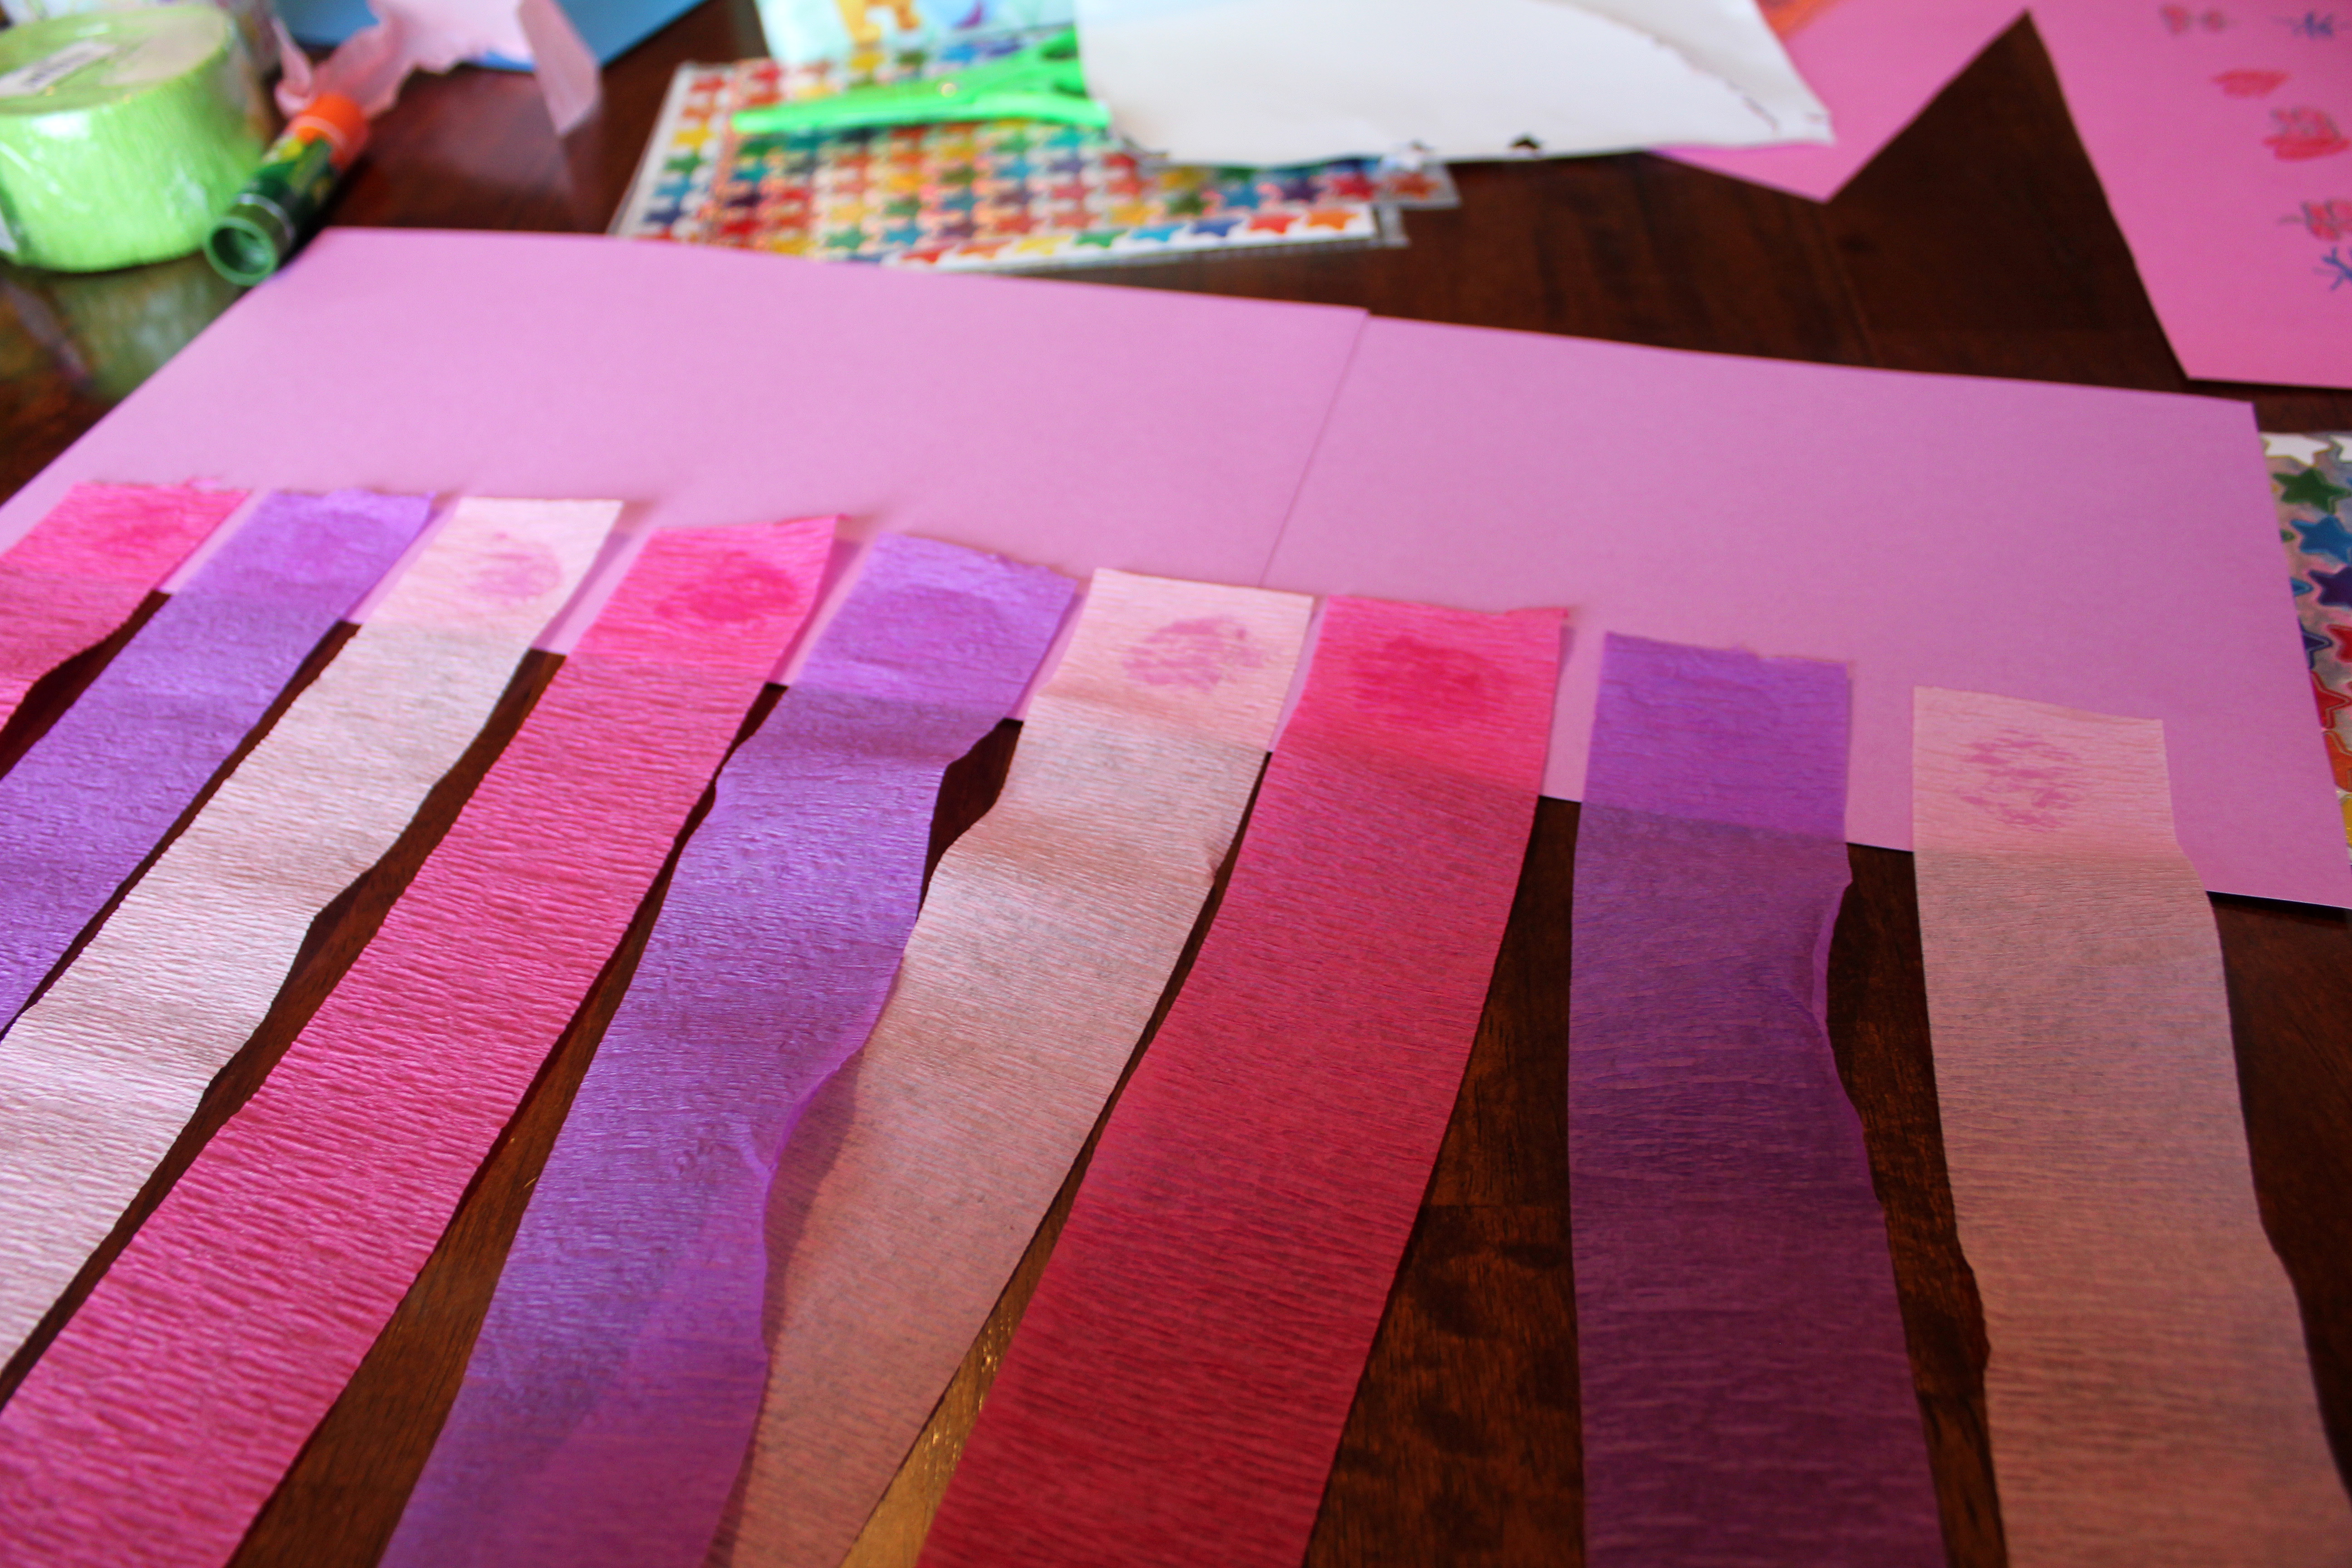
After gluing the two pieces of paper together we then turned the paper over and glued the crepe paper to the paper.
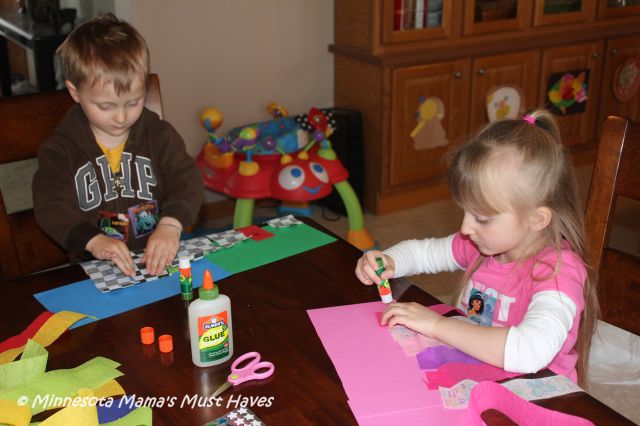
Once we were finished gluing the crepe paper to the paper we glued the ends together to complete our circle.
We then stapled ribbon to each side to hang our windsocks with. I would suggest using a hole punch and tying your ribbon through the hole for added strength.
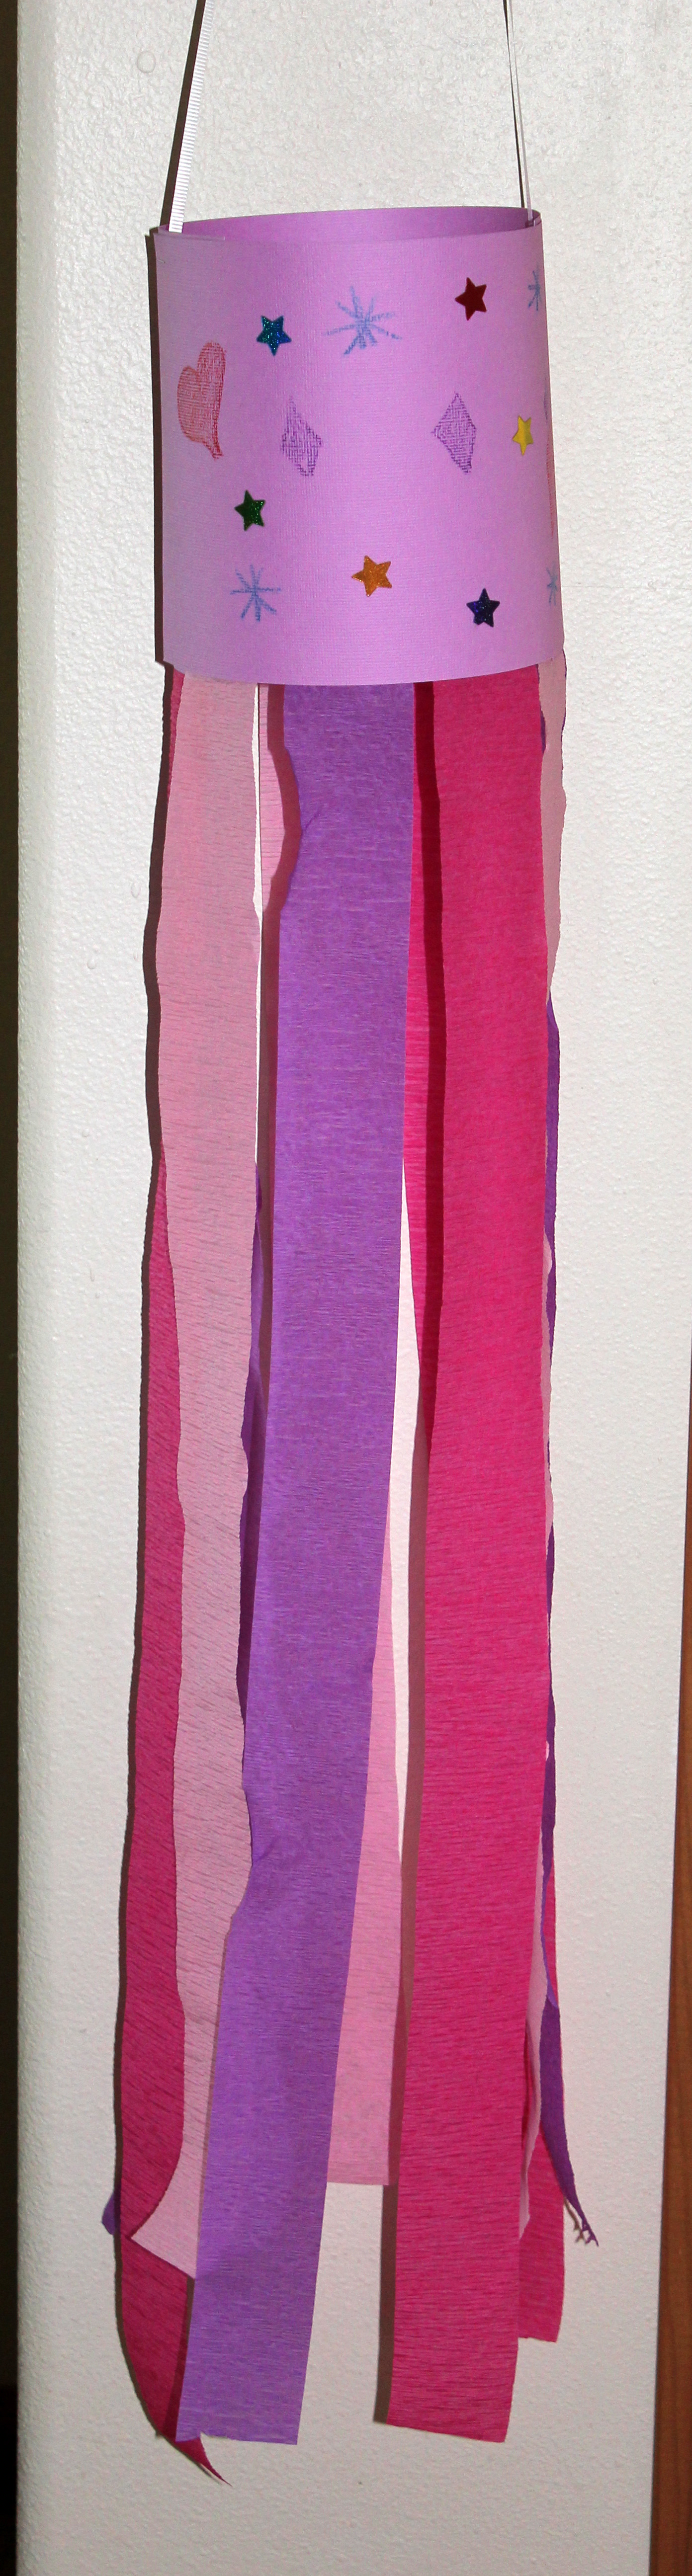
We hung them up indoors for now and once this rain quits we can hang up our beautiful windsocks outside and watch them blow in the breeze!
You can check out the Elmer’s School Glue Naturals that we used in our project, available nationwide in JoAnn Fabric stores and Michaels stores!
Like this post? Pin it, share it, tweet it 🙂
You can also enter Elmer’s Pin to Win Contest below!
How cute are these and the kids too of course :). Looks like they had a blast even though they are stuck inside due to the rain. I will have to do this project with my son
Cute idea. I think my son would enjoy making one.
What a fun and easy craft for the kids! They look proud of their work!
What a cool idea. I love making crafts with my grandchildren. We make a different craft every week. Never thought of this. Thank you for the idea. We will be making this Thursday.
These are super cute! What a great idea! I think we will have to try this on our next rainy day. We have a lot of wind here, so my daughter would really be able to enjoy watching her art flutter in the breeze.
I Don’t have any kids but my sisters do and I know their kids would love this project ,I love old school posts like this I remember these growing up Great post 🙂
What a cute idea! My kids would love this, especially during windy season in NM!
These are so cute! I can’t wait to do this with the grandchildren.
Creative and easy!
On your daughter’s windsock – is that actual crepe paper – the white strip with the butterflies?? If so, where did you get it please? super cute! Think my daughters would LOVE it!
The website’s commitment to ethical content creation sets a positive example.
This post was very insightful. Appreciate the depth!
I think you made some good points in Features also. Keep working, great job!
Spot on with this write-up, I actually assume this web site wants rather more consideration. Ill in all probability be once more to learn much more, thanks for that info.
The idea of receiving the best of the best naughty service will become a reality. Provided the man is also making use of the right keyword. Yes, guys, there is one source and that is escorts in rajkot , which makes everything sexually exciting. All the sensuous and horny babes f this keyword search are truly mind-blowing naughty performers.
All ups and lows of life will not affect you anymore. If the support of premium-grade naughty girls’ with you. Super glamorous and horny girls will make out with you in an excellent way. She is going to perform a series of naughty activities. That will definitely make you, their fan
In Mumbai, the opportunity to explore sexy encounters with these exquisite call girls opens doors to a world of sophistication and indulgence. Whether you desire a romantic dinner date or a passionate night in, these models cater to your preferences, providing an experience tailored just for you. With their captivating charm and elegance, each moment spent in their company is a delightful escape from the ordinary. Embrace the excitement and let yourself be swept away by the seduction of Mumbai’s most enchanting call girls.
thanks for sharing
high class dwarka escort
A very warm and cordial welcome to view my private profile! I am Shruti Sikdar and I am well known as one of the escort in meerut. The name and fame that is attributed to my name in escorting is something that can be considered simply incredible in general terms. My clientele includes politicians, Bengali film stars and television personalities, sports stars and those who have great repute in the corporate corridors. The way I serve all of them in the bed is not only unique but also unique. I am of the view that erotica is both an art and science that is not very easy to master very easily. It requires efforts with dogged determination and willingness to grab the gist of the erotica. This is the reason I am experimental in my approach and love to be explored in the bed fully by my clients. I take limitless pleasure in pleasing those clients of mine who are mild by approach and soft by heart.
Diverse Backgrounds The variety of Escorts Karol Bagh from different cultural backgrounds enriches the experience, allowing clients to connect on multiple levels.
Thanks for shareing comments Vip Escorts Delhi
Raised Masterfulness Putting resources into thorough preparation Dwarka Escort Service programs for allies to level up their social abilities and refine administration conveyance, guaranteeing top notch collaborations.