Paper Weaving Basket | Easter Crafts For Kids
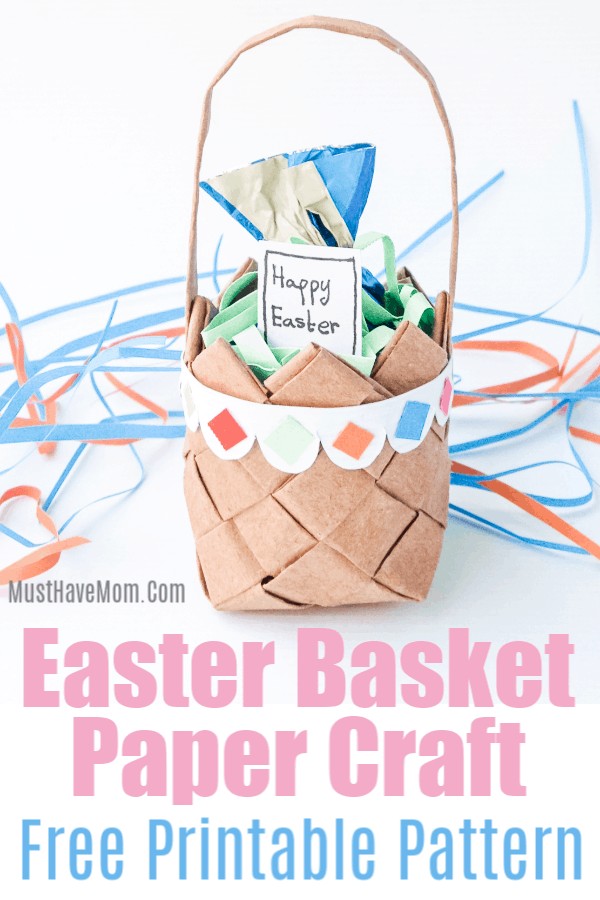
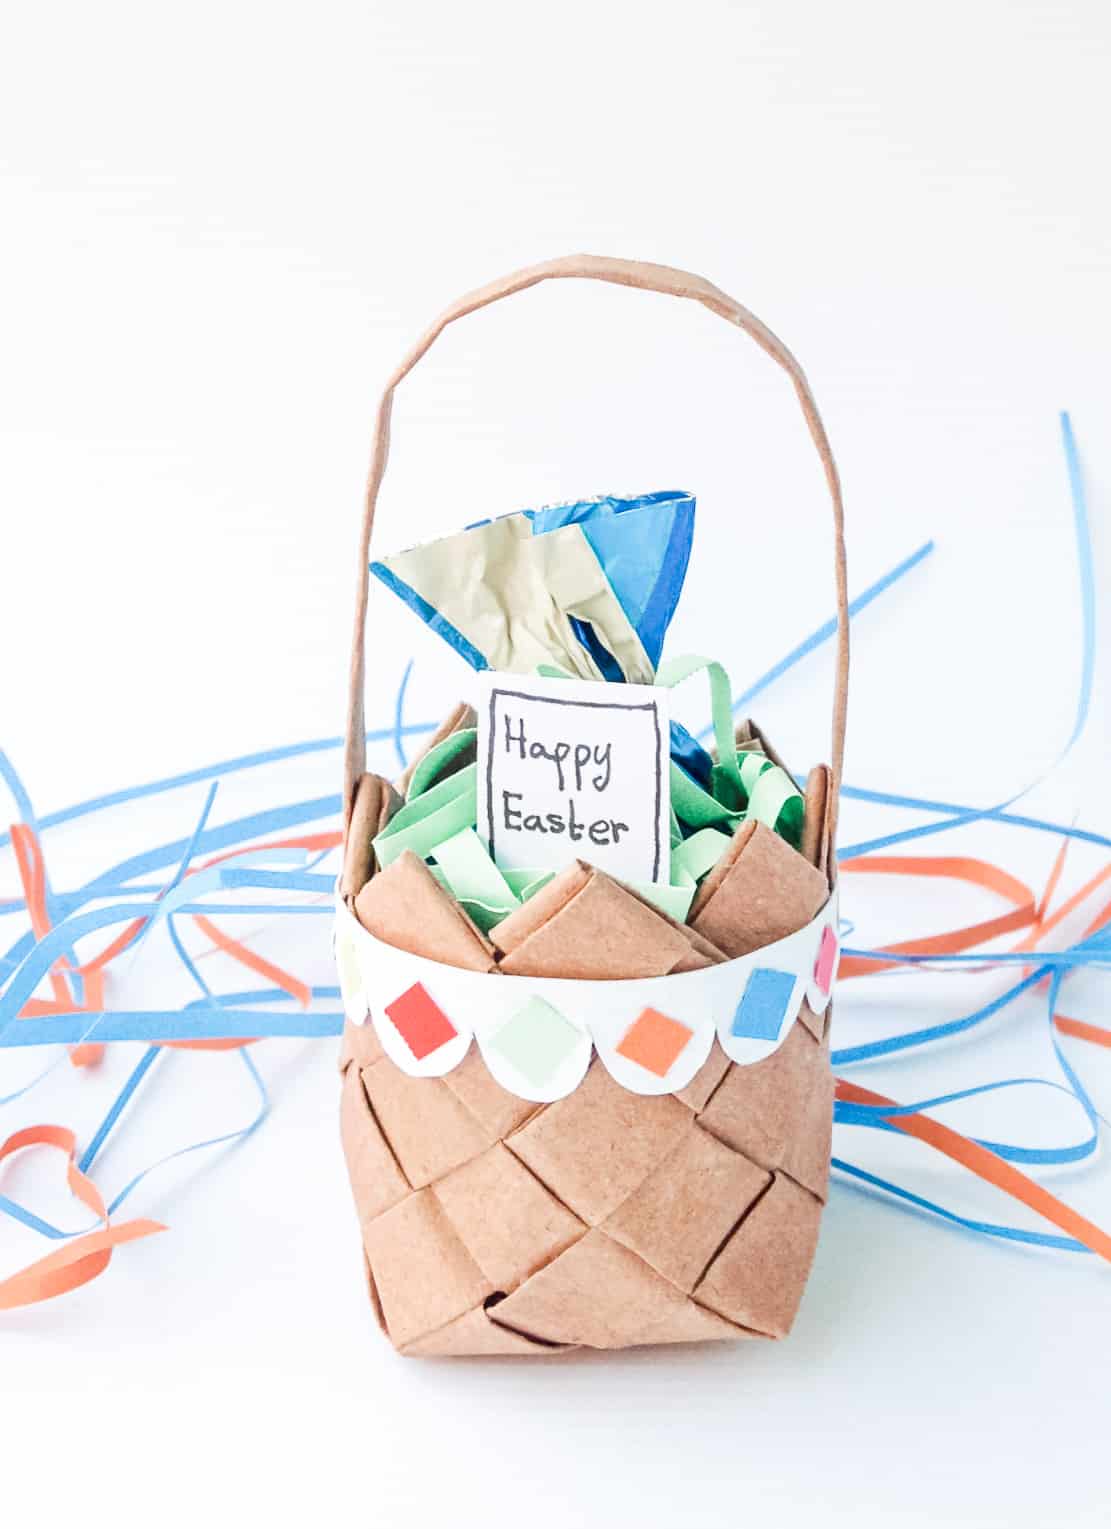
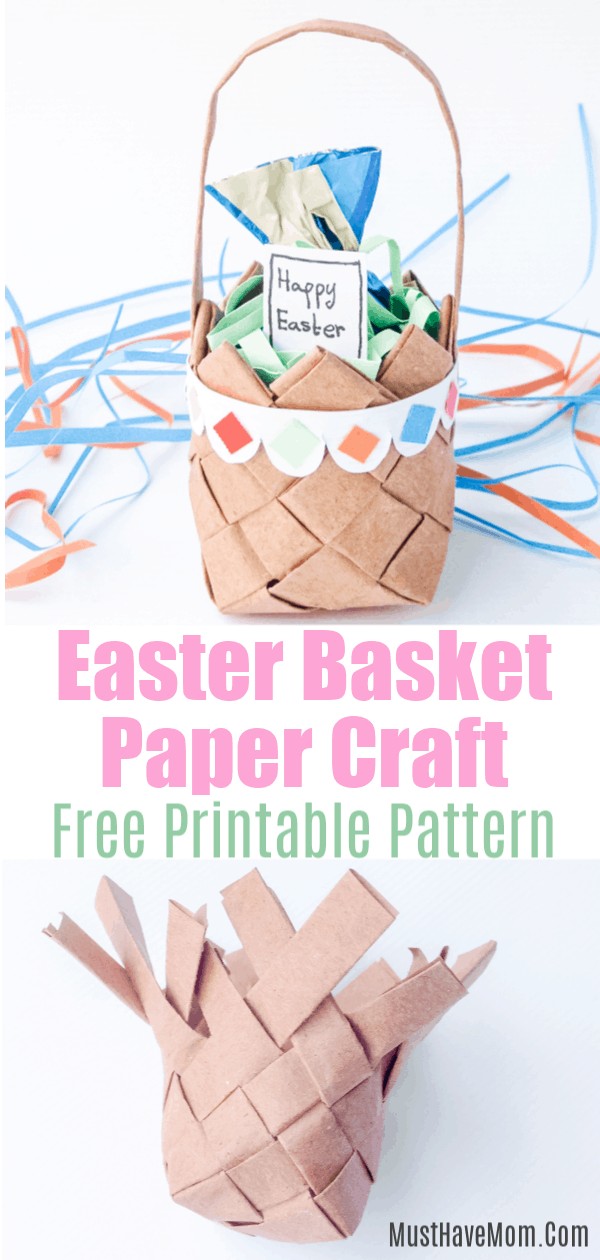
This paper weaving basket is a really fun Easter crafts for kids project that is perfect for older kids to do. Grab the free printable paper weaving pattern to create this fun Easter basket.
Paper Weaving Easter Crafts For Kids
Paper weaving is a fun craft project that is inexpensive and easy. Follow these detailed instructions and photos to weave your own paper Easter basket and fill it with treats! You could make these paper baskets for any occasion, not just Easter. Use them for May Day, Mother’s Day or as a teacher gift idea. If you like this paper weaving craft then you’ll also love this Easter carrot paper craft.

Paper Weaving Easter Basket Materials
Brown paper – from a brown paper bag
Pencil – to trace the template
Paper Weaving DIY Basket Instructions
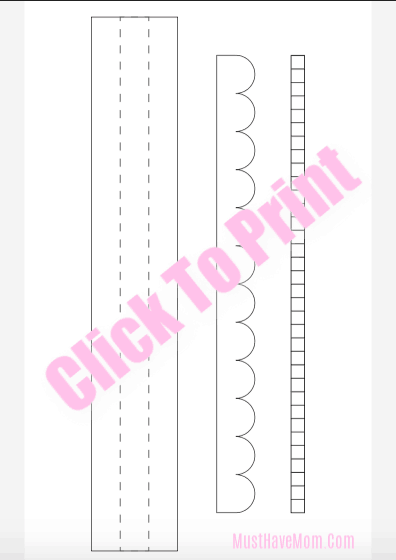
First, grab the free paper weaving pattern for the Easter basket craft. Just enter your email and I’ll send you the pattern to download and print.

Paper Basket Weaving Step 1
Cut brown paper bag into strips of 3 cm wide and as long as it can be. To create mini basket you can use the template pattern. Fold the width of the strips 3 times, thus creating 1 cm wide strips. You’ll need an even number of strips to make this basket, we’ll be using 8 strips for this project.

Paper Basket Weaving Step 2
Lay out 4 strips vertically and weave the 5th strip horizontally, over and under the 4 strips.

Paper Basket Weaving Step 3
Take the rest of the strips (3 more) and weave over and under the first four strips. If a strip is woven over a strip the strip on the next line should be woven under that strip. Tighten the weave carefully and glue the overlapping strips on each corner to secure the weave. Notice strip 1 and 2 in this step.

Paper Basket Weaving Step 4
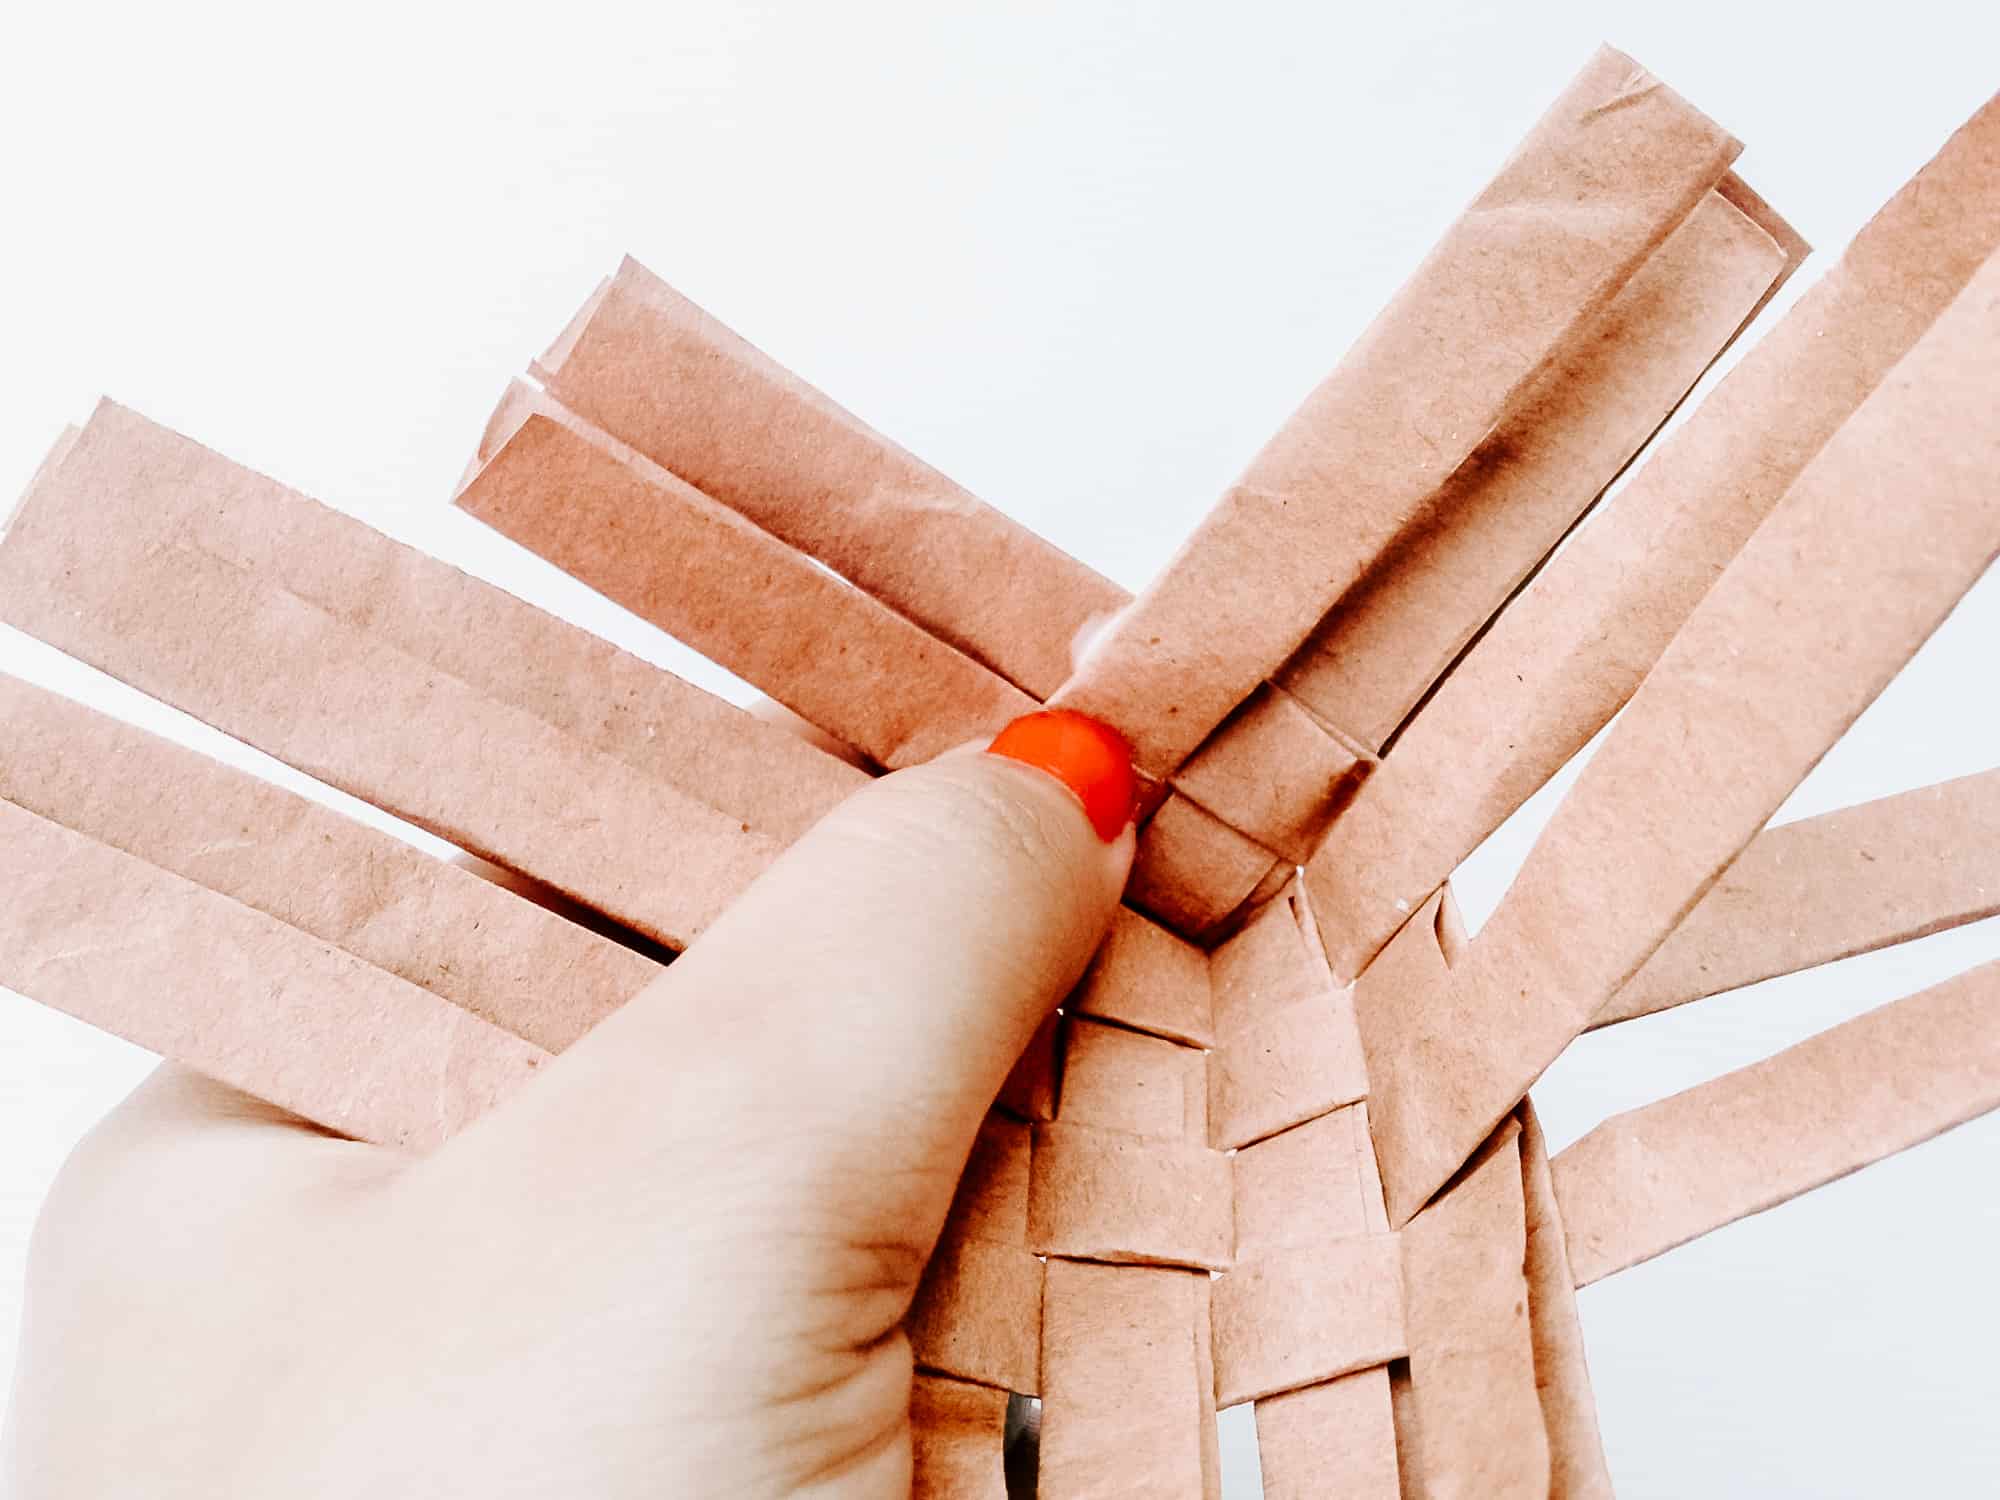
Fold up strip over strip 2. This weave will form a corner.
Paper Basket Weaving Step 5
Now continue weaving over and under with the strips on both sides of the strip 1 and 2.

Paper Basket Weaving Step 6
This is how it looks like after weaving the 4 strips of any one side.
Repeat the process for the 3 other sides of the woven pattern to form all 4 corners of the basket.

Paper Basket Weaving Step 7
The basket should now look something like this after weaving all 4 corners.

Paper Basket Weaving Step 8
Now continue upwards by simply weaving over and under.
Paper Basket Weaving Step 9
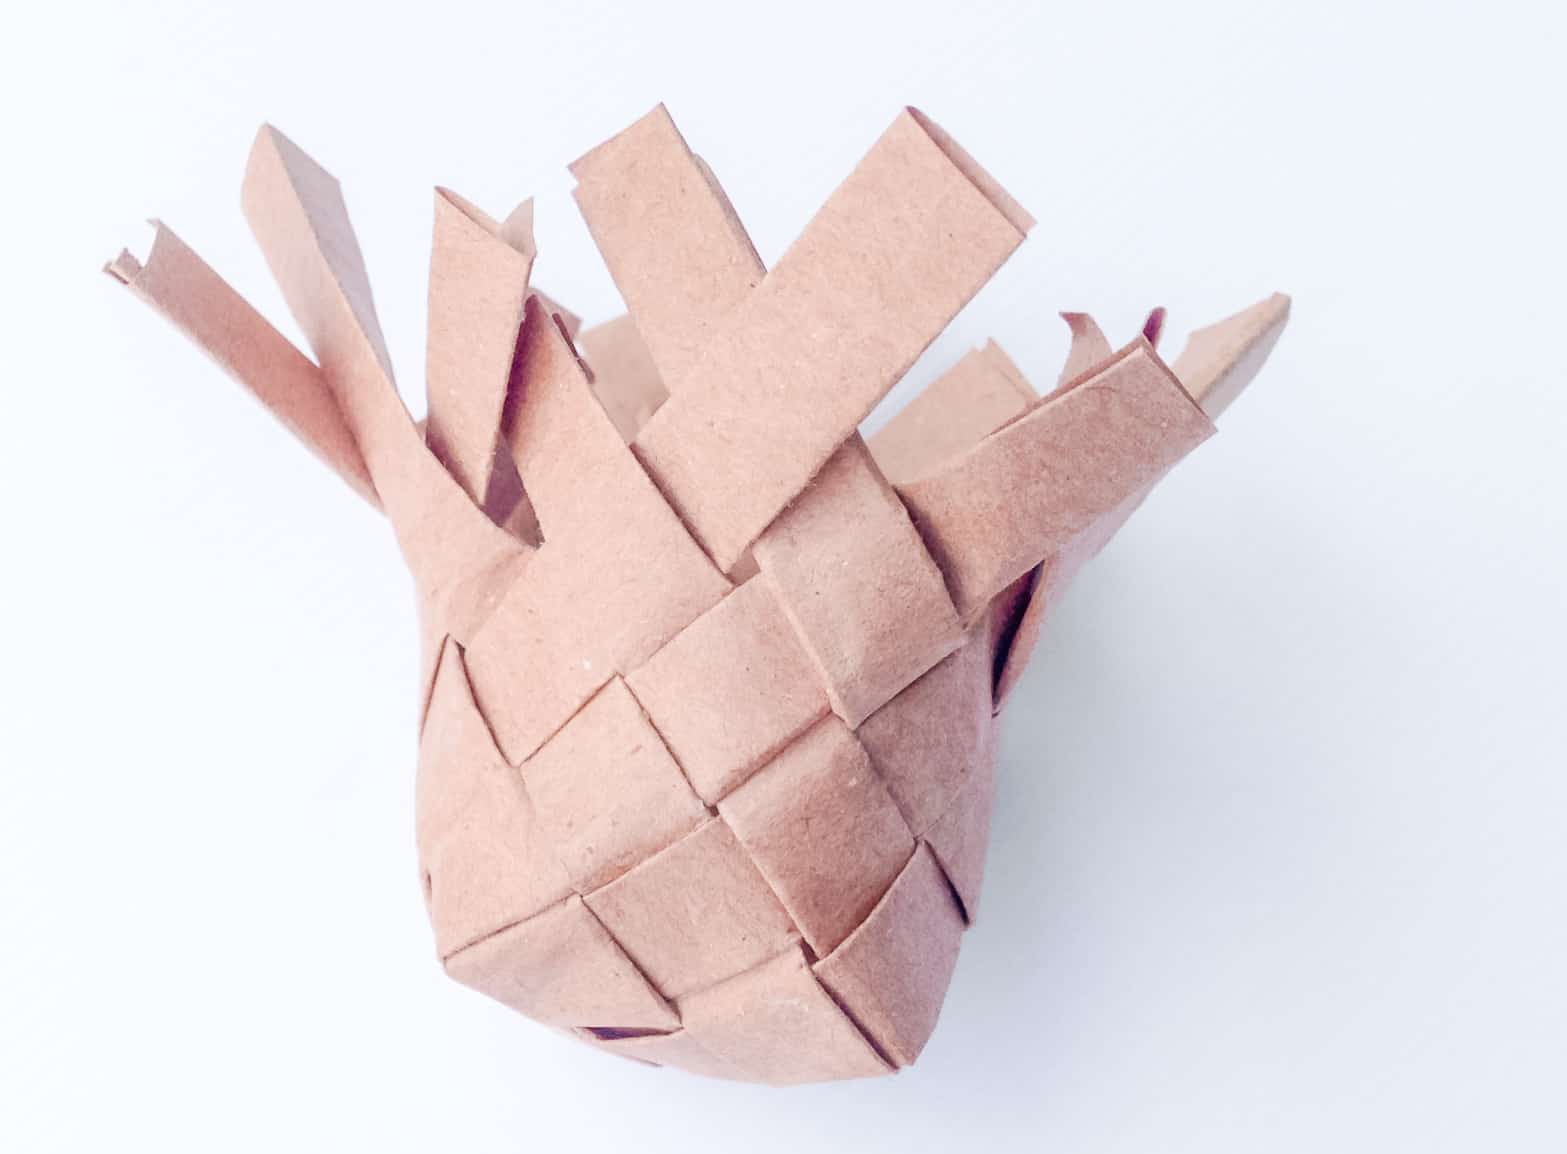
Find out the weave with the shortest height. Fold the strip inside if there’s any amount remaining after weaving or simply glue the strips together to secure the weaving.

Here’s an inside view of the closed weave.

Paper Basket Weaving Step 10
This is how the closed weave looks like from the outer side.
Bring all the closed end of the weaving to the same height and glue them to secure the weaving.

Paper Basket Weaving Step 11
Trace and cut out the scallop border pattern from the template. Select 4-5 colored craft papers and cut out small square pieces from them. Glue the small square patterns on the scallop border.
Paper Basket Weaving Step 12
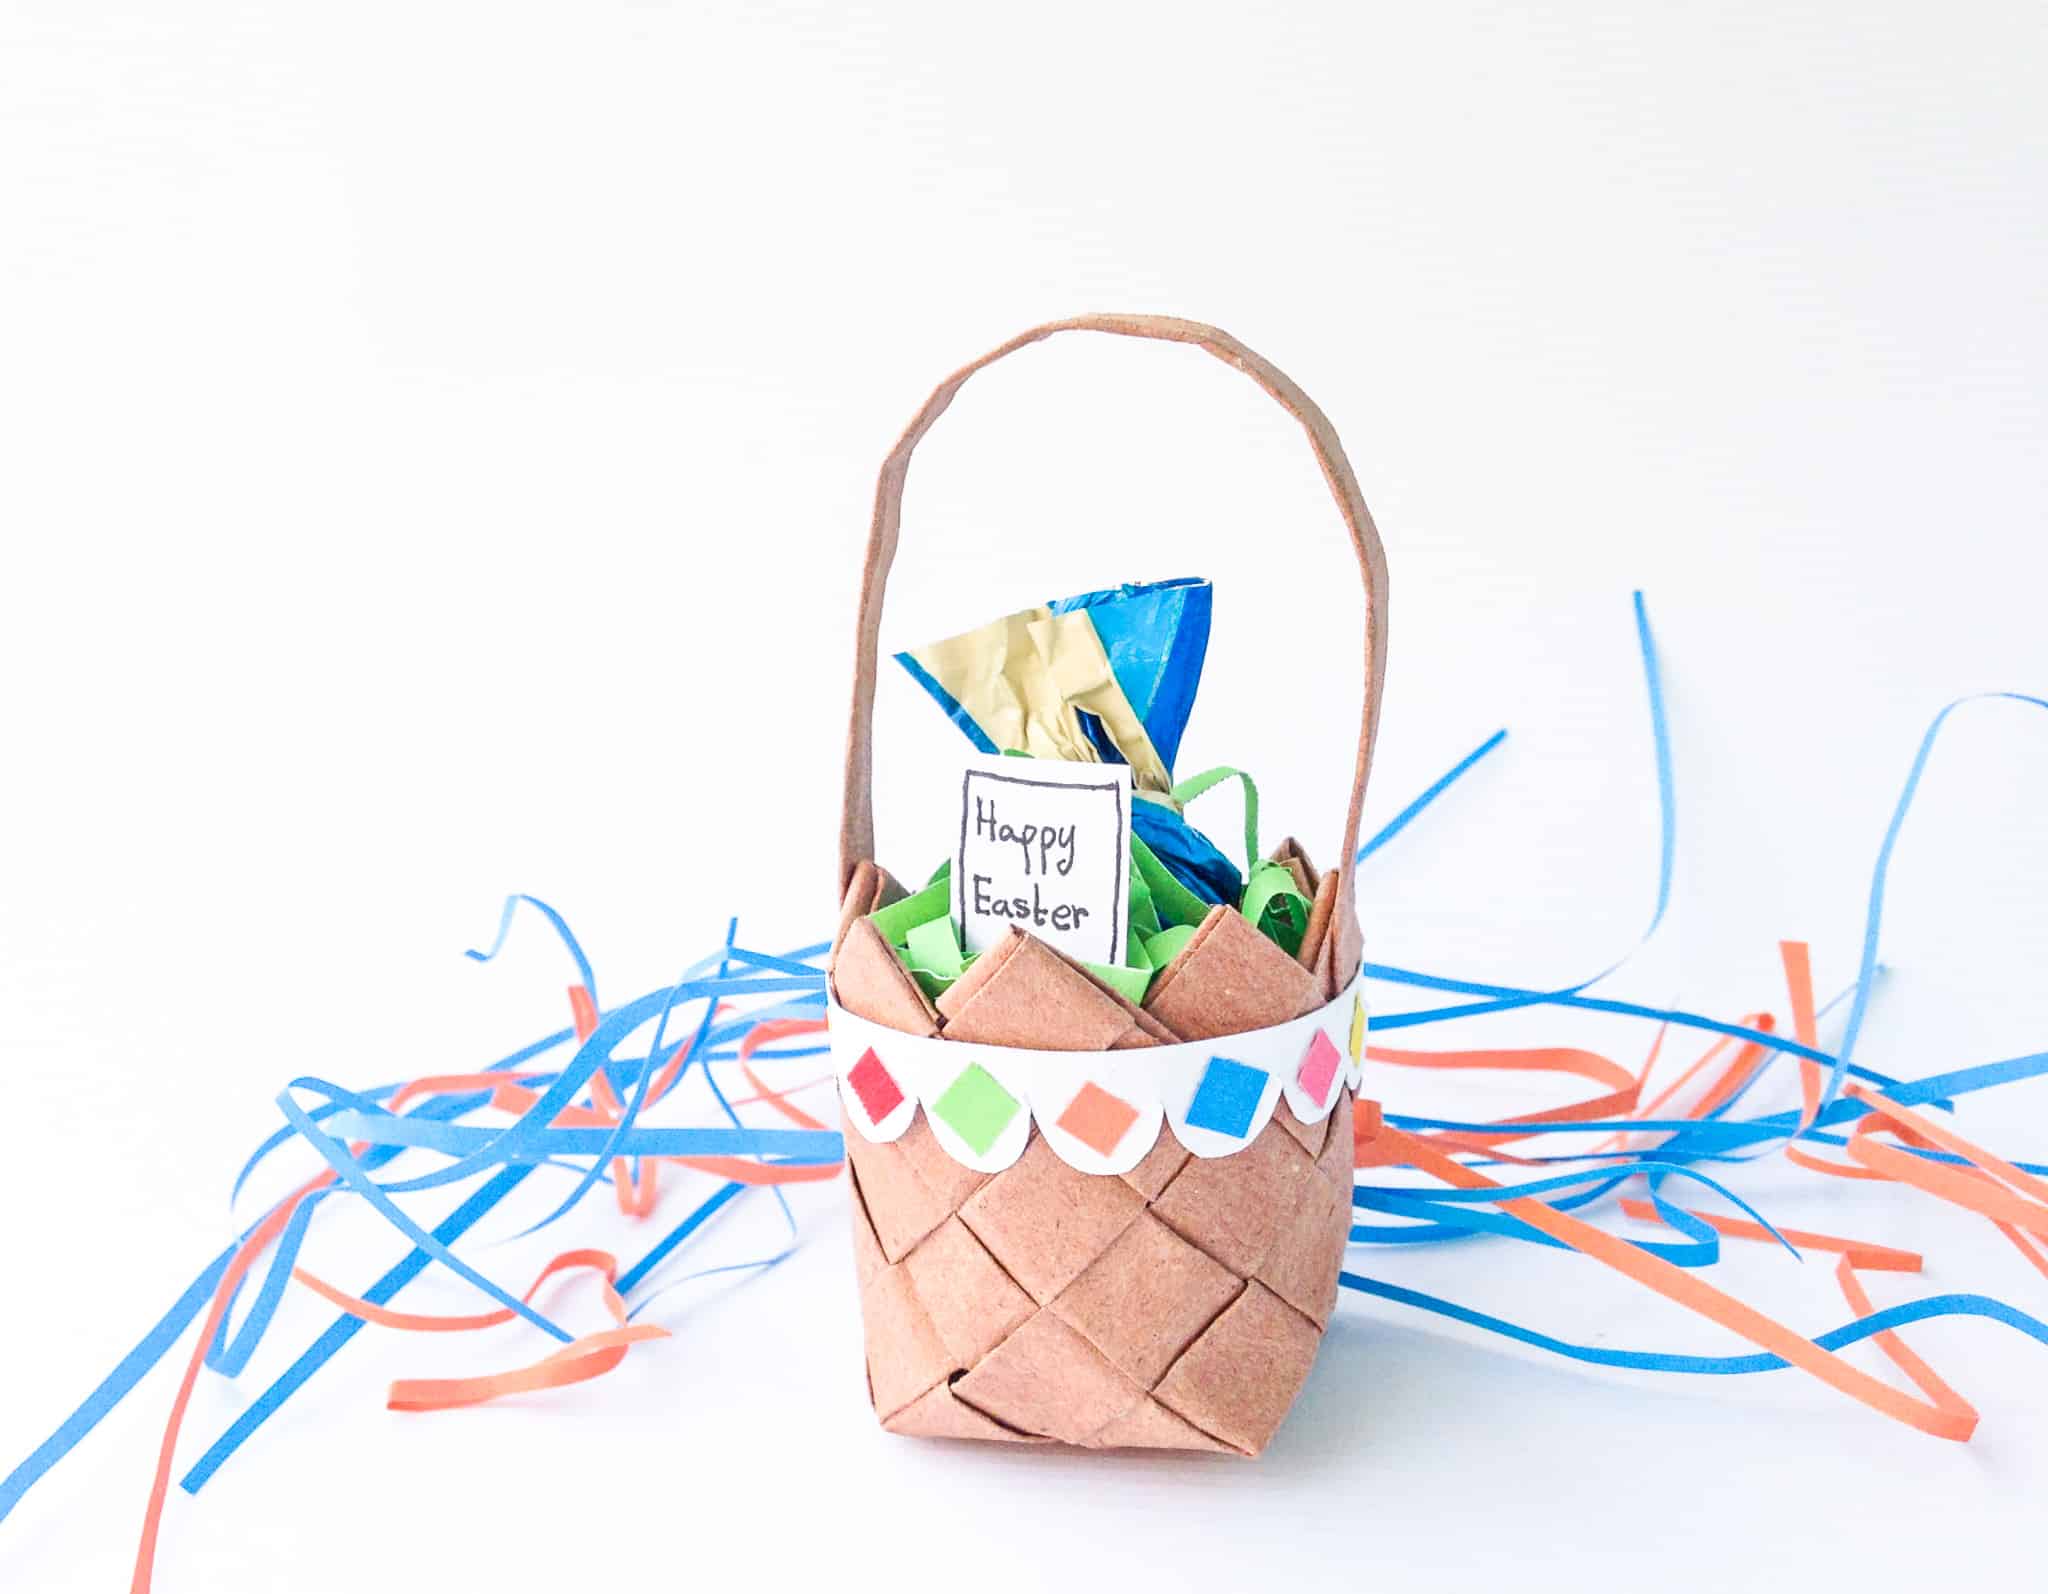
Glue the scallop border around the basket. Cut some thin strips of colored craft papers and put them inside the basket and then place the candy or chocolate inside it.
Done! With just a little time and some paper bags, you now have an adorable Easter Treat Basket.
Print DIY Paper Weaving Easter Basket Instructions

DIY Paper Weaving Easter Basket
Ingredients
- Brown paper - from brown paper bag
- Colored craft paper
- Scissors
- Craft Glue
- Pencil
- Template
- Chocolate or Candy
Instructions
- Cut brown paper bag into strips of 3 cm wide and as long as it can be. To create mini basket you can use the template pattern. Fold the width of the strips 3 times, thus creating 1 cm wide strips. You'll need an even number of strips to make this basket, we'll be using 8 strips for this project.
- Layout 4 strips vertically and weave the 5th strip horizontally, over and under the 4 strips.
- Take the rest of the strips (3 more) and weave over and under the first four strips. If a strip is woven over a strip the strip on the next line should be woven under that strip. Tighten the weave carefully and glue the overlapping strips on each corner to secure the weave. Notice strip 1 and 2 in this step.
- Fold up strip over strip 2. This weave will form a corner
- Now continue weaving over and under with the strips on both sides of the strip 1 and 2.
- Repeat the process for the 3 other sides of the woven pattern to form all 4 corners of the basket.
- Now continue upwards by simply weaving over and under.
- Find out the weave with the shortest height. Fold the strip inside if there's any amount remaining after weaving or simply glue the strips together to secure the weaving. Here's an inside view of the closed weave.
- Bring all the closed end of the weaving to the same height and glue them to secure the weaving.
- Trace and cut out the scallop border pattern from the template. Select 4-5 colored craft papers and cut out small square pieces from them. Glue the small square patterns on the scallop border.
- Glue the scallop border around the basket. Cut some thin strips of colored craft papers and put them inside the basket and then place the candy or chocolate inside it.
Pin Easter Craft for Kids

This is a cute Easter project. I showed it to my kids and they asked if they can make it this weekend. Looks like we have an early Easter project.
Oh have fun! I hope they love it.
This basket is adorable and perfect for Easter treats. It’s so cute. Thanks for sharing at Merry Monday.
What a fun craft!
This is a very wonderful online content. Few individuals do that. The way you simply did. I am extremely impressed that such a vast quantity of information has been exposed on this topic, and that you have put out so much effort.
The information that you give is not only incredibly instructive but also very helpful to me and beneficial to the community as a whole. Would you kindly inform us of the current situation? Thank you!
Caught myself thinking that I want something ‘nostalgic’ like slot machines in pubs. I found a slot on Memo Casino with a vintage design and played it without expectations. But suddenly five identical symbols fell out at once – a rare combination – and the £220 win came instantly. The site is British, everything works stably, money was withdrawn to Halifax card without delays. Feels like when I was young.
That sounds like a great experience — those nostalgic-style games really do hit differently, especially when they surprise you like that. I’ve noticed that the simplicity of classic designs often makes wins feel more satisfying, without all the distractions. Recently I’ve been exploring a few different platforms to get that same balance between stability and variety, and https://1xbet-au.org/ stood out for me. It runs smoothly, offers a wide range of games with different styles, and the overall performance feels reliable, which makes it easier to just relax and enjoy the session.
Thanks for sharing your thoughts about 중고화물차매매.
Regards
Erfahren Sie, wie Scatter-Symbole und weitere Besonderheiten funktionieren, und testen Sie,
auf welchen Einsatzstufen Sie das Spiel spielen wollen oder ob Sie die
Gewinnlinien ändern können. Casino Spiele kostenlos ohne Anmeldung zu spielen und zu testen gibt Ihnen die Gelegenheit, unverbindlich und ohne Risiko Ihre
Vorlieben zu entdecken. Der Vorteil im Online Casino
ist, dass bei Online Slots und an den virtuellen Spieltischen die
Limits sehr niedrig sind, sodass Sie schon um geringe Summen spielen können. Lernen Sie hier die verschiedenen Spiel-typen kennen, die Sie
in Online Casinos spielen können.
In diesem Artikel stellen wir Ihnen die verschiedenen Aspekte vor,
die ein bestes online casino ausmachen, einschließlich
casino spiele, casino bonus und vieles mehr. Haben Sie
ein für Sie besonders reizvolles Spiel gefunden, können Sie dann eine erste Echtgeldeinzahlung vornehmen, sich den Willkommensbonus des Casinos sichern und
dann im Casino online spielen, mit Echtgeld. Casino deutschland online bietet Spielern eine
sichere Umgebung, in der sie spielen können, mit der Gewissheit, dass ihre Rechte geschützt sind.
Ein bester casino bonus kann in verschiedenen Formen auftreten,
einschließlich Einzahlungsboni, Freispielen und Treueprogrammen.
Das bekannteste Kartenspiel in Online Casinos hat einfache Regeln und garantiert Nervenkitzel und Spielspaß.
Oder erhalten Sie als fortgeschrittener Spieler wertvolle Tipps von unseren Casino Experten, zum Beispiel zu den besten Roulette Strategien. Bei Casino.at finden wir
nicht nur die besten Online Casinos für Sie.
References:
https://online-spielhallen.de/der-frumzi-casino-aktionscode-ihr-schlussel-zu-exklusiven-vorteilen/
VIP members get higher limits, but for casual players, this might feel
restrictive if you hit a big win. The minimum withdrawal is $20, which is reasonable, but there’s a weekly limit of $5,000
for regular players. Banking is where many casinos either
shine or completely fall apart. Better withdrawal limits, personal account managers,
and exclusive bonuses that don’t feel like afterthoughts.
Registration requires confirmation that you will later use to prove your decision to deposit or withdraw cash.
To secure your deposits, you need to complete this registration process.
It guarantees the required layer of security to each player.
Skycrown casino login is impossible with the reaction of an account.
You can see the whole list in the “Pokies” section by using the game
filters.
Infinite Blackjack removes seat limits entirely, ensuring players can always
join a table without waiting. You’ll find live dealer options with varied betting limits
and built-in features that display live results, betting history, and recent big wins.
If you prefer a quieter, more private experience, you can choose to mute the live chat or observe silently.
References:
https://blackcoin.co/players-club-vip-casino/
Users don’t need to register or deposit to see this data — it’s part of the
public view inside the Ozwin interface. Ozwin Casino
maintains a live stream of verified winners — visible directly inside each
user account. This infrastructure ensures that Ozwin remains fully functional even in high-traffic moments or during bonus redemption windows.
A helpful sorting feature allows you to organize games by release date,
name, or jackpot size. Frequent players already familiar with Ozwin Casino’s existing
offerings will find this section particularly useful.
This gaming platform has gained particular popularity among Australian users for a multitude of
reasons. A significant portion comes from Real Time Gaming (RTG), a studio with
a reputation for delivering high-quality gaming experiences.
They’re available to guide you through verification and get you back in the game quickly and securely.
Simply click “Forgot Password” on the login page and follow the on-screen instructions —
a reset link will be sent to your registered email address instantly.
If you’ve forgotten your Ozwin Casino password, recovering access takes less
than a minute.
References:
https://blackcoin.co/new-online-casinos-australia-2025-guide/
Добро пожаловать в Zooma Casino, где каждый момент наполнен азартом и шансом на крупный выигрыш.
В Zooma Casino вас ждут лучшие игры:
от слотов и видеопокера до настоящих живых игр с профессиональными крупье.
В нашем казино каждый момент
может стать решающим для
вашего успеха.
Что отличает Zooma Casino от других
онлайн-казино? Мы предлагаем широкий выбор
игр, лицензированные и защищенные технологии, которые гарантируют честность
и безопасность игры. Кроме
того, для наших игроков доступны регулярные акции и бонусы, которые делают игру еще более
прибыльной.
Когда начинать играть?
Присоединяйтесь к Zooma Casino и получайте первые бонусы, которые помогут вам начать выигрывать прямо
с первого дня. Вот что вас ждет:
Ежедневные акции и турниры с большими призами.
Широкий выбор игр на любой вкус: от классических слотов до живых
игр с реальными крупье.
Удобные и быстрые способы пополнения счета
и вывода средств.
С Zooma Casino вы получаете шанс не только развлечься, но
и получить реальный шанс на большой выигрыш.
бездепозитный бонус
us online casinos that accept paypal
References:
jobteck.com.sg
online casino australia paypal
References:
clicknaukari.com
Ich genieße wirklich diese Seite NV Casino — sie ist
so intuitiv!
NV Casino Plattform
Dewabet situs judi bola online terpercaya
곧 이 사이트는 블로깅 사용자들 사이에서 유명해질
것입니다. 훌륭한 포스트 덕분에요.
A person necessarily lend a hand to make critically articles I
might state. This is the very first time I frequented your web page and thus far?
I amazed with the analysis you made to make this actual submit extraordinary.
Fantastic process!