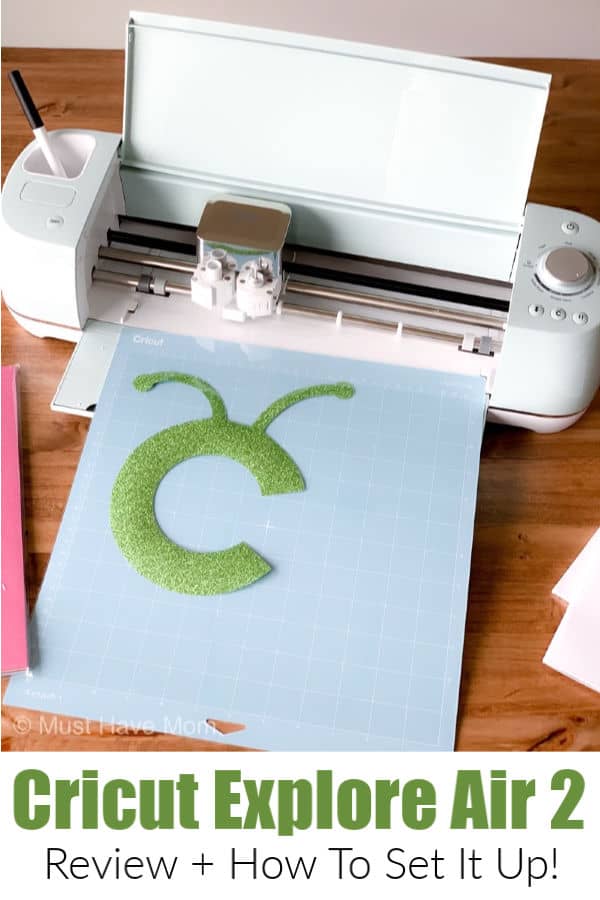
Cricut Explore Air 2 Review
The Cricut Explore Air 2 can make just about anything! This machine has blown me away and I can’t believe how many different things you can do with it. If you are looking for the perfect addition to your craft room you should be reading this Cricut Explore Air 2 Review. A cutting machine is not something you buy every day so, I suggest you go through the entire post and understand what you are getting into.
This is a sponsored conversation written by me on behalf of Cricut. The opinions and text are all mine.
I just can’t get enough of my Cricut Explore Air 2. The end result is sooo good, you just want to keep making more! I will warn you that it gets so addicting to create your own beautiful projects in record time. The Cricut Explore Air 2 is so versatile that there are hundreds if not thousands of things you can create with it. Everything from iron-on t-shirts to vinyl projects, it does it all!
I’ve always enjoyed crafting. You might have seen my Carrot Treat Bags Paper Craft and my Dr. Seuss costumes DIY. I like to call myself a serious crafter. So having a cutting machine is taking your hobby to a new level.

Cricut Maker vs Explore Air 2
There are quite a few cutting machines on the market right now, so if this is the first time you are buying one, you might be confused.
Many of my crafting friends have asked me how is the Cricut Explore Air 2 different from the Cricut Maker. And I think that’s a valid question.
Simply put, Cricut Maker is a heavier crafting machine. It offers 10x force, which means you can cut through the strongest materials. The Circut Maker allows you to cut through 200 different materials. It also has a rotary knife blade and an adjustable tool system.
On the other hand, Cricut Explore Air 2 is a lighter machine. You can cut around 100 different materials with this machine.
Both machines are meant for a different audience. If you a professional crafter, I’d recommend the Cricut Maker. But if you are going to be doing mostly paper crafts, then the Cricut Explore Air 2 is best. The Cricut Explore Air 2 is recommended for light crafters. It even costs $100 less than the Cricut Maker. I have also heard many people say the Cricut Explore Air 2 is just way easier to use versus the Cricut Maker. The Cricut Maker is for the very serious crafter who invests a lot of time into learning and using their machine. The Explore Air 2 is much easier out of the box!

Cricut Explore Air 2 Setup
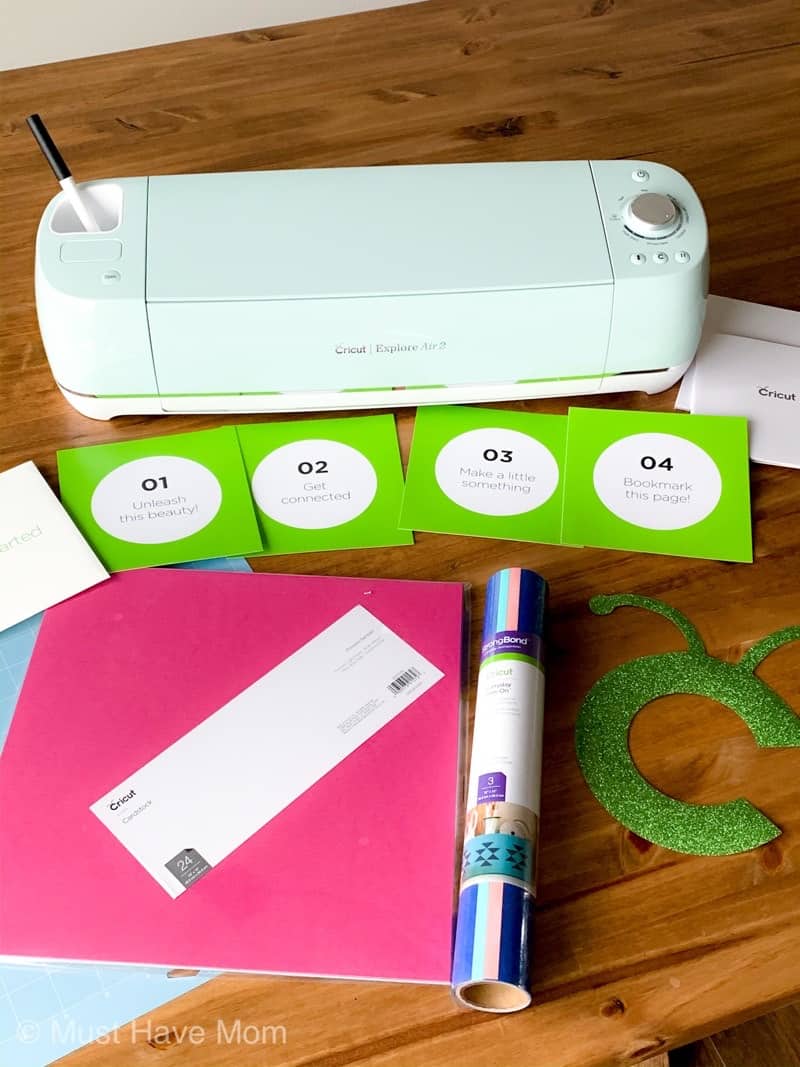
If you have already purchased Cricut Explore Air 2, setup is very easy. Inside your package, you would have your Circut Explore Air 2 machine, USB cord, power cord, a starter pack (contains all your sample materials), cutting mat, and a pen.
I would recommend setting up the machine through the USB cord, even though you can operate the machine through Bluetooth also. Plugin and turn on your machine. Now go to design.cricut.com/setup to follow the instructions to create your ID.
Once your ID is created, you will be prompted to download and install the software, Design Space. You can also install the Cricut app on your phone which I would recommend doing.
Done? Now start creating your first project! Cricut will walk you through your first project which will create a card with the included materials. It’s a good way to test out Design Space and see how everything works.
If you have any issues with your Circut Explore Air 2 setup, you can call up their customer care at 1-877-7CRICUT.
How to use Cricut Explore air 2
When you buy the Cricut Explore Air 2, you will get a starter pack. This starter pack will help you get started with the machine. I recommend you do exactly as the instructions say and this will give you a pretty good idea of how the machine works.
Start by designing the craft on the Cricut Design Space App. This is a cloud-based app which means all your designs can be saved and accessed remotely.
Once your design is created, upload your material.
Bring out the materials. Your Design Space App will walk you through the entire process of creating the craft.
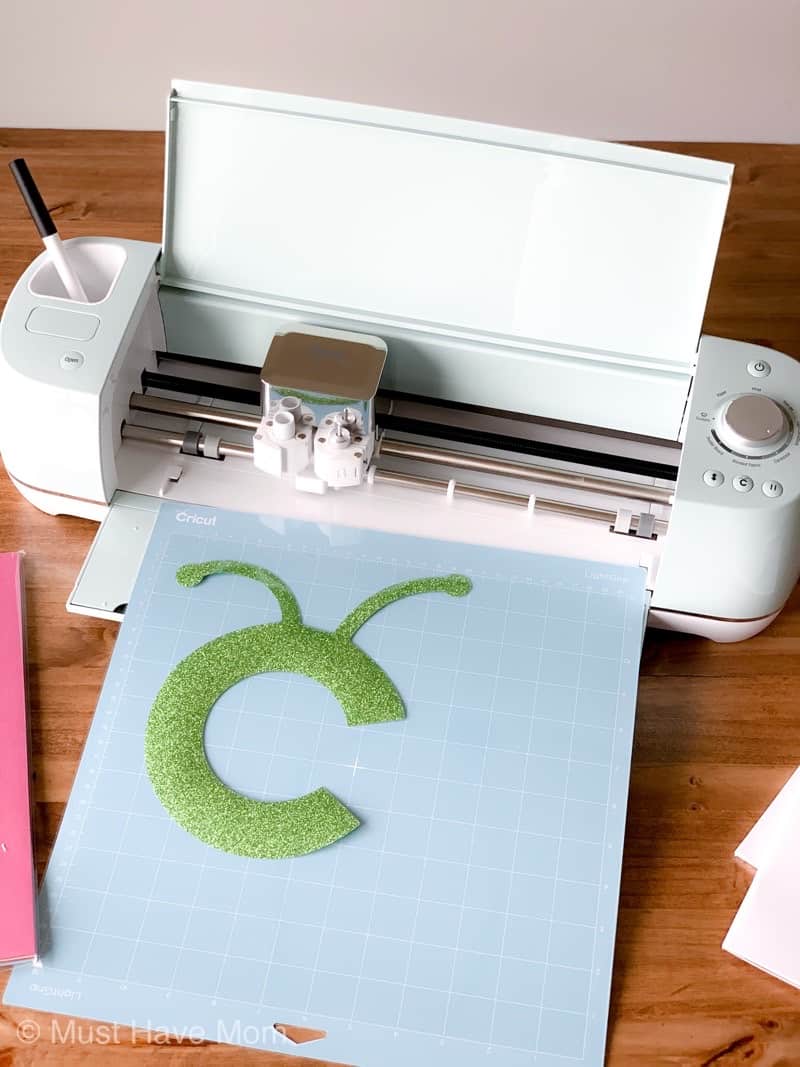
Press the material on the sticky side of the cutting mat. You will have to remove the cover for that. Keep the cover and put it back on when you are done. This will affect the quality of your designs, later on, so be careful with the cover.
Once you stick the cutting board on the machine, choose your material using Smart Set Dial. Choosing the right material will affect the cutting precision of the machine. So choose carefully.
You can work on 100 different materials with the Cricut Explore 2. Some of these are:
- Foam
- Cardboard
- Tissue
- Foil
- Aluminum
- Cotton
- Silk
- Burlap
- Leather
- Clay
On the Explore Air 2, you will also find this cool button, Fast Mode. This speeds up your crafting project and gets you there faster. So, if you are looking for a quick project then this is the button you will want to press.
As you try other crafts, you will understand the ease of use and possibilities with this machine.
Cricut Explore Air 2 Projects
If you have already got your Circut Air 2 (YAY!!!), you should definitely try out these Cricut Explore Air 2 Projects:

Quilting Star Pallet Sign
All you need is a pallet signboard (can easily be bought from Amazon), mod podge, scrapbook paper, paper trimmer and paper brush to make this Quilting Start Pallet Sign. I recommend this if you are just starting out with the Circut crafting series. It’s easy to make, and the result looks so professional. Try a different palette to suit your home decor colors.
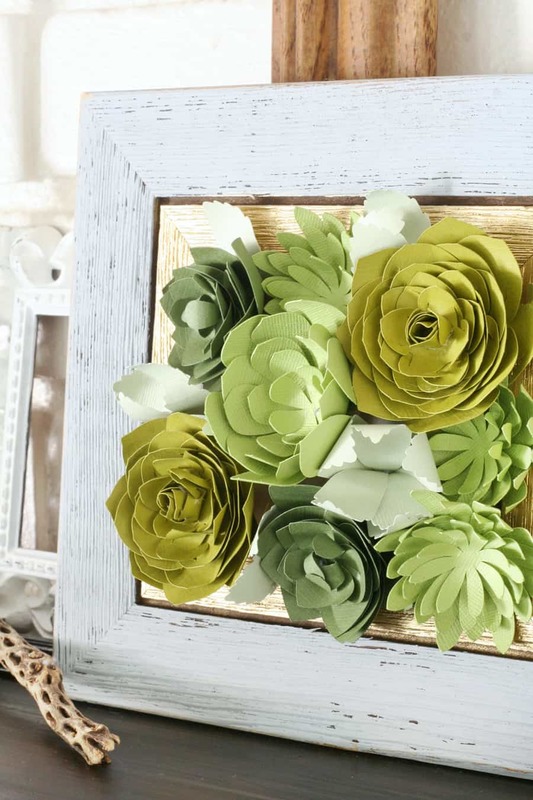
Framed Paper Succulents
If you are looking to create wall art with your crafting machine, you can easily make these Framed Paper Succulents with Explore Air 2. You can increase the size of your frame to make a bigger project. Try out different sizes of paper succulents to add an interesting dimension to your art.

Farmhouse Laundry Sign
This DIY farmhouse laundry sign is easy to make with the help of a Cricut cutting machine! Just cut out the stencil with the free template download and then paint your sign easily. The possibilities for DIY signs are endless with your Cricut Explore Air 2 machine!
Some other projects I’ve been wanting to try out are:
- Easy personalized water bottles
- DIY Photo Magnets
- Bridal Monogram Pillow
- Personalized Farmhouse Pillows
- Narwhal Zipper Pouch
Now that I have my Cricut Explore Air 2, I’m hoping to revive my love for crafting. Follow me to keep updated with all the projects I’m planning on doing. What are your favorite Cricut projects? I’d love to see them! Stay tuned as I share even more Cricut ideas!
Pin Cricut Explore Air 2


I’ve always been crafty, but never got a Cricut. I’ve been envying my friends’ crafts. This Cricut Explore Air 2 is so nice, I want one!! I adore these items!
There is SO much you can make with it! It’s so fun!
my daughter has 5 kids ,she would really get a good use out of this porduct
This is pretty cool. looks like you could have a lot of fun with this.